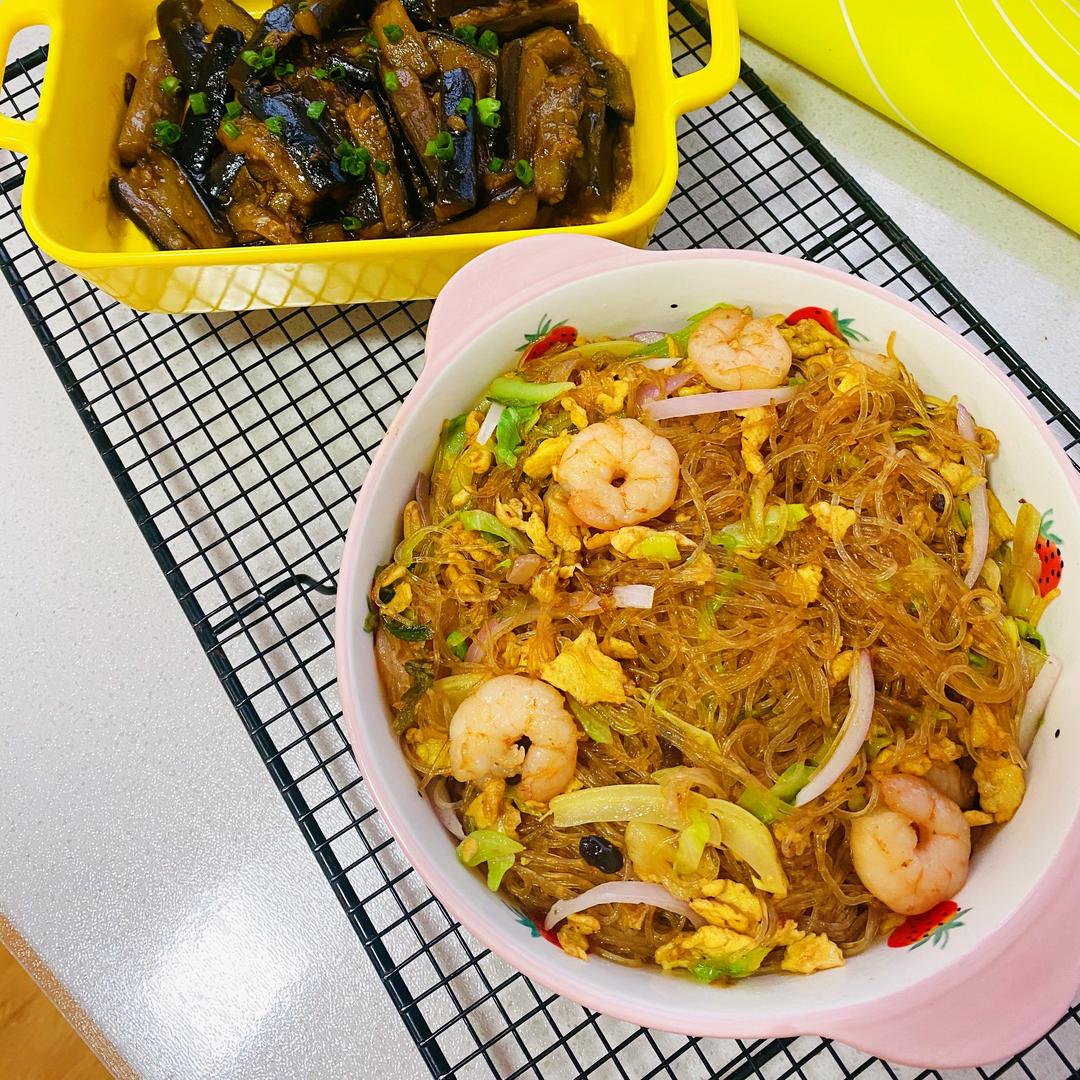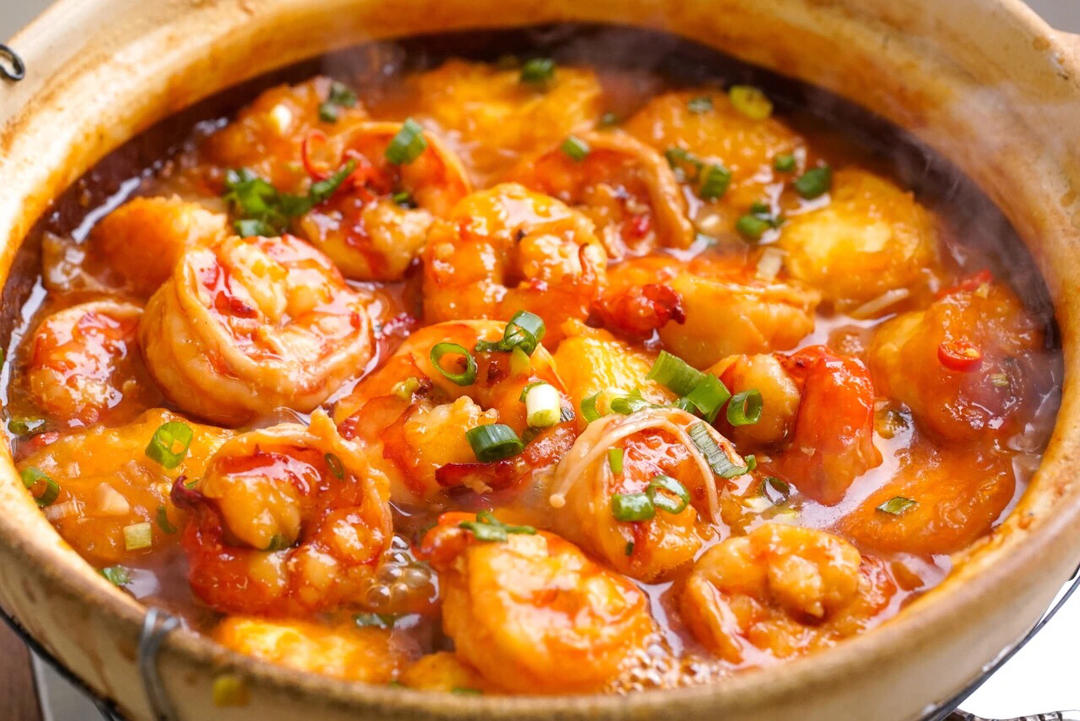
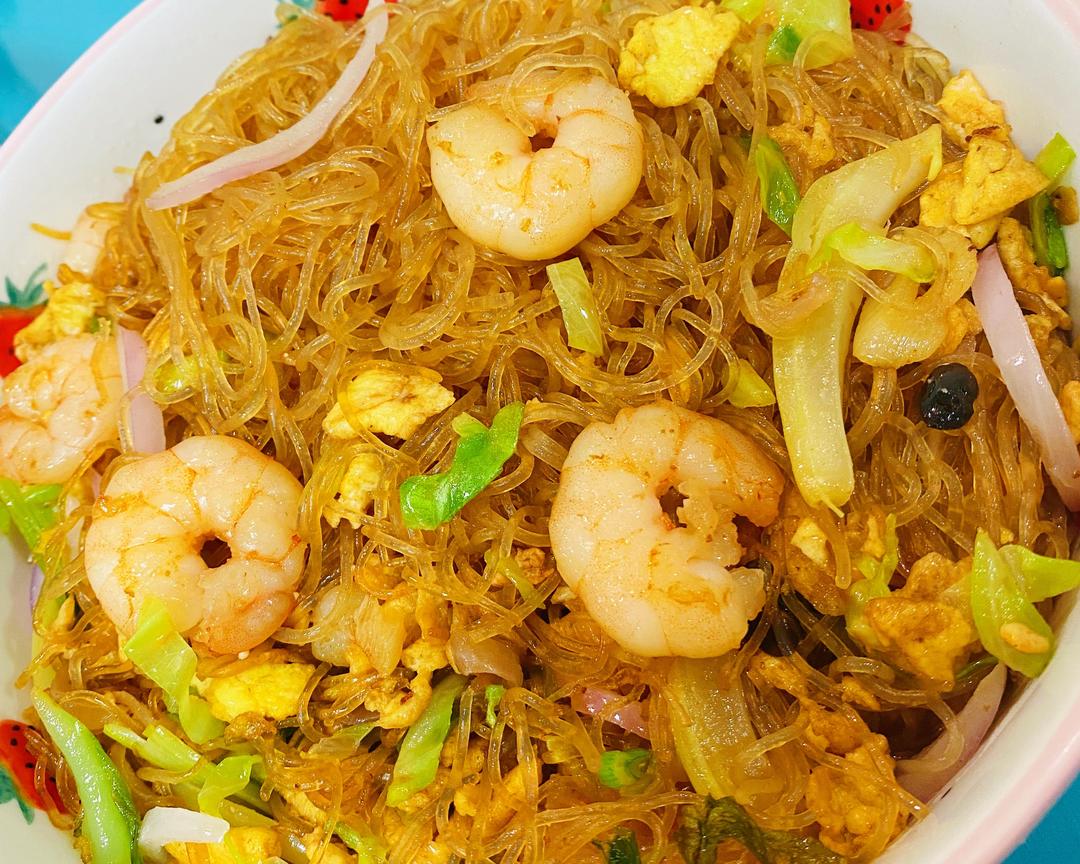

No.41XO酱虾仁粉丝煲

No.41XO酱虾仁粉丝煲

1.8万人浏览 1127人收藏 9人做过
小小的冬瓜

用料

No.41XO酱虾仁粉丝煲的做法步骤

步骤 1
No.41XO酱虾仁粉丝煲的做法 步骤{instruction.step+1}

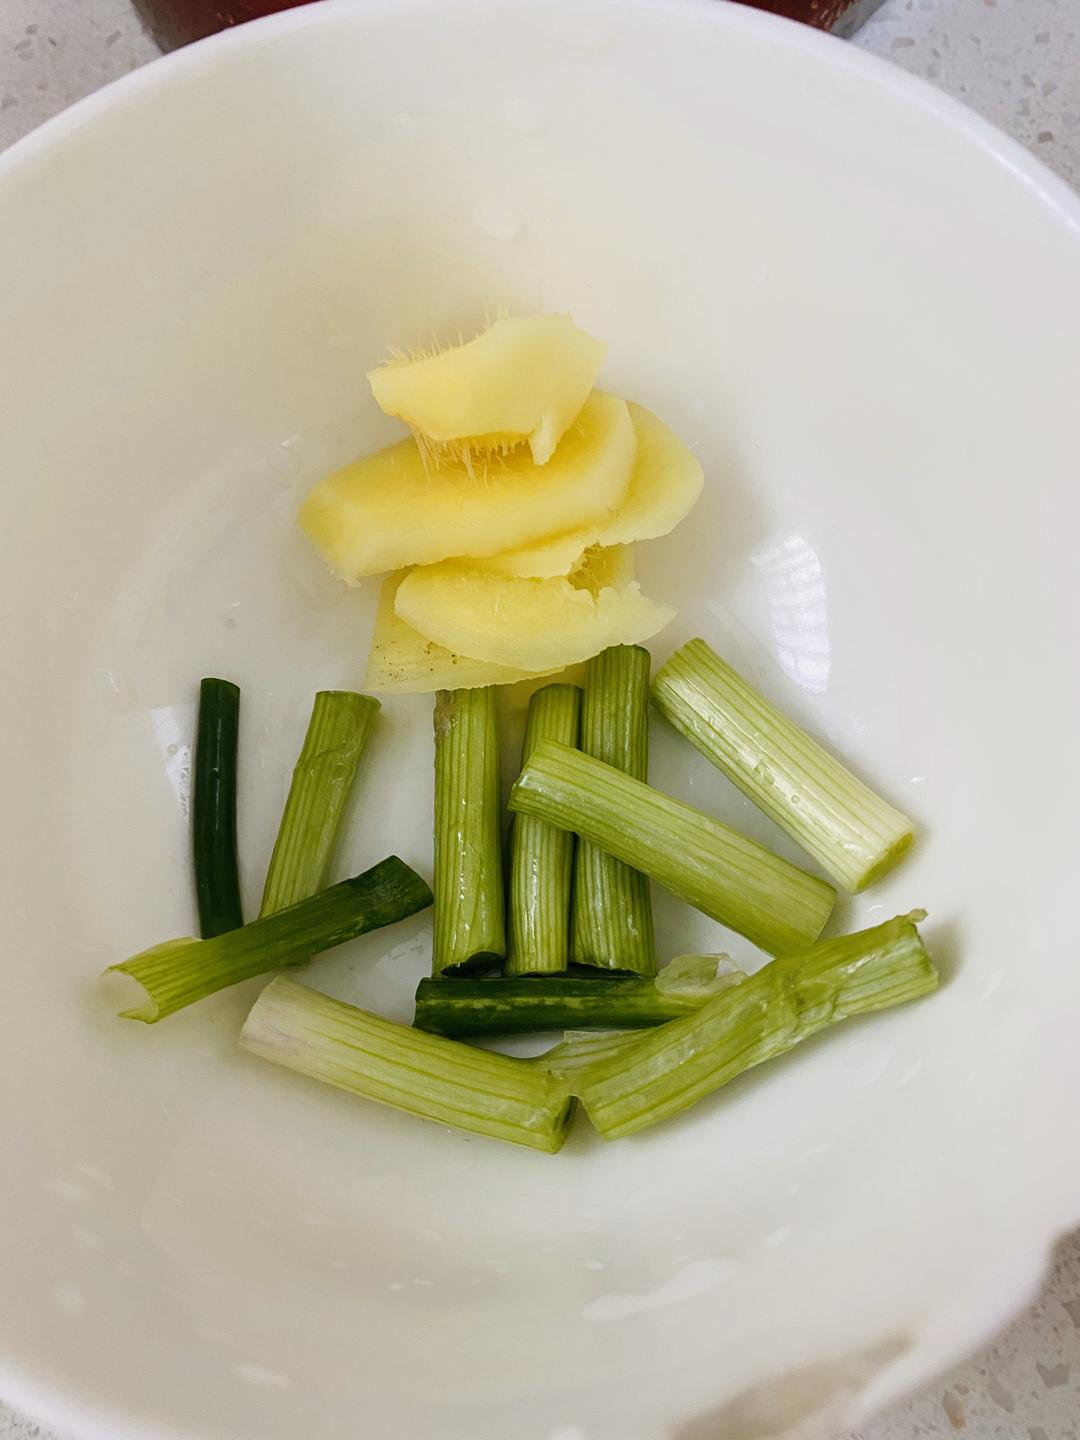
大葱切段 老姜切片

步骤 2
No.41XO酱虾仁粉丝煲的做法 步骤{instruction.step+1}

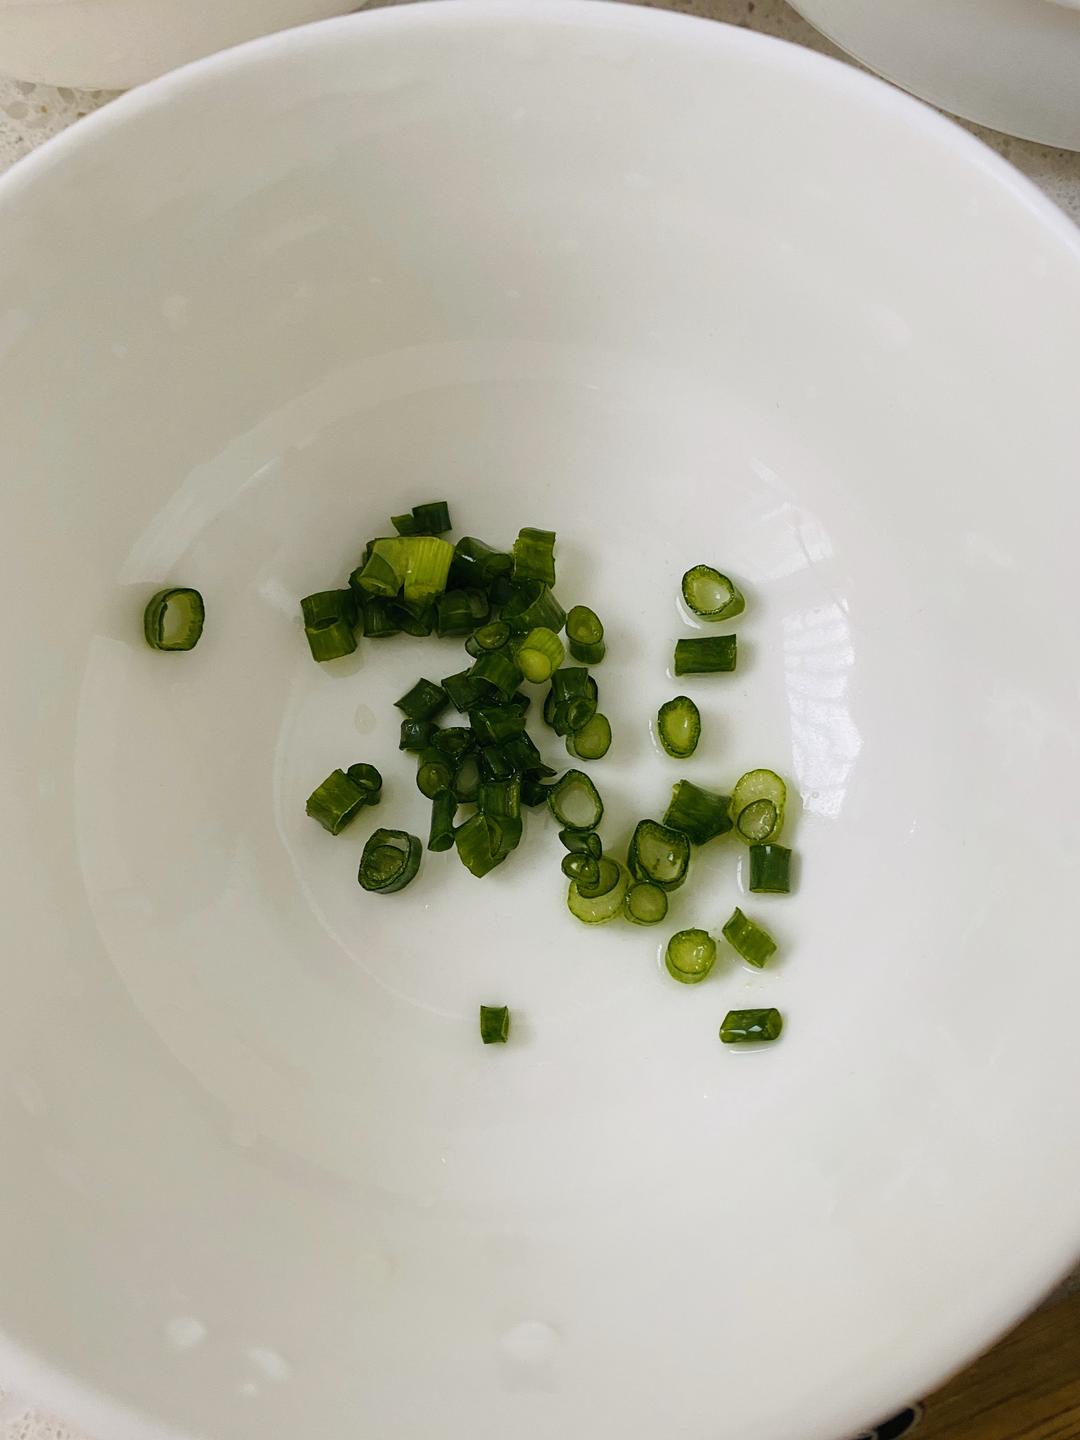
准备3g小葱 切葱花状

步骤 3
No.41XO酱虾仁粉丝煲的做法 步骤{instruction.step+1}

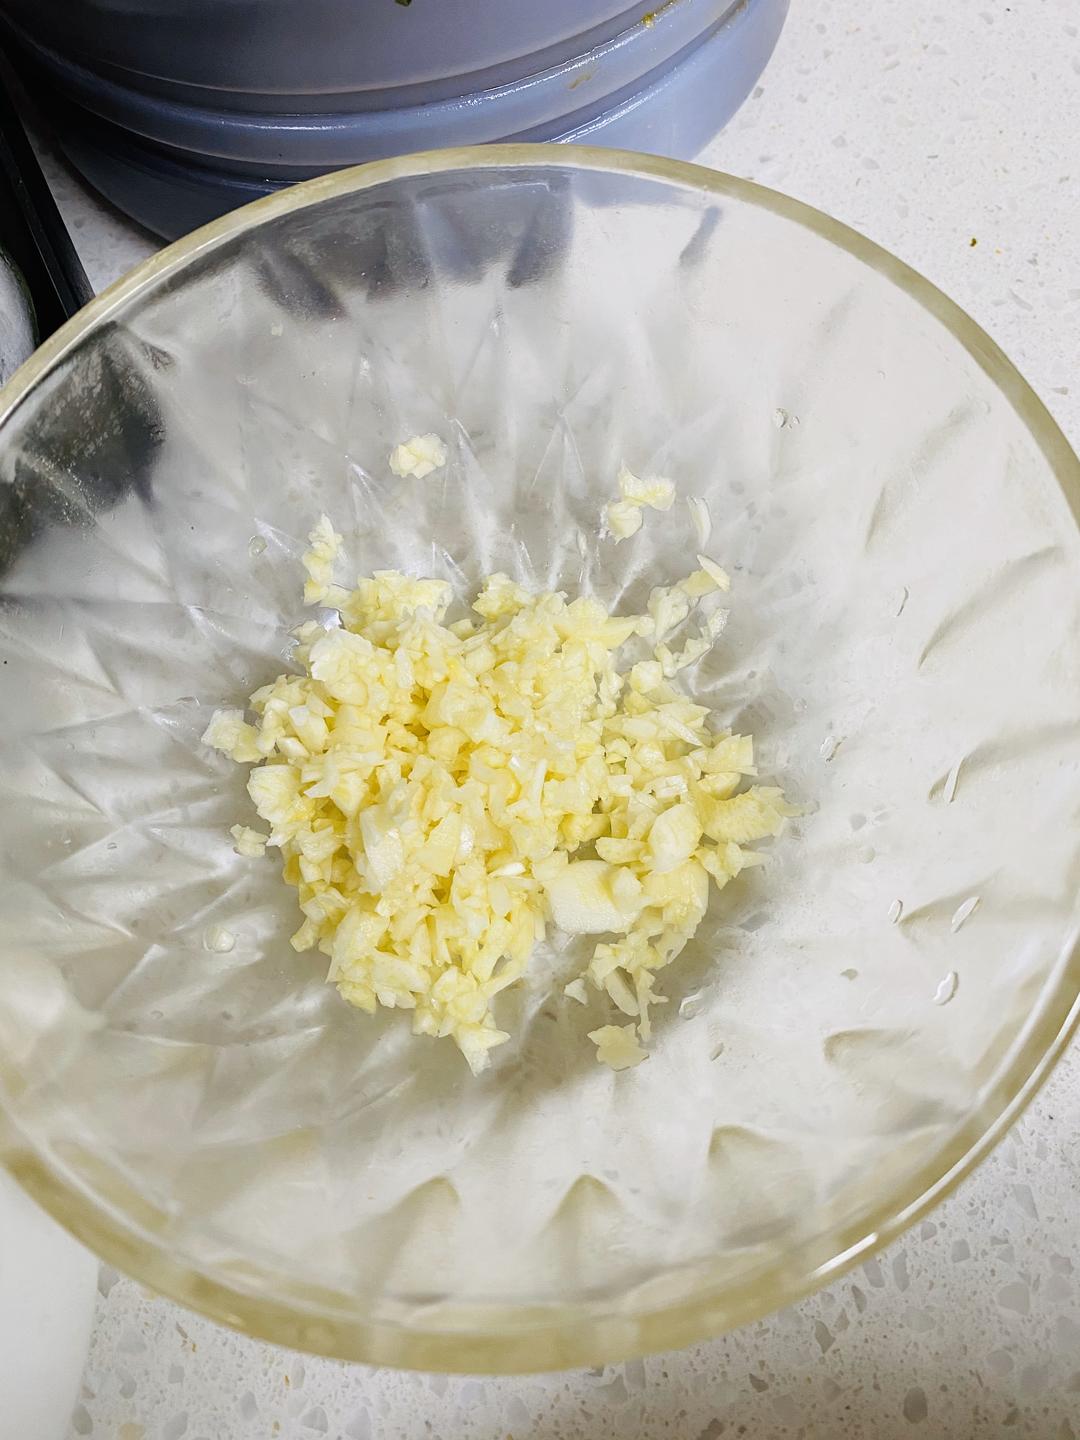
准备3瓣蒜 然后用手拉式绞肉机 拉几下就变蒜末了 非常好用哦 淘宝有卖😊

步骤 4
No.41XO酱虾仁粉丝煲的做法 步骤{instruction.step+1}

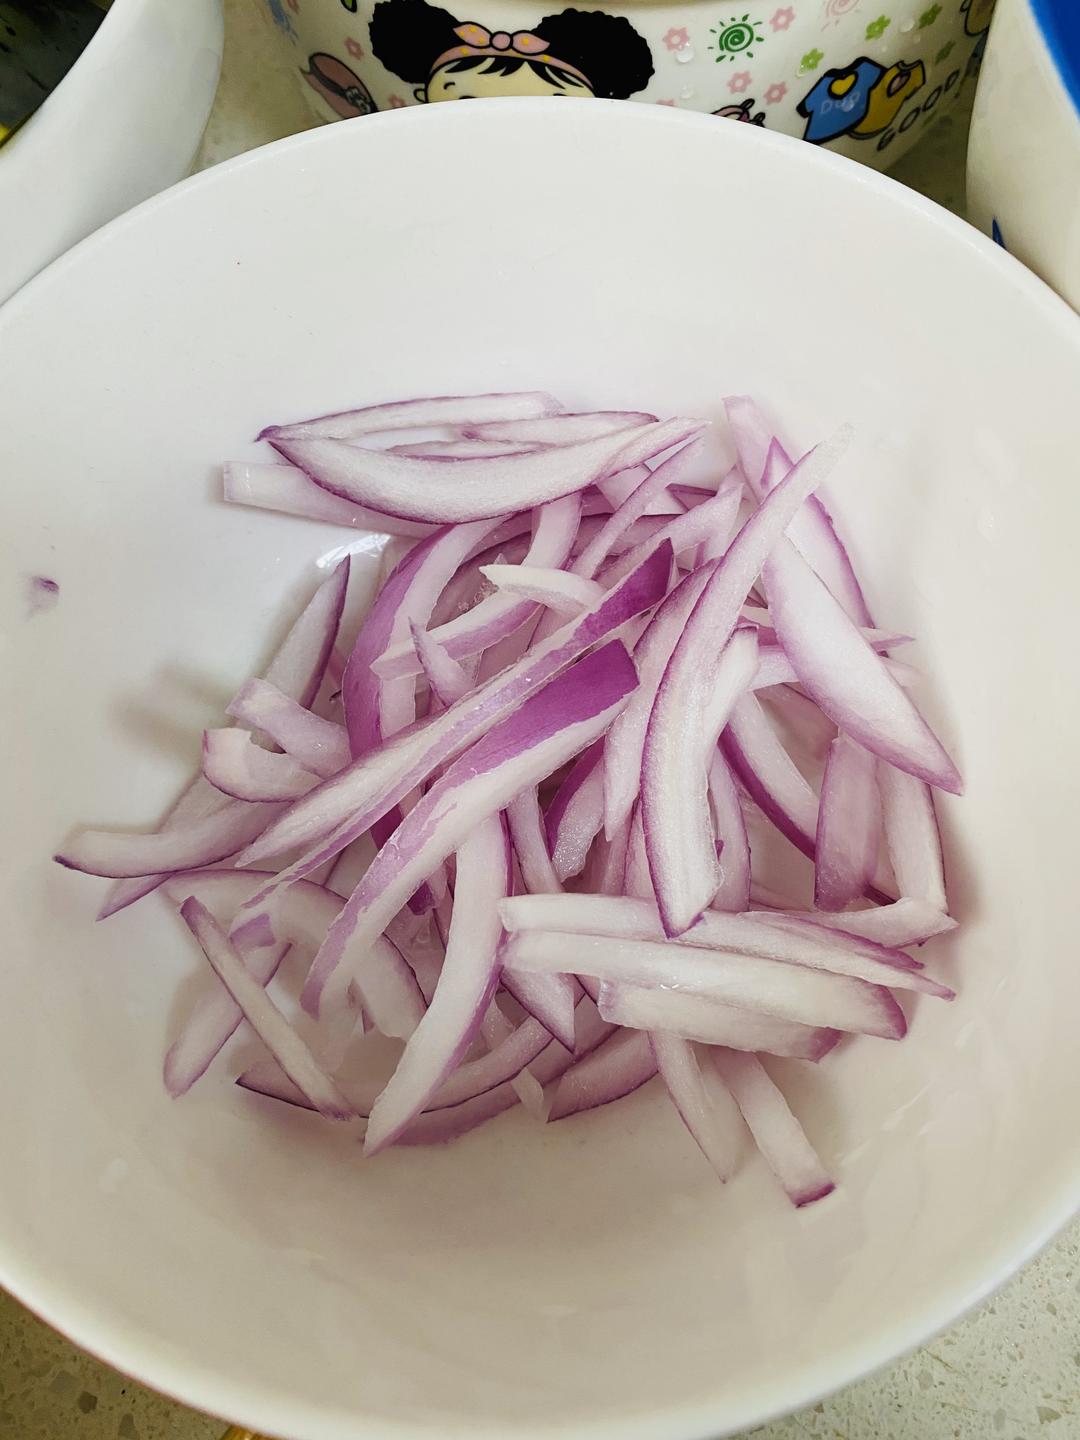
准备15g洋葱 切丝儿

步骤 5
No.41XO酱虾仁粉丝煲的做法 步骤{instruction.step+1}

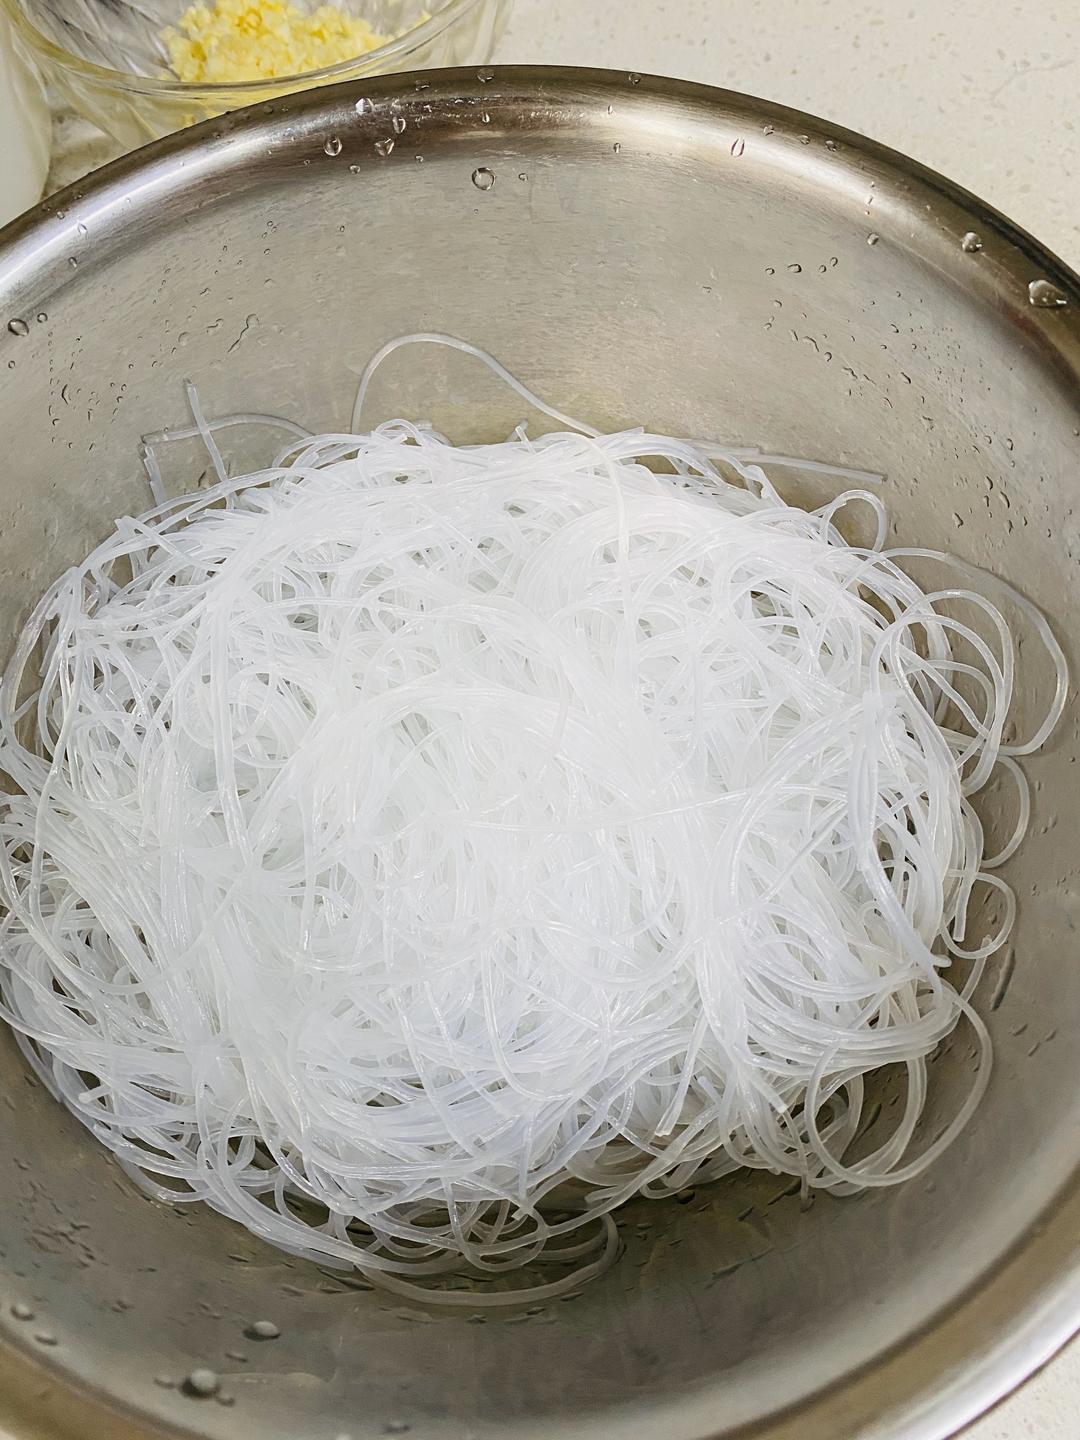
准备90g龙口粉丝 然后用55度的温水浸泡1⃣️小时 (我买的是双塔龙口粉丝 口感真的不错👍)
步骤 6
No.41XO酱虾仁粉丝煲的做法 步骤{instruction.step+1}

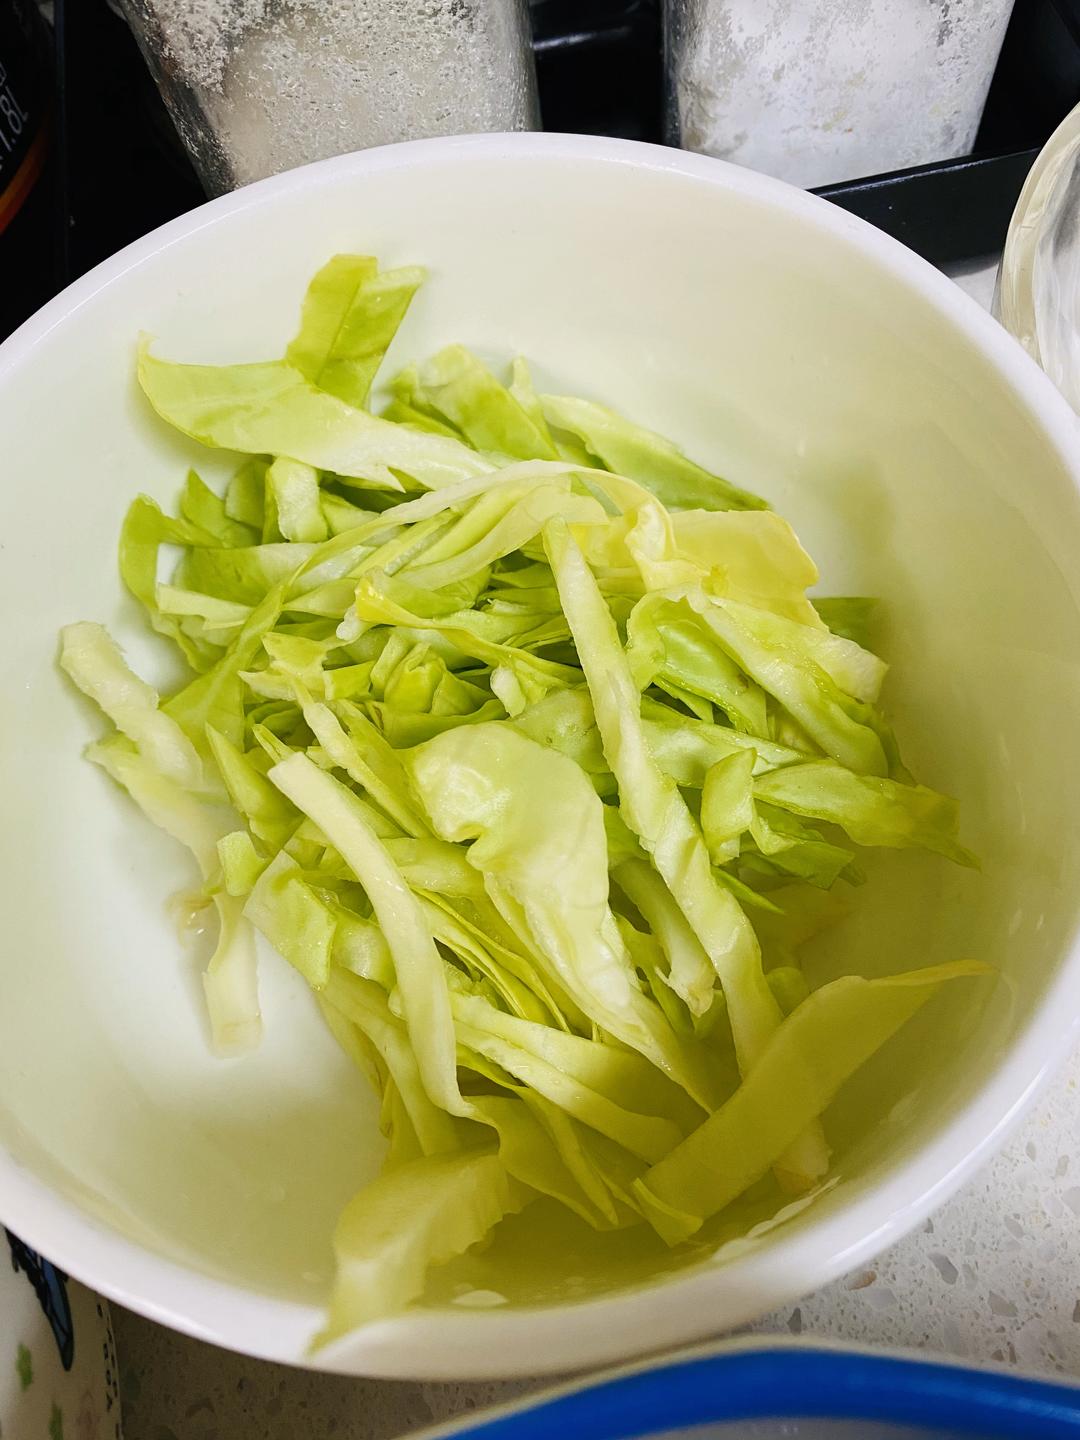
然后准备20g牛心菜 切丝儿

步骤 7
No.41XO酱虾仁粉丝煲的做法 步骤{instruction.step+1}

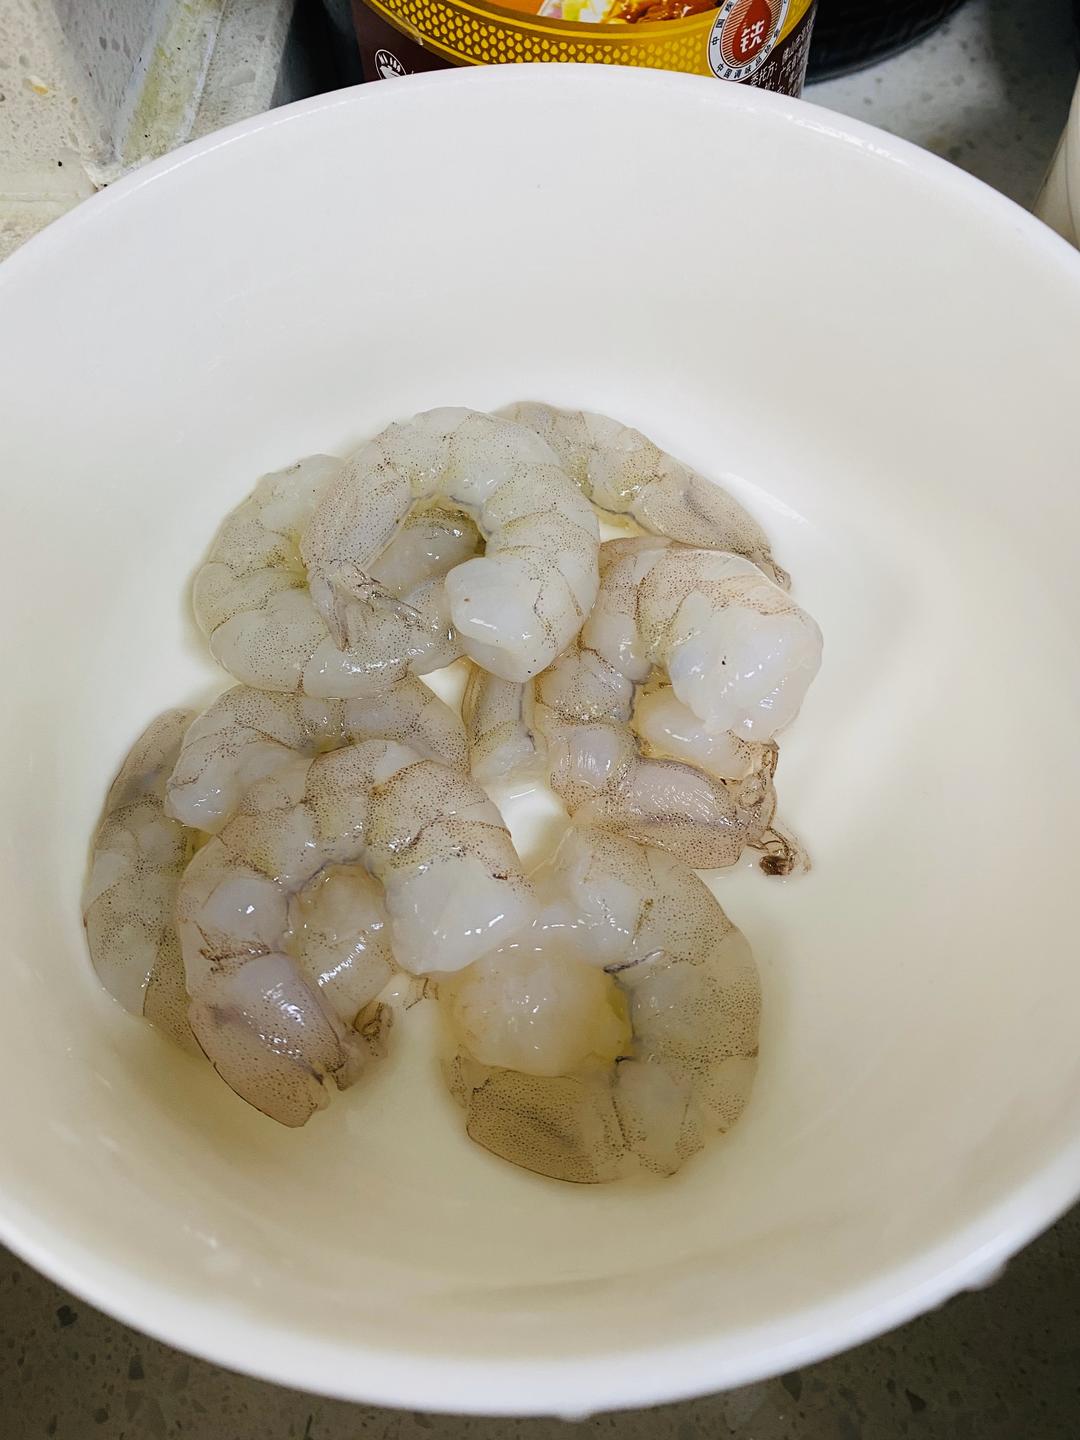
青虾仁提前从速冻拿出解冻,准备70g就可以了

步骤 8
No.41XO酱虾仁粉丝煲的做法 步骤{instruction.step+1}

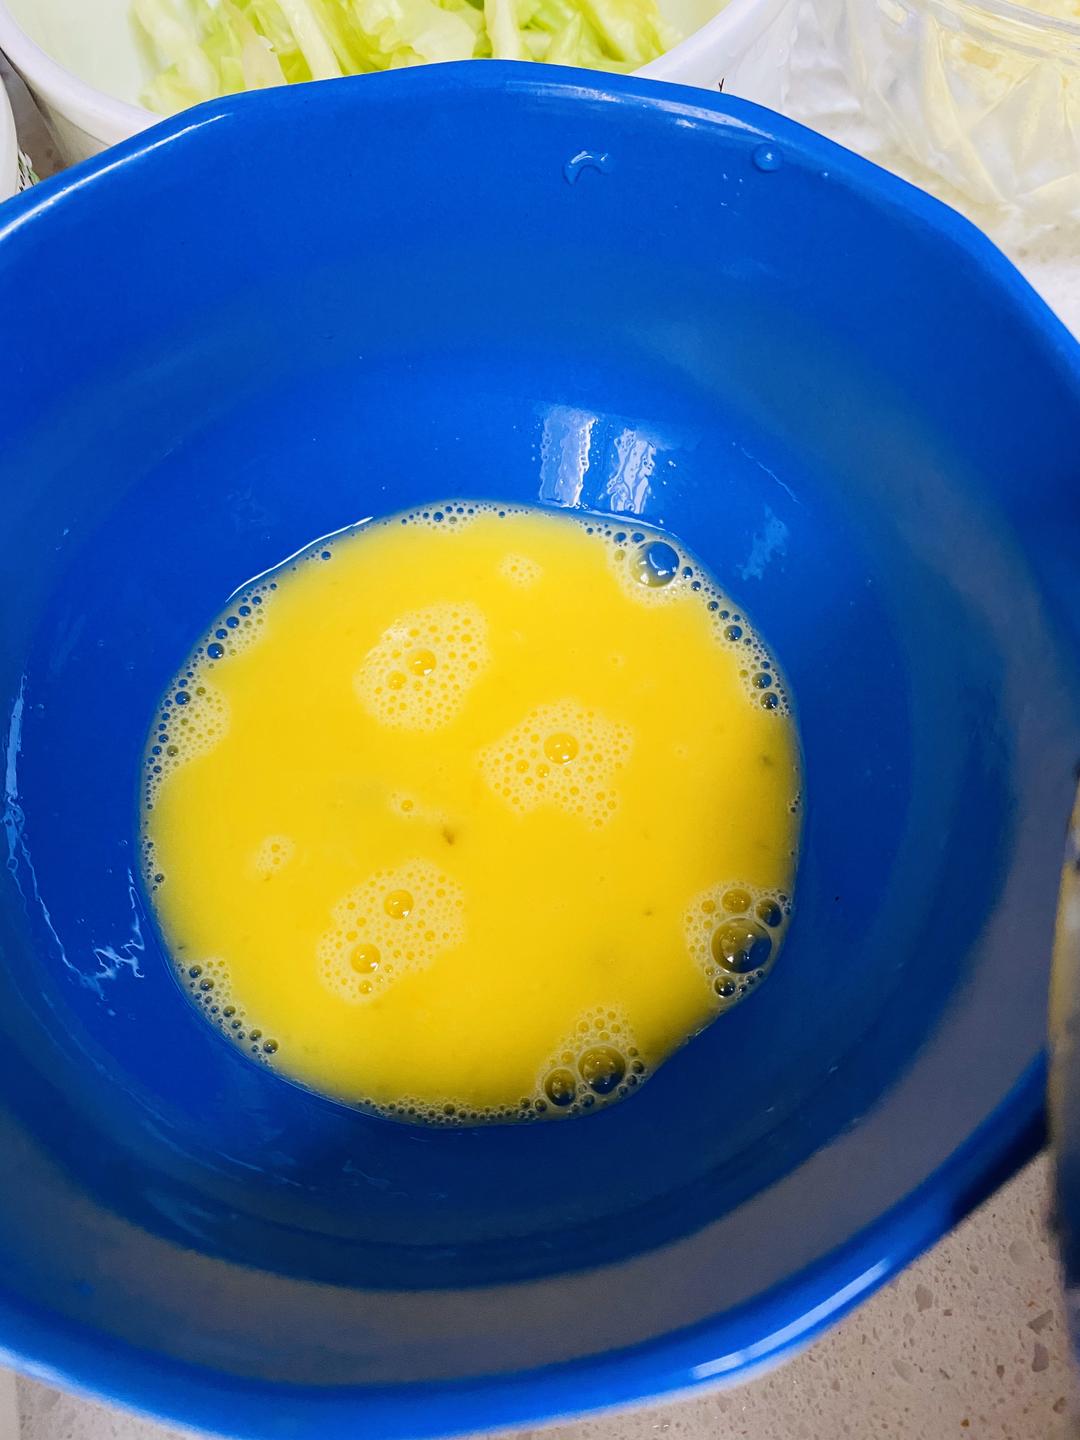
准备一个鸡蛋 然后用筷子搅匀 备用

步骤 9
No.41XO酱虾仁粉丝煲的做法 步骤{instruction.step+1}

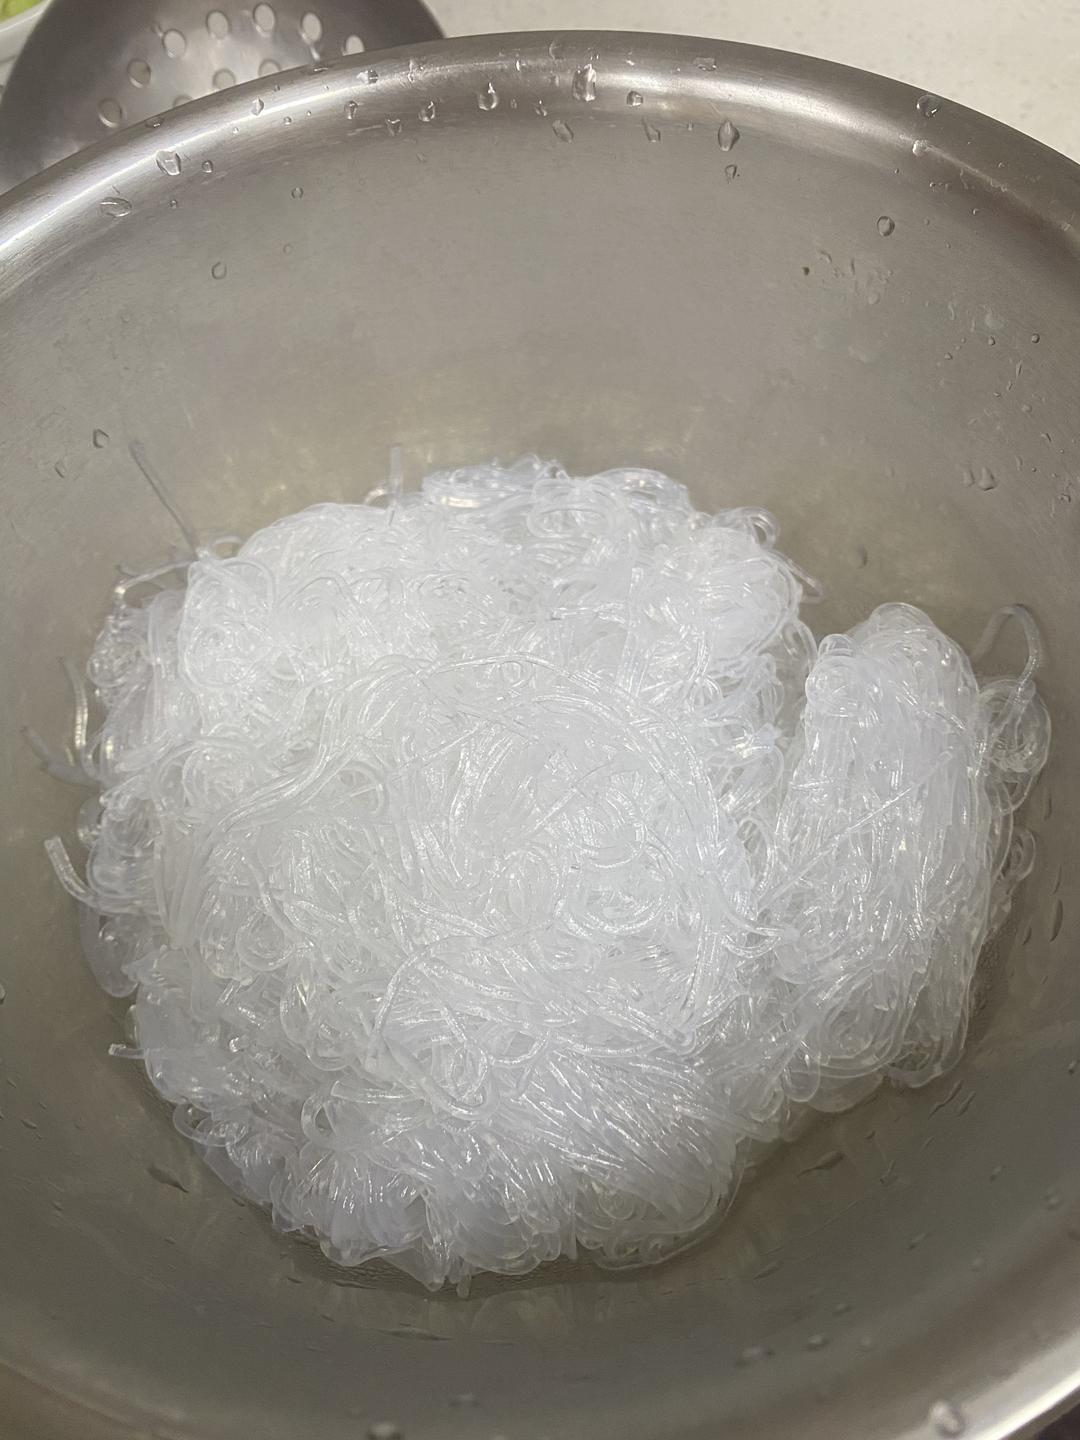
粉丝浸泡时间到啦~把水挤掉 然后冲洗干净~这是浸泡好的粉丝

步骤 10
No.41XO酱虾仁粉丝煲的做法 步骤{instruction.step+1}

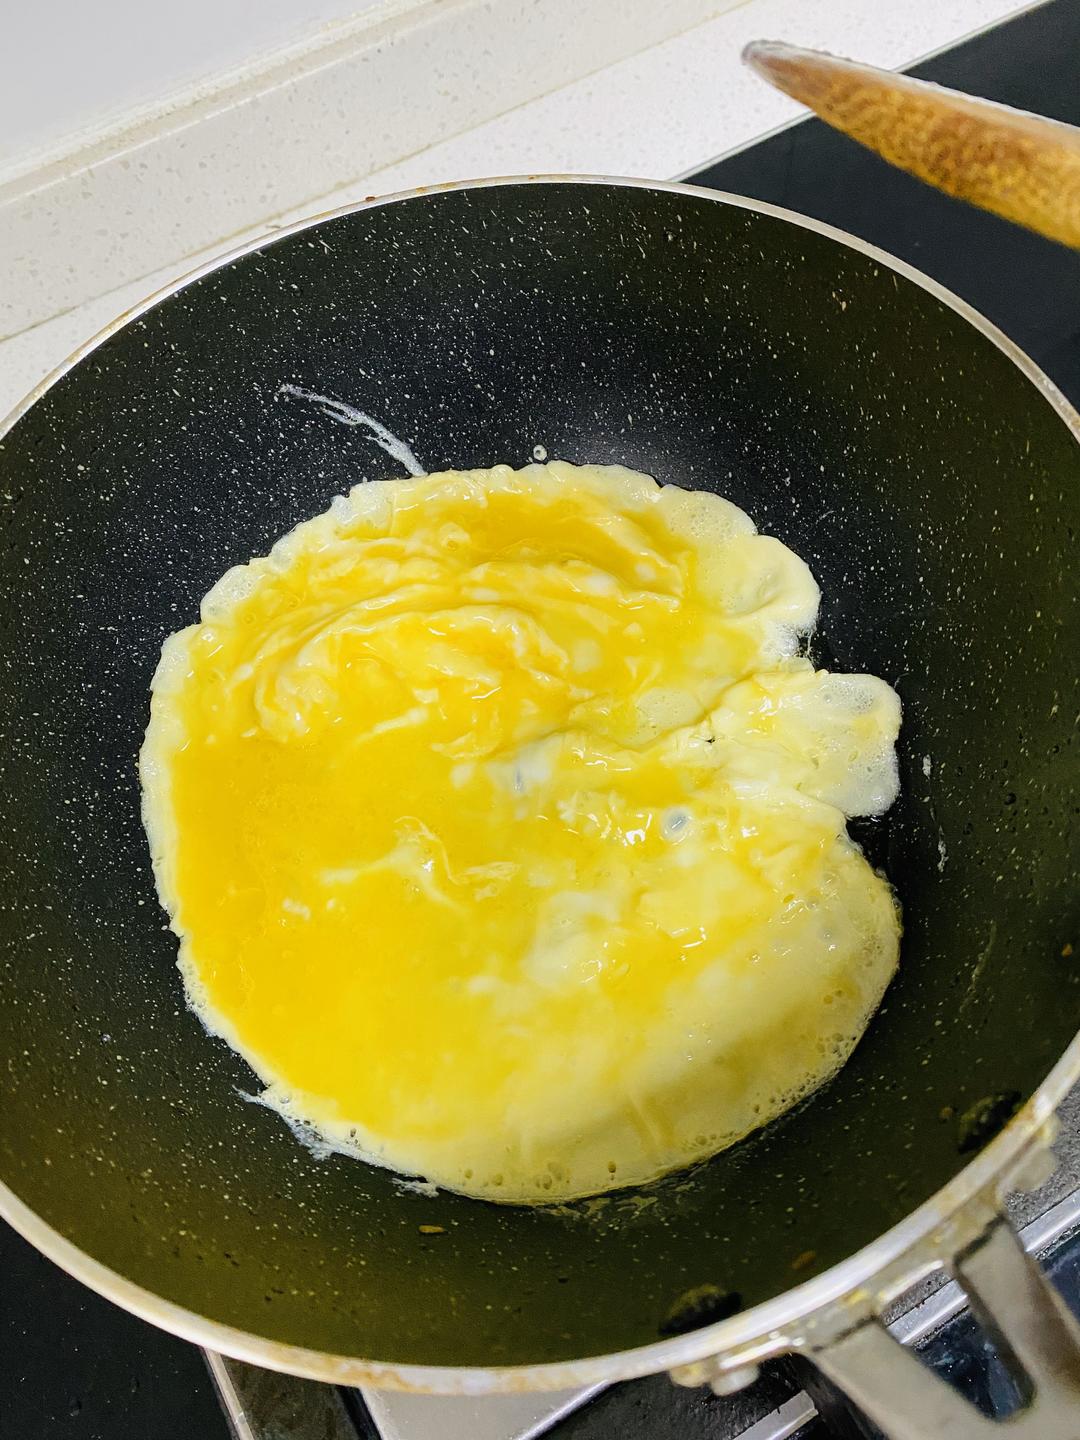
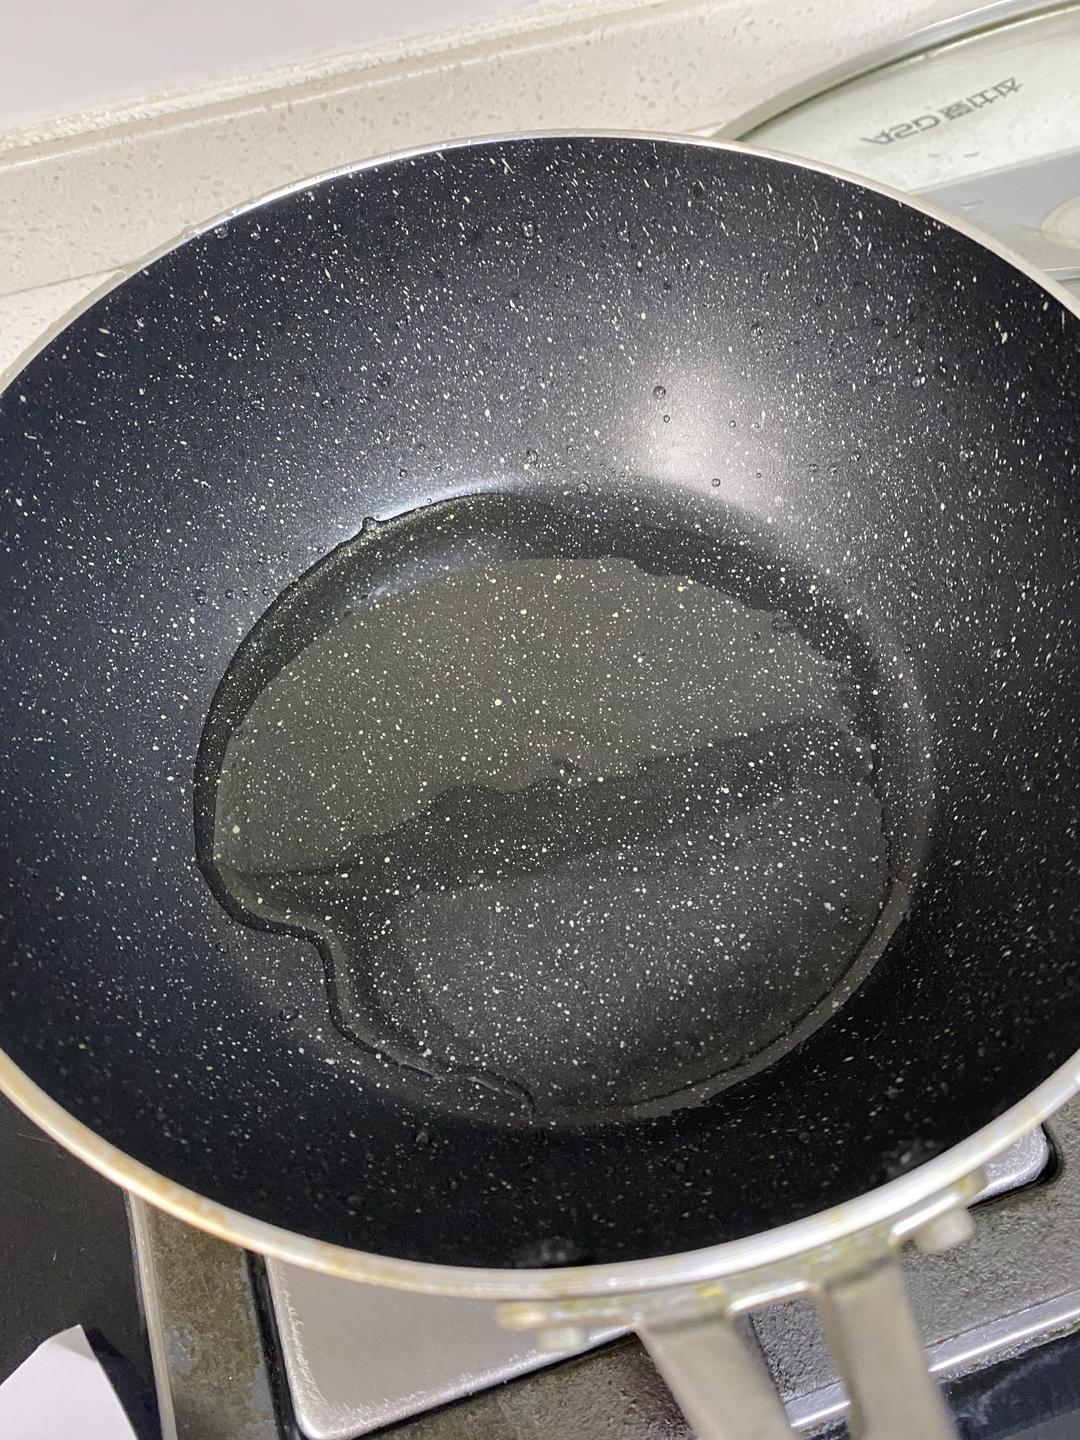
平底锅热油 等到油微微冒烟时 把蛋液再搅拌一下倒入

步骤 11
No.41XO酱虾仁粉丝煲的做法 步骤{instruction.step+1}

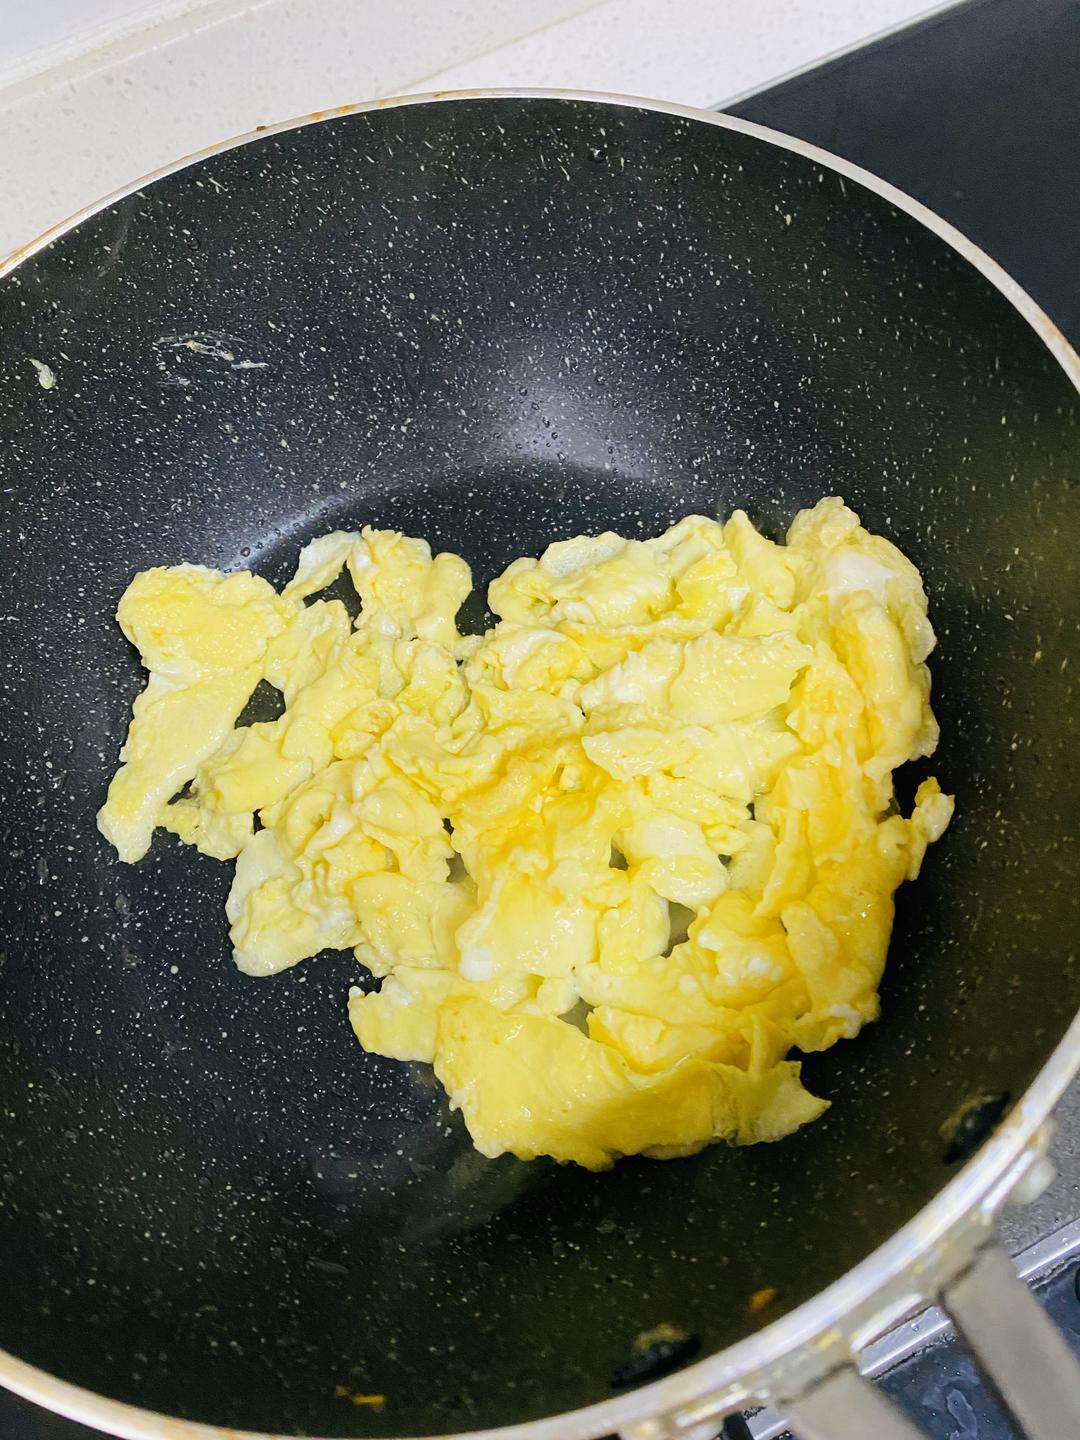
用锅铲分分碎 炒熟 盛出备用

步骤 12
No.41XO酱虾仁粉丝煲的做法 步骤{instruction.step+1}

平底锅再热油 等到油微微冒烟时

步骤 13
No.41XO酱虾仁粉丝煲的做法 步骤{instruction.step+1}

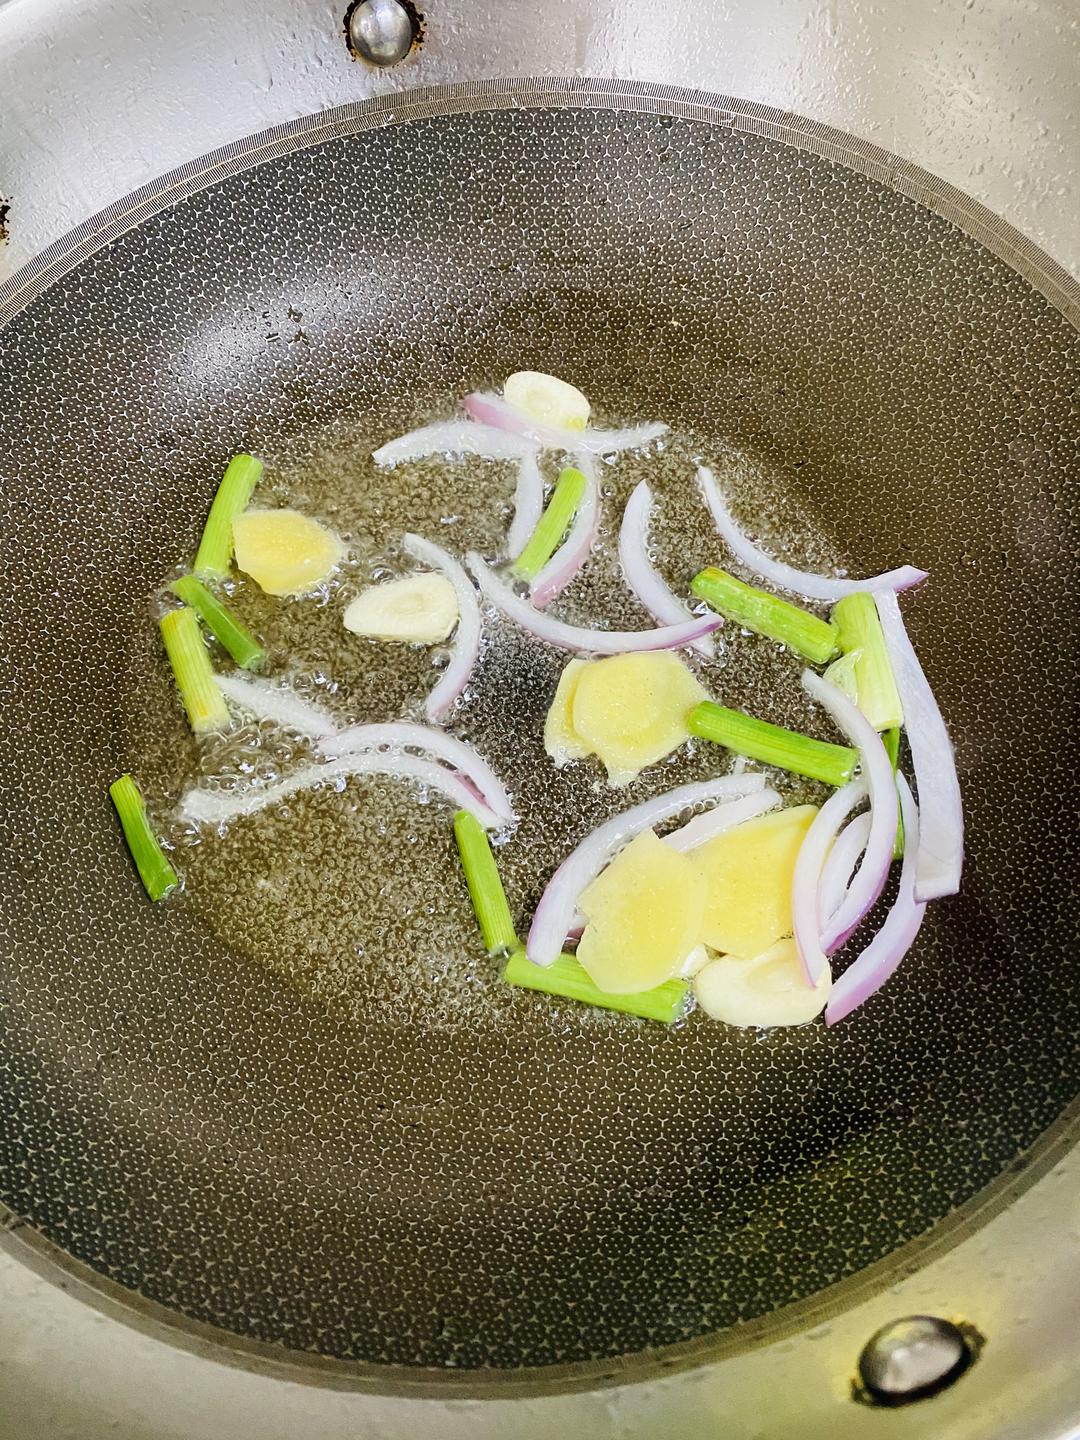
倒入大葱、老姜、之前准备15g洋葱里一半的洋葱 、蒜片 翻炒爆香1分钟

步骤 14
No.41XO酱虾仁粉丝煲的做法 步骤{instruction.step+1}

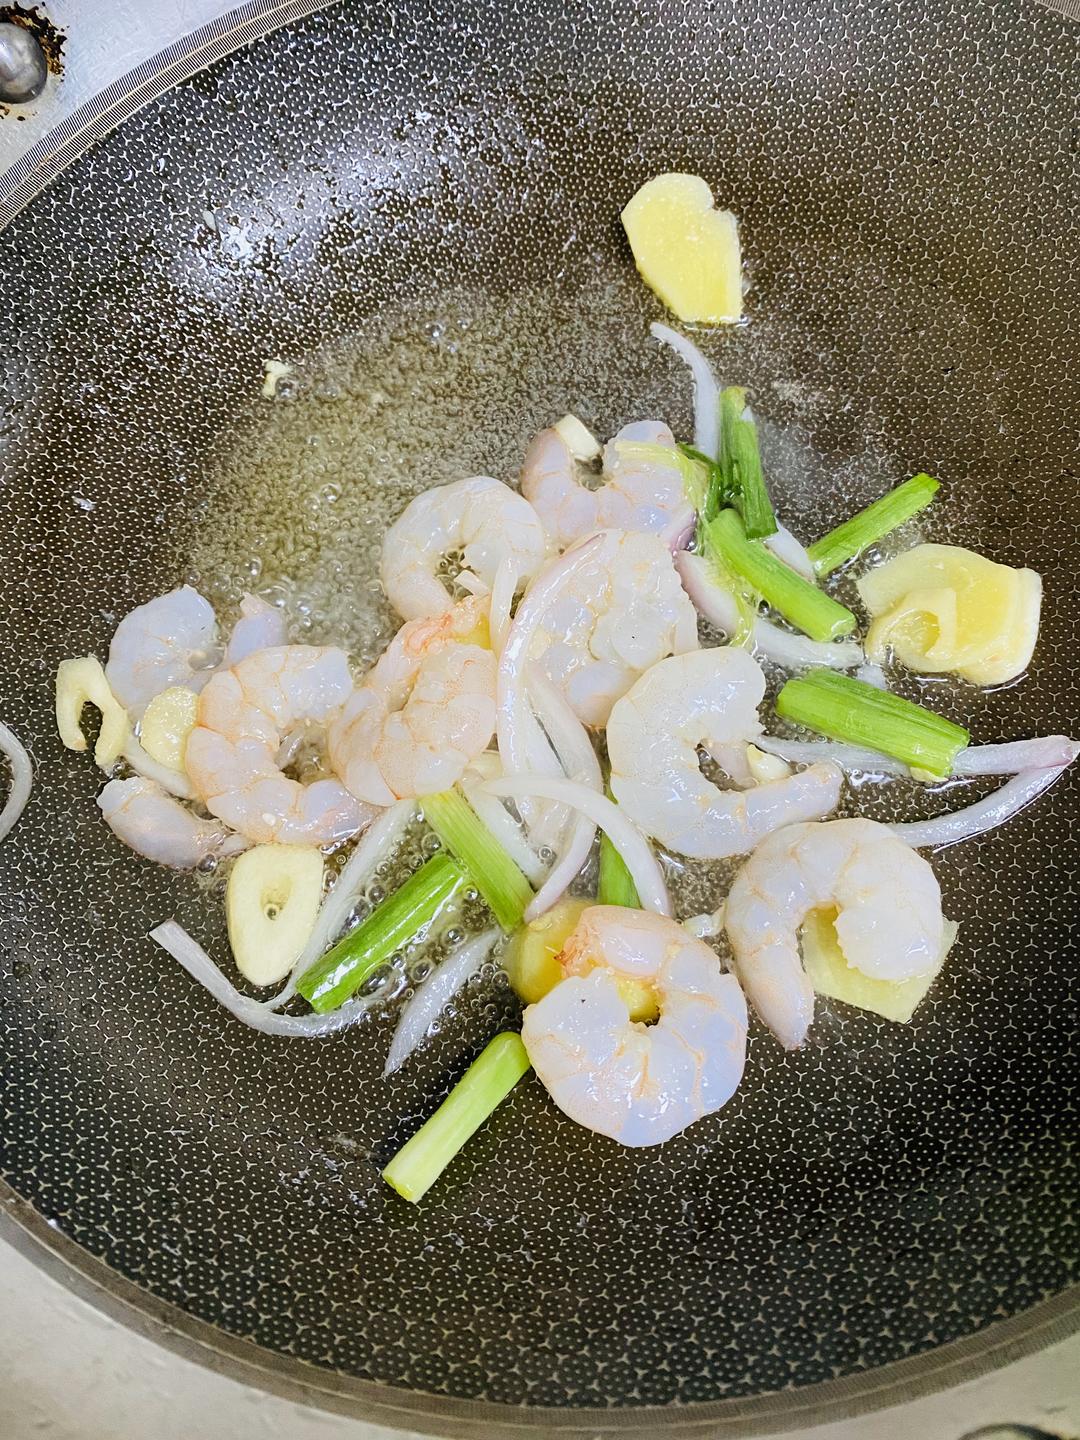
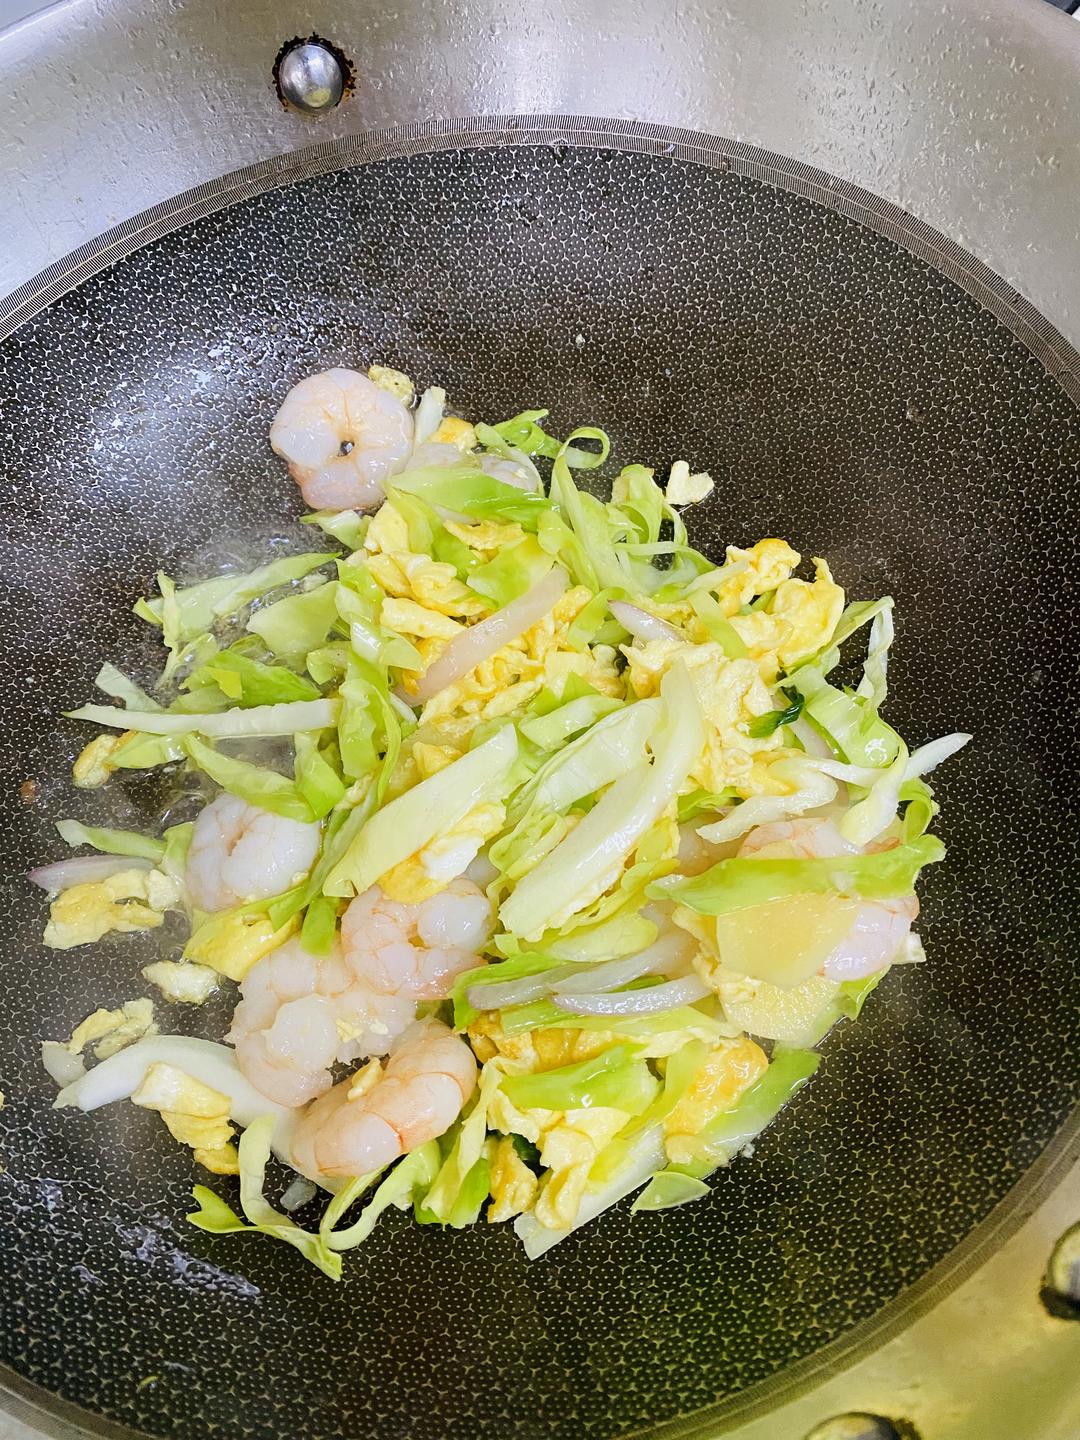
再倒入青虾仁 翻炒至虾仁上色

步骤 15
No.41XO酱虾仁粉丝煲的做法 步骤{instruction.step+1}

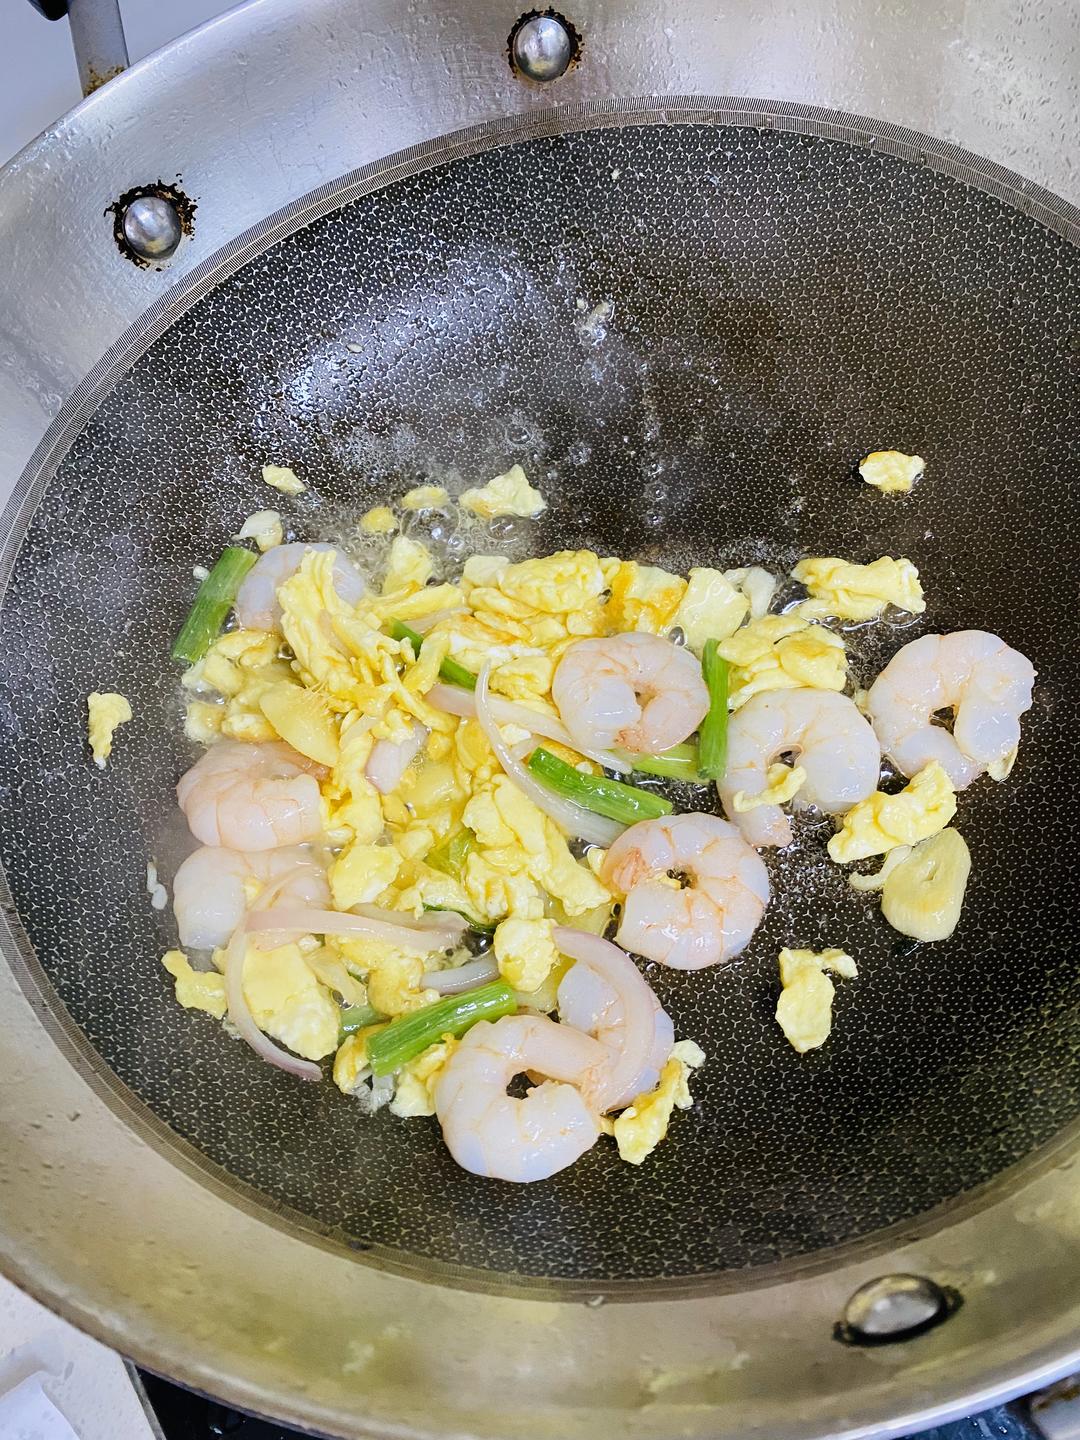
再倒入之前盛出的鸡蛋继续翻炒30秒

步骤 16
No.41XO酱虾仁粉丝煲的做法 步骤{instruction.step+1}

倒入牛心菜 翻炒2分钟

步骤 17
No.41XO酱虾仁粉丝煲的做法 步骤{instruction.step+1}

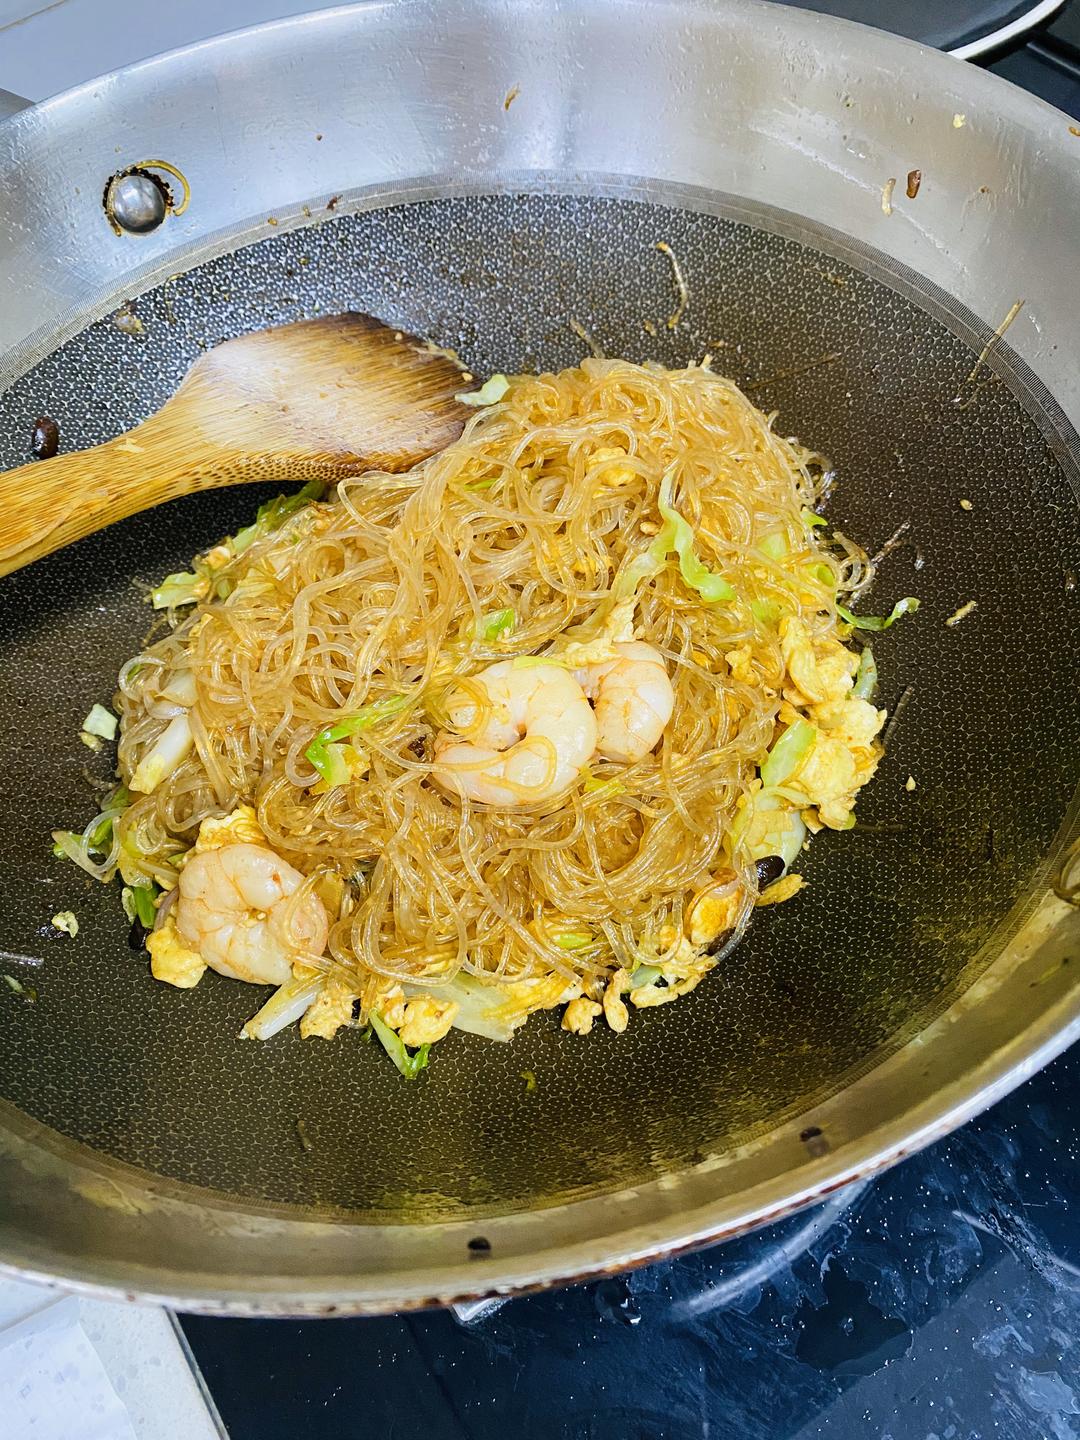
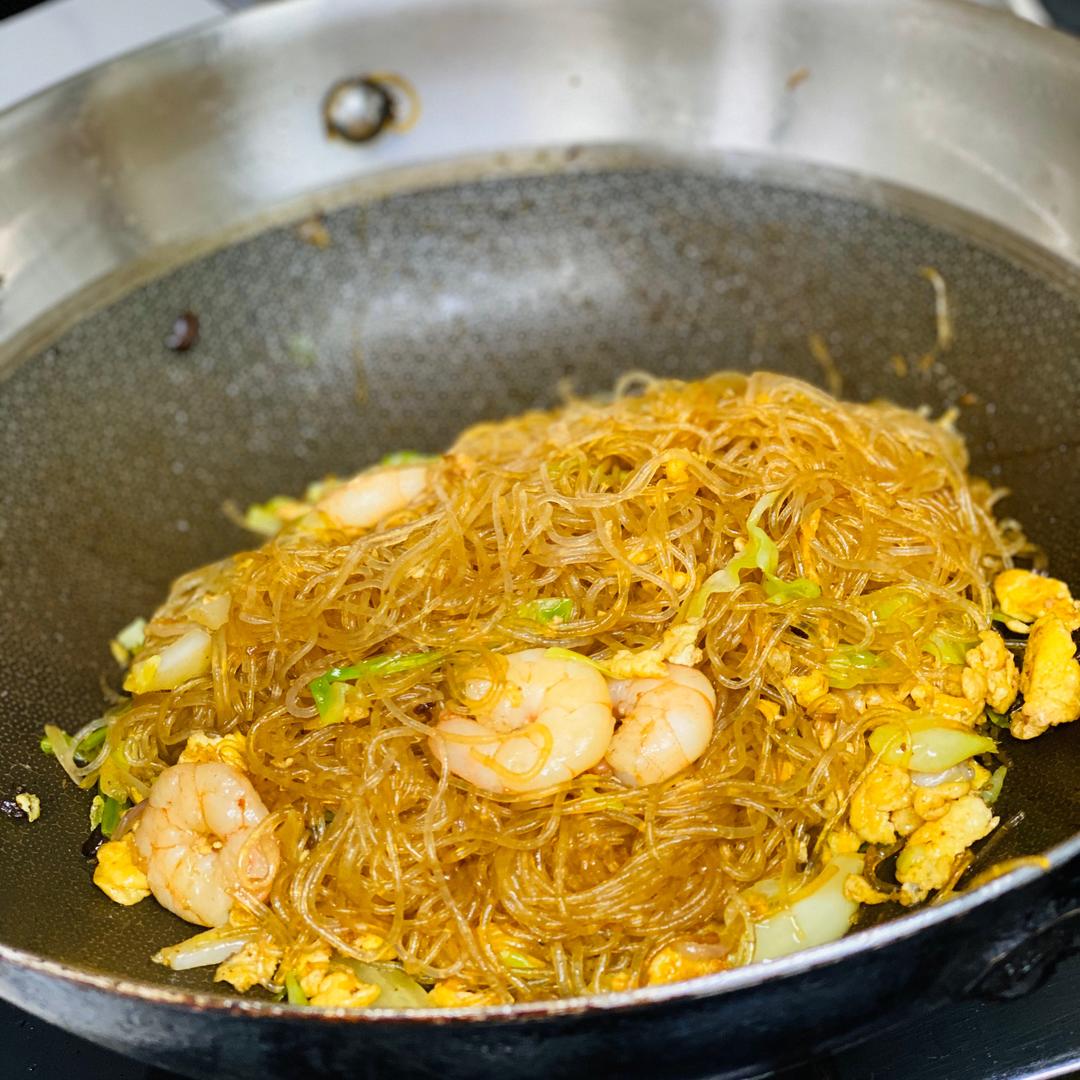
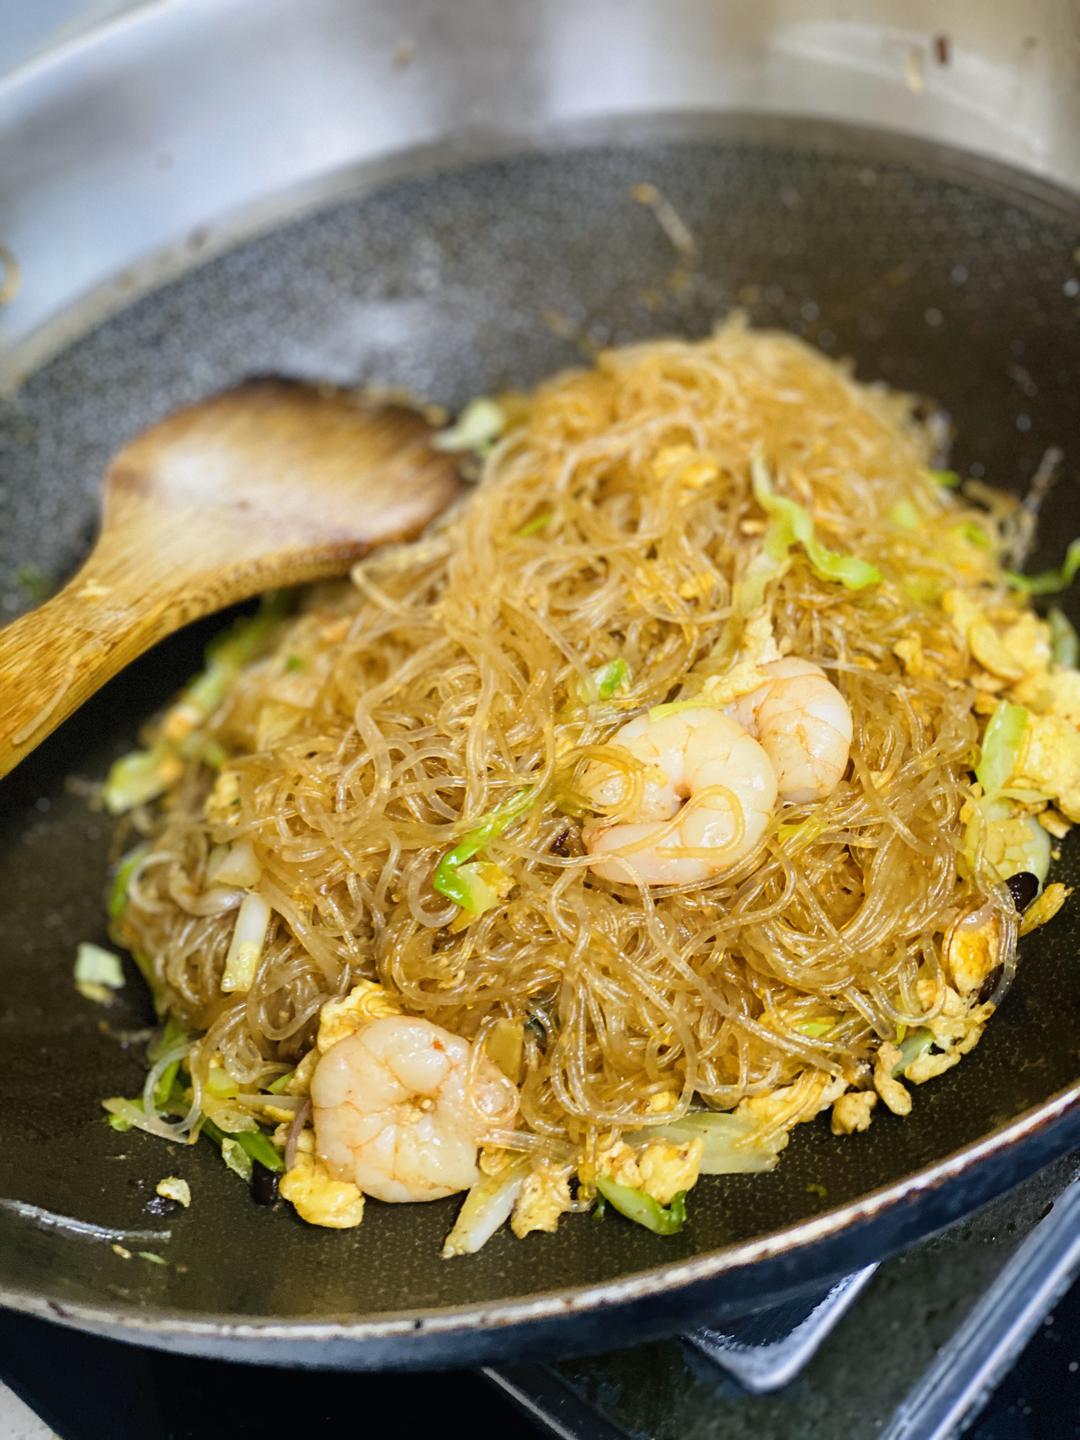
最后倒入粉丝 然后放入2勺海鲜酱、1勺豆瓣酱、1勺生抽、1勺蚝油、1勺盐 中小火翻炒5分钟
步骤 18
No.41XO酱虾仁粉丝煲的做法 步骤{instruction.step+1}

炒的过程中要不停翻拌以防粘锅

步骤 19
No.41XO酱虾仁粉丝煲的做法 步骤{instruction.step+1}

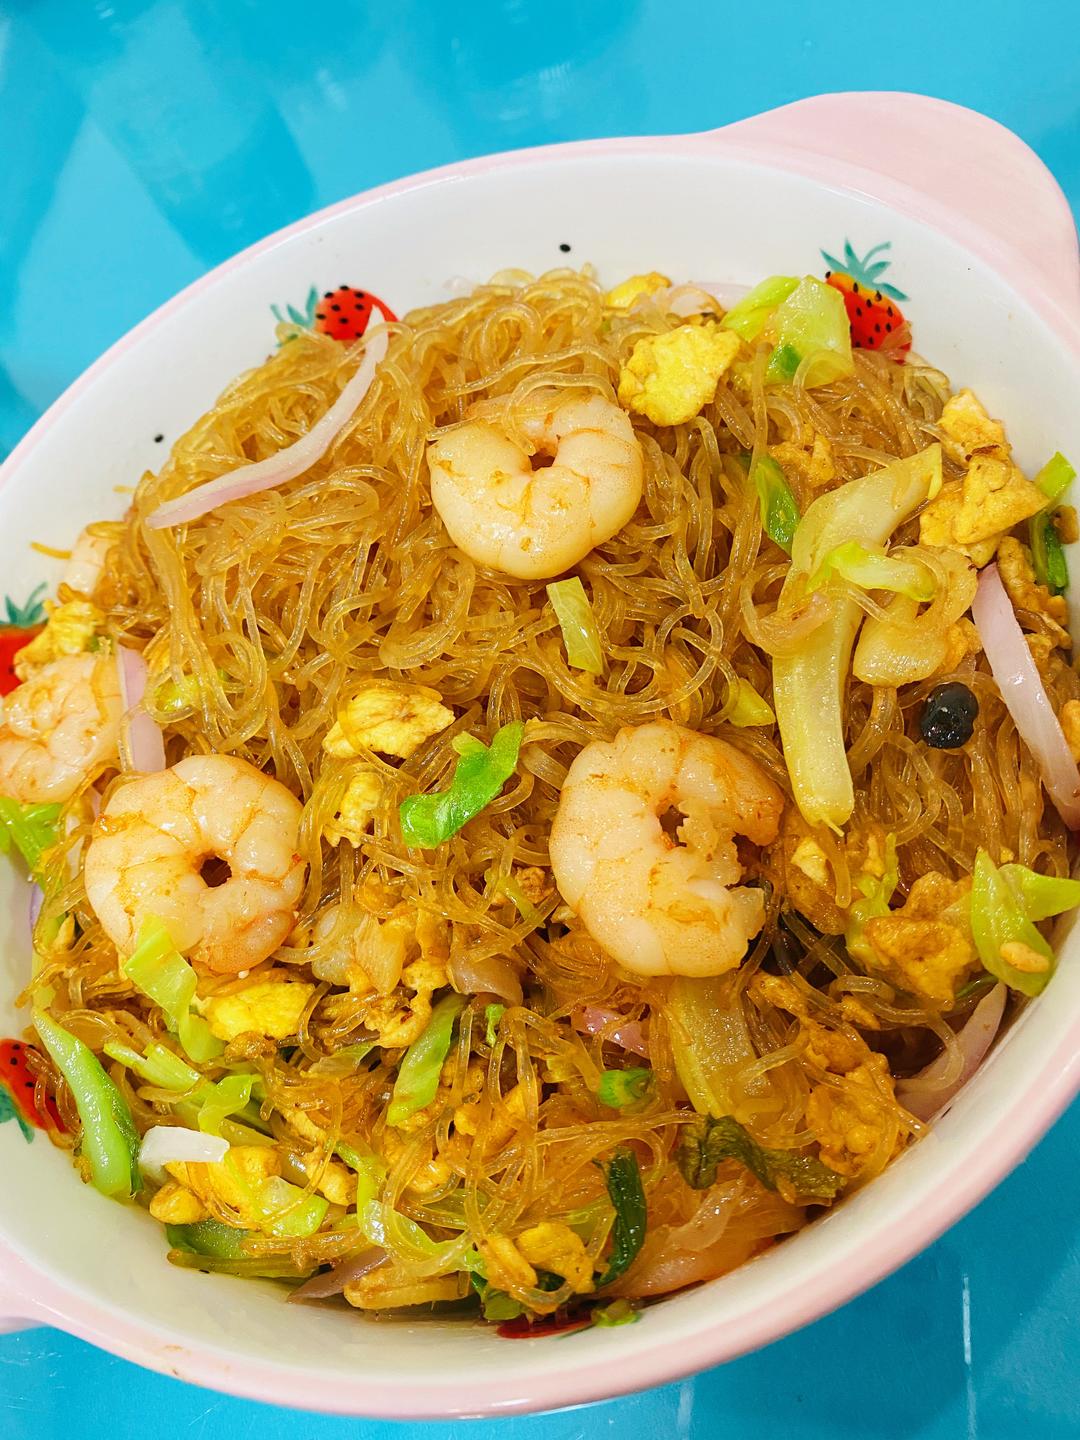
再放入剩余一半的洋葱丝儿和切好的小葱继续翻炒1分钟 出锅

步骤 20
No.41XO酱虾仁粉丝煲的做法 步骤{instruction.step+1}

极致入味~

步骤 21
No.41XO酱虾仁粉丝煲的做法 步骤{instruction.step+1}

一家三口👨‍👩‍👦全部都消灭光了 最主要女儿爱吃~

菜谱创建时间:2020-04-10 19:04:40