
宫廷桃酥(花生油版)

宫廷桃酥(花生油版)

1.7万人浏览 1647人收藏 23人做过
作者:沙格豆
沙格豆
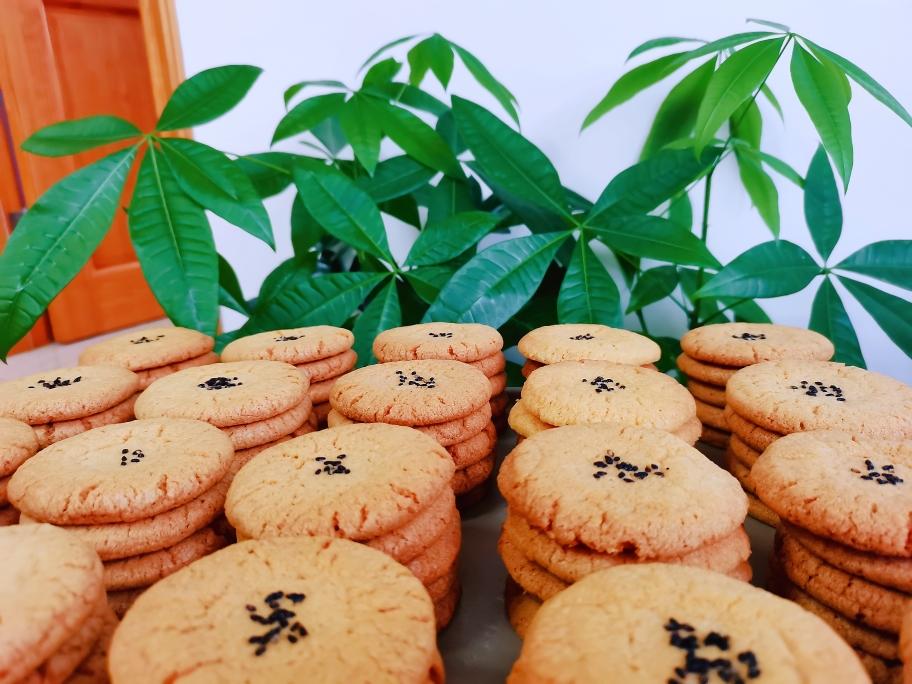
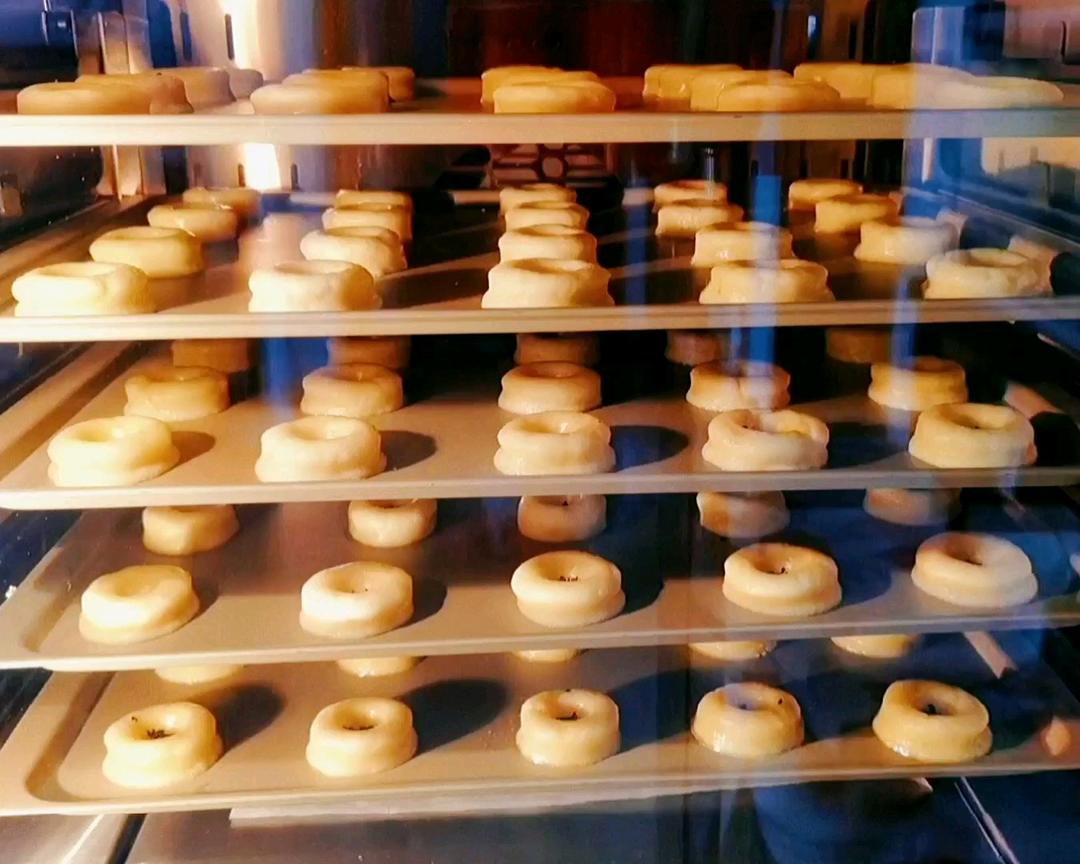
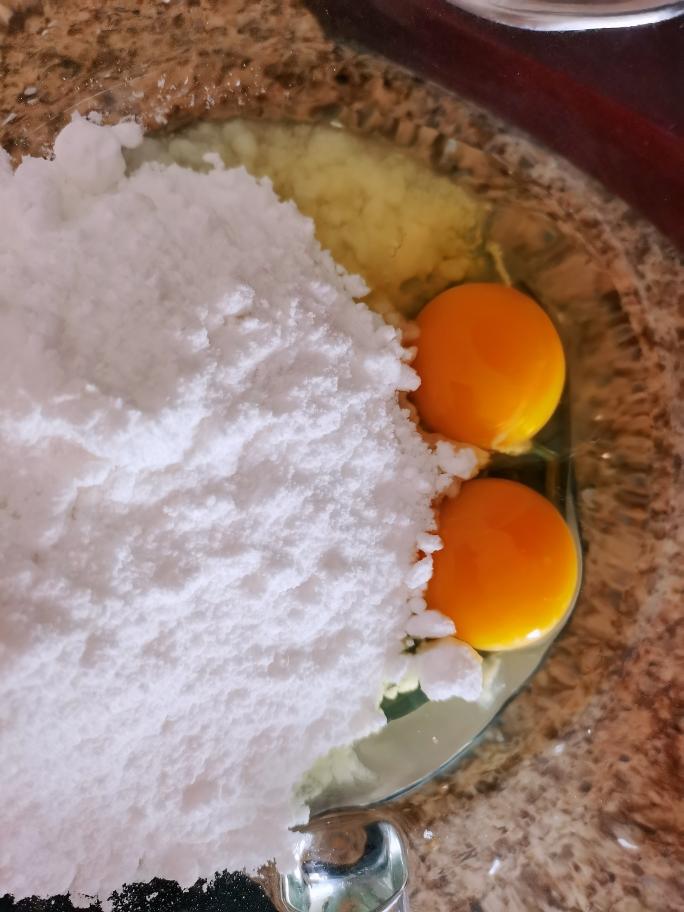
记录下花生油版桃酥方子,方便批量生产🤓高比克风炉60s五盘的量😃

用料

宫廷桃酥(花生油版)的做法步骤

步骤 1
宫廷桃酥(花生油版)的做法 步骤{instruction.step+1}

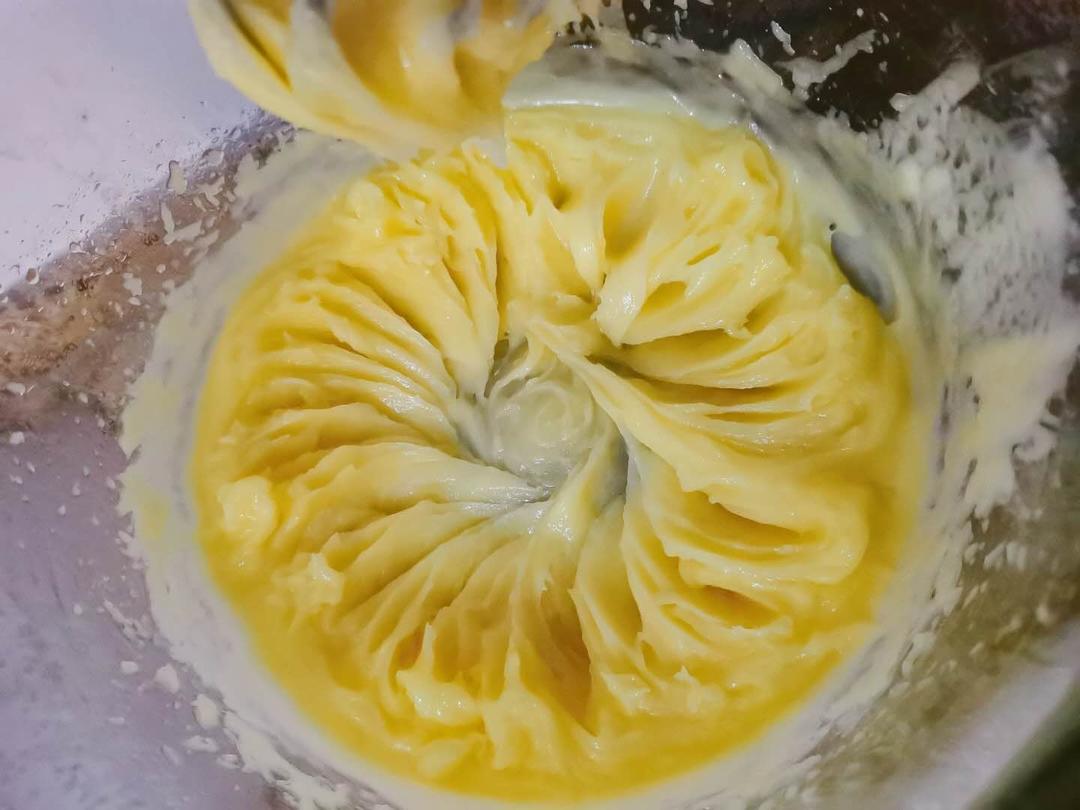
鸡蛋,糖粉,泡打粉,小苏打放入盆中,用电动打蛋器或厨师机搅打均匀。
步骤 2
宫廷桃酥(花生油版)的做法 步骤{instruction.step+1}

将花生油少量多次加入,打成猪油状。

步骤 3
宫廷桃酥(花生油版)的做法 步骤{instruction.step+1}

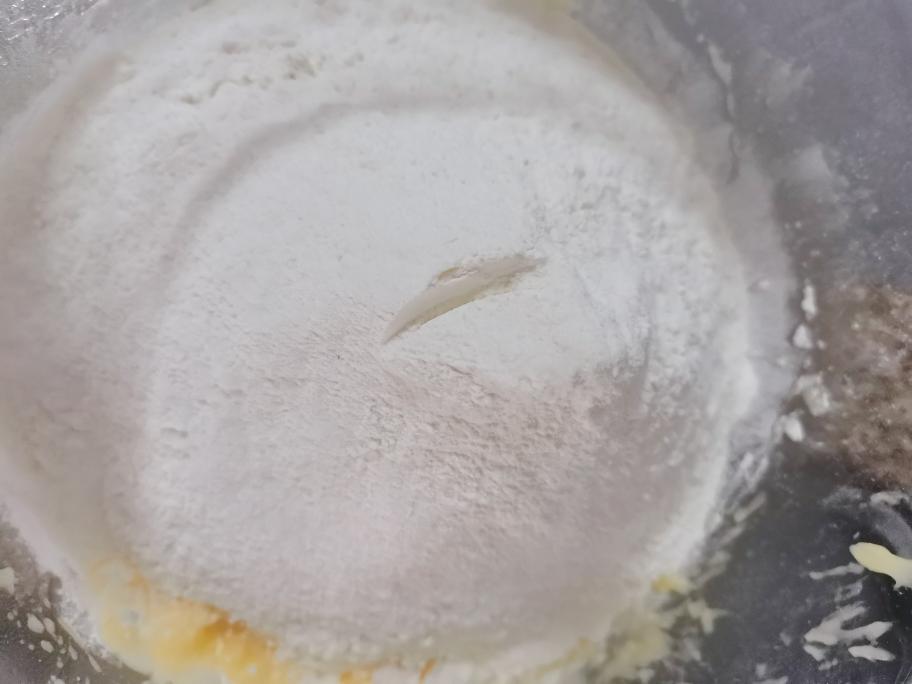
加入中粉。用压或抓的方法,将面团混合均匀。

步骤 4
宫廷桃酥(花生油版)的做法 步骤{instruction.step+1}

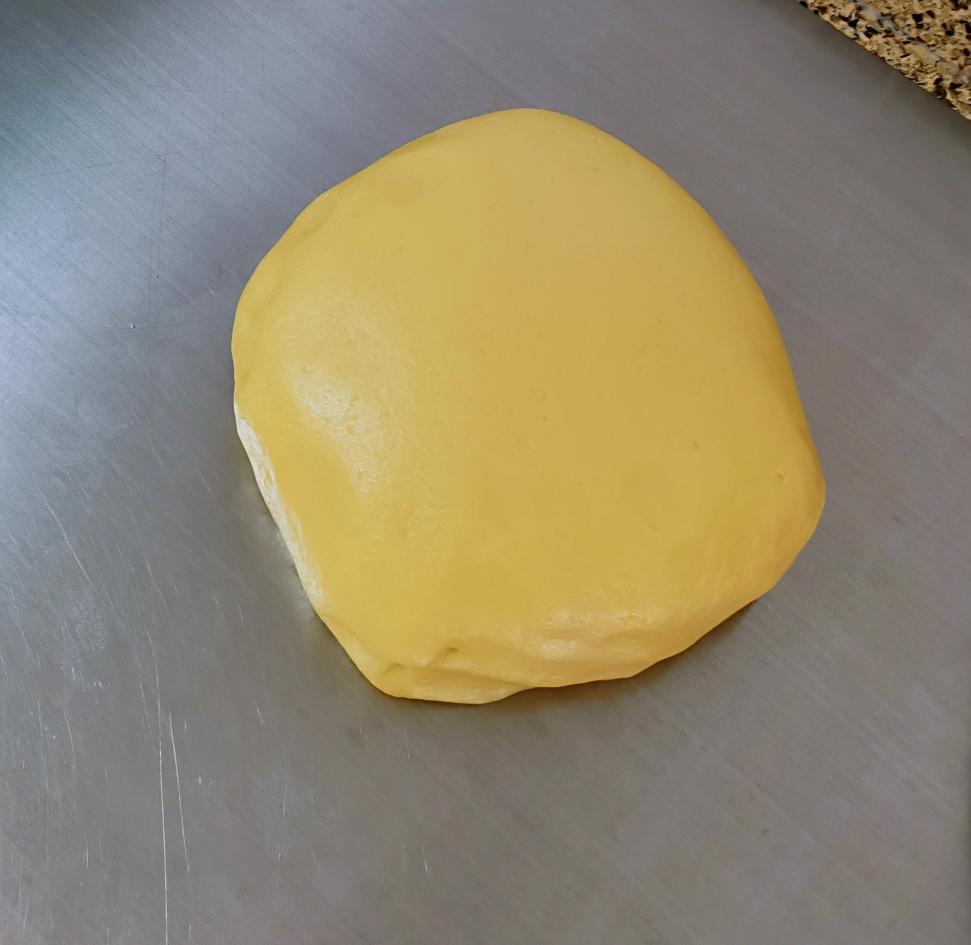
混合均匀的面团。

步骤 5
宫廷桃酥(花生油版)的做法 步骤{instruction.step+1}

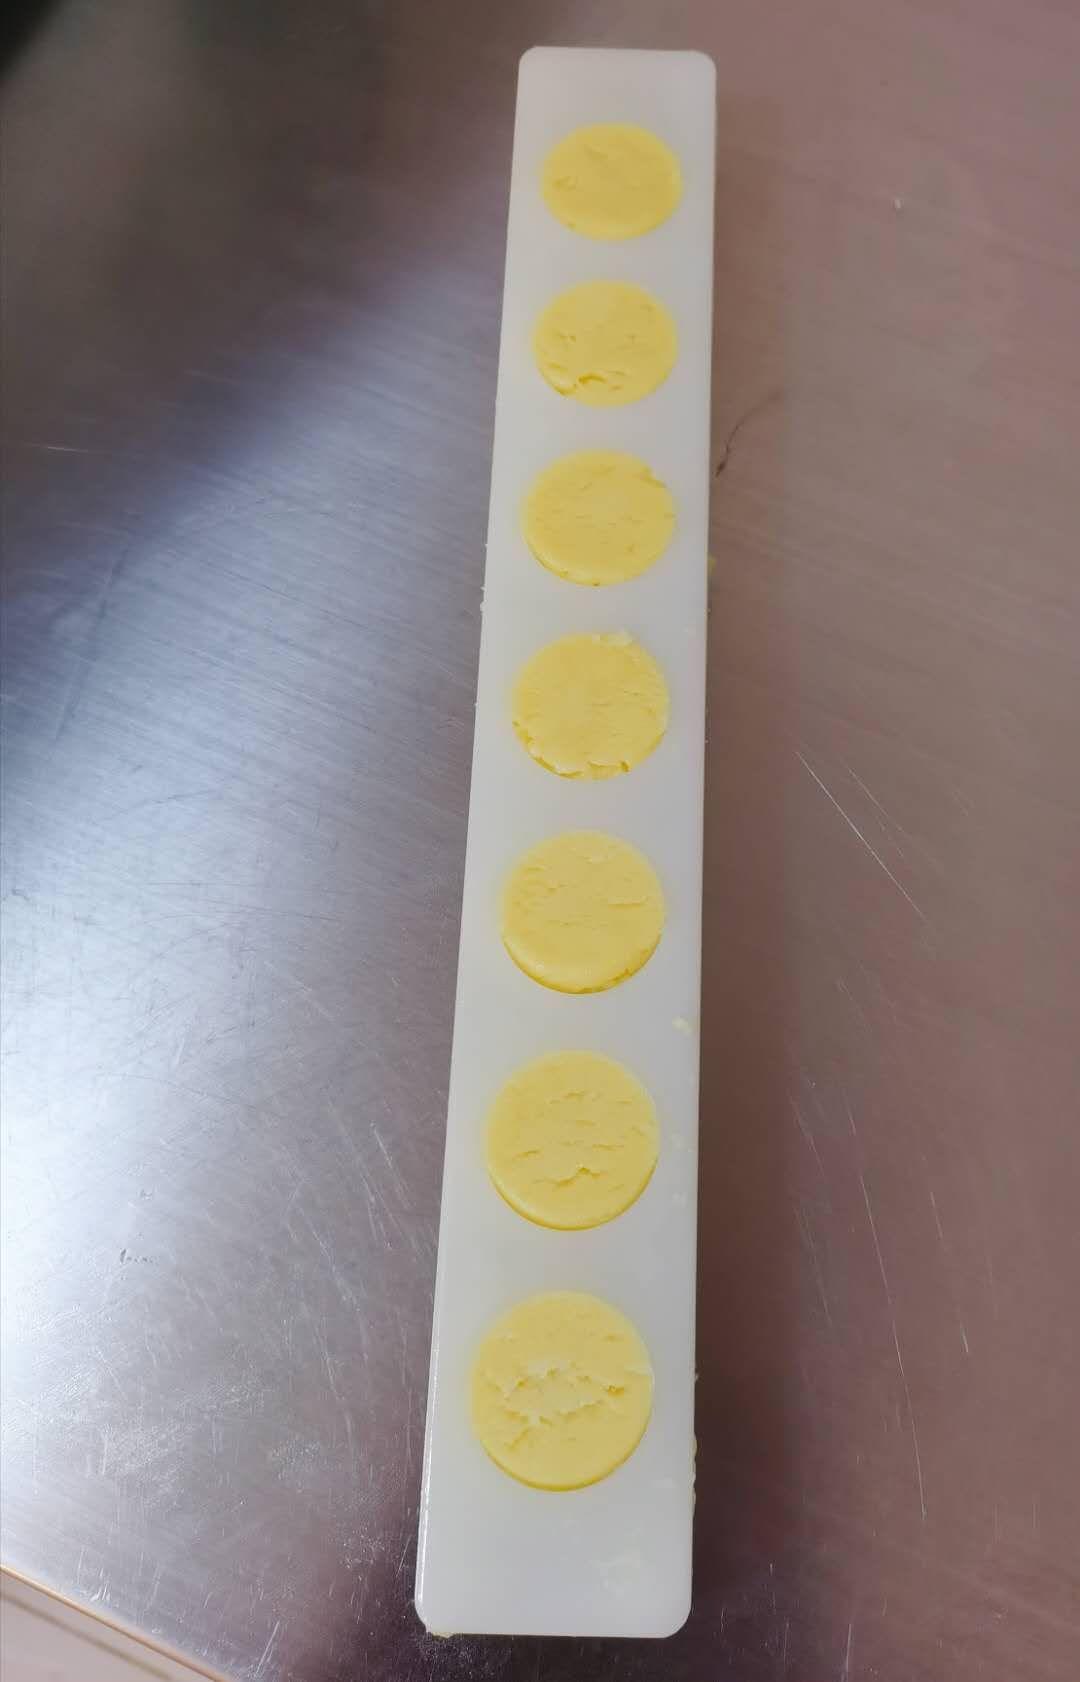
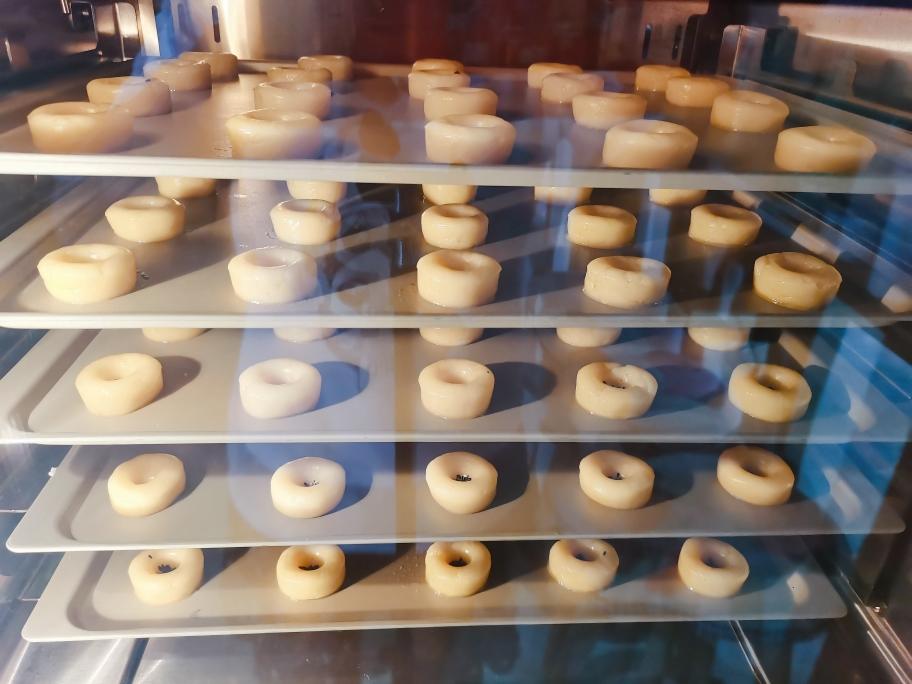
上模具,大约15--17克一个。

步骤 6
宫廷桃酥(花生油版)的做法 步骤{instruction.step+1}

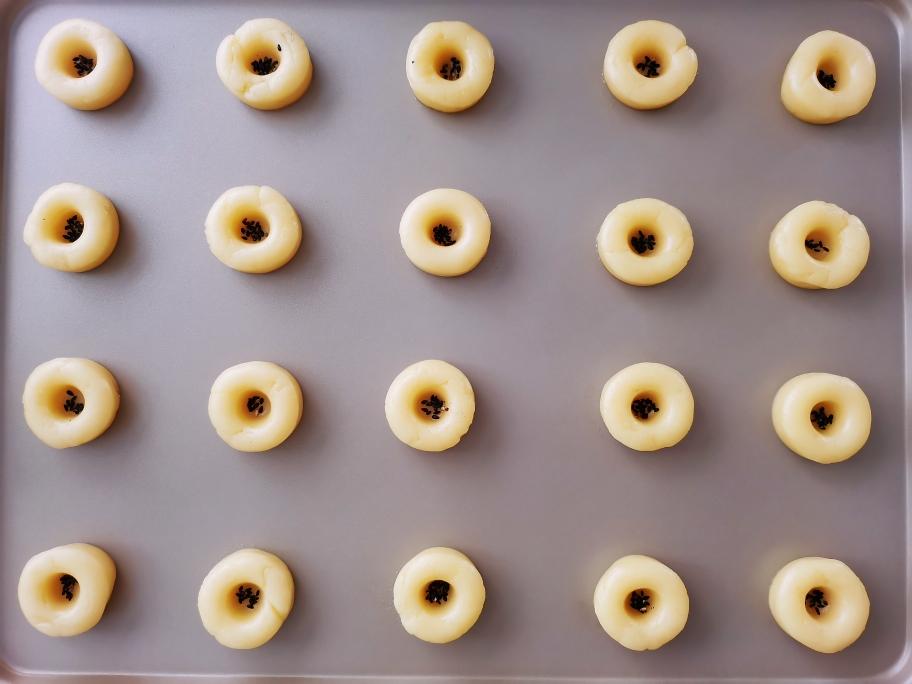
中心撒几粒黑芝麻。

步骤 7
宫廷桃酥(花生油版)的做法 步骤{instruction.step+1}

风炉200度预热十分钟。

步骤 8
宫廷桃酥(花生油版)的做法 步骤{instruction.step+1}

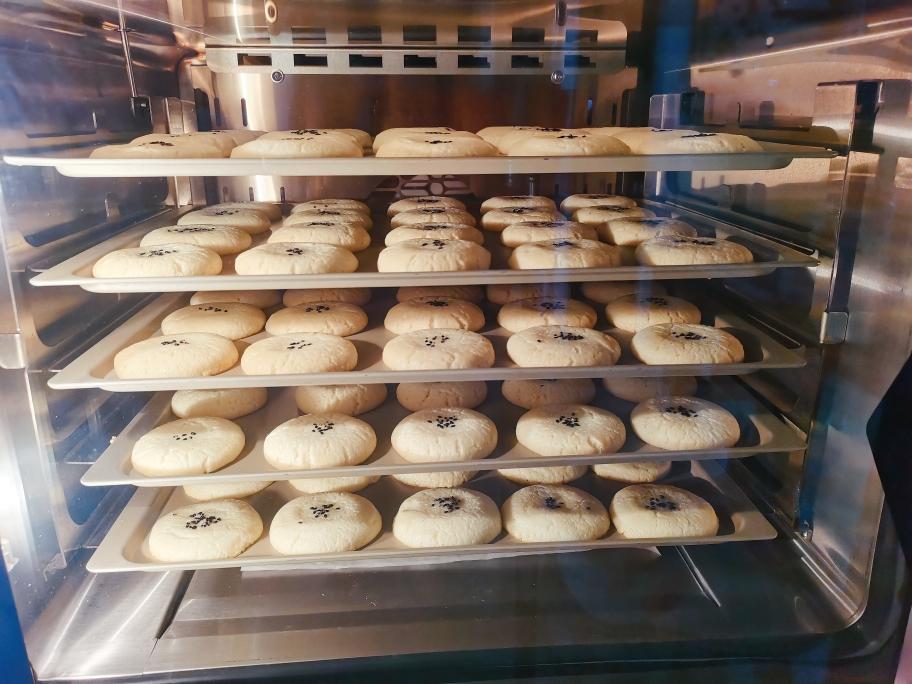
180度23分钟烘烤,高比克风炉风速设置16级。

步骤 9
宫廷桃酥(花生油版)的做法 步骤{instruction.step+1}

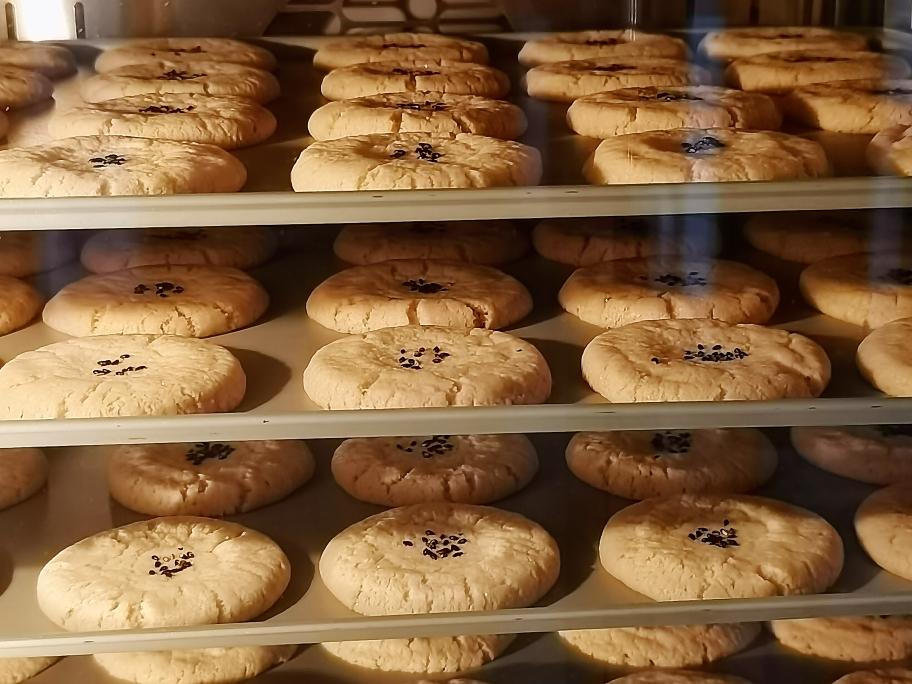
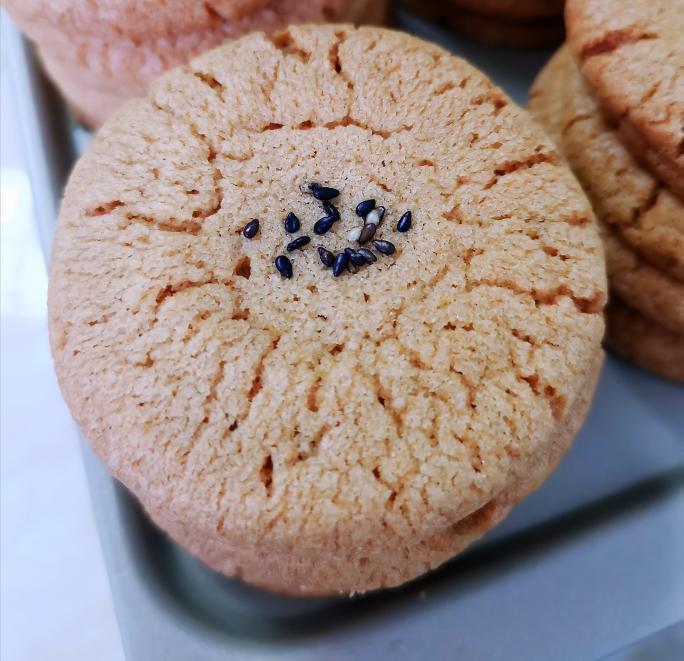
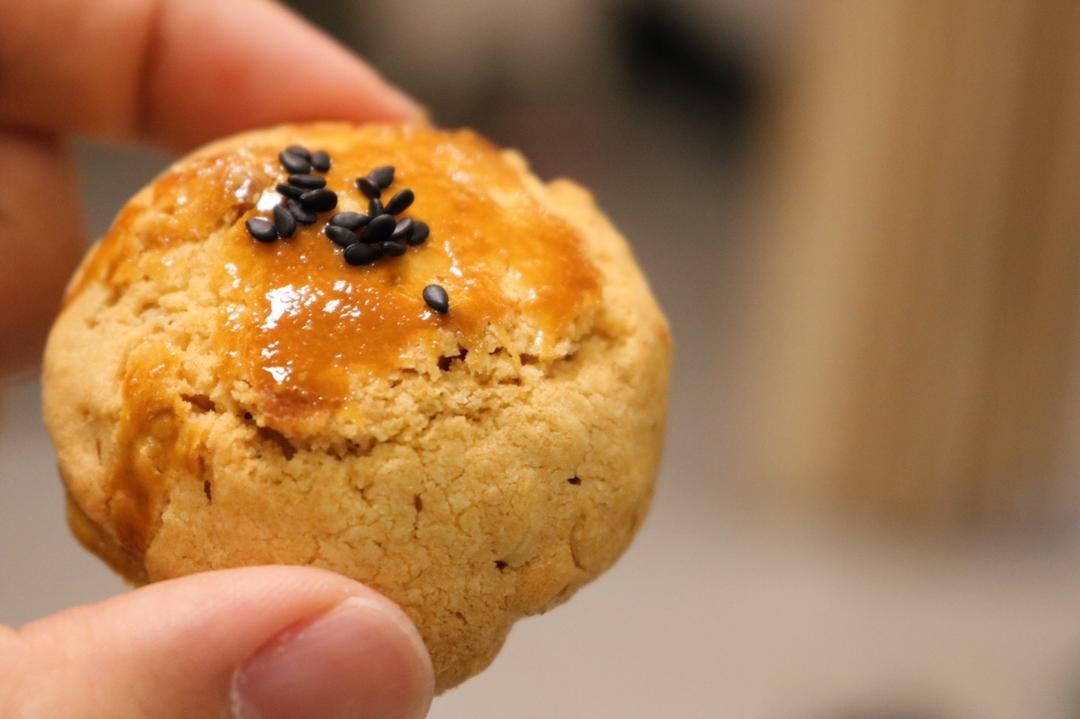
灰常棒滴裂纹🤓

步骤 10
宫廷桃酥(花生油版)的做法 步骤{instruction.step+1}

出炉。

步骤 11
宫廷桃酥(花生油版)的做法 步骤{instruction.step+1}

美拍下😂

步骤 12
宫廷桃酥(花生油版)的做法 步骤{instruction.step+1}

近镜头。

步骤 13
宫廷桃酥(花生油版)的做法 步骤{instruction.step+1}

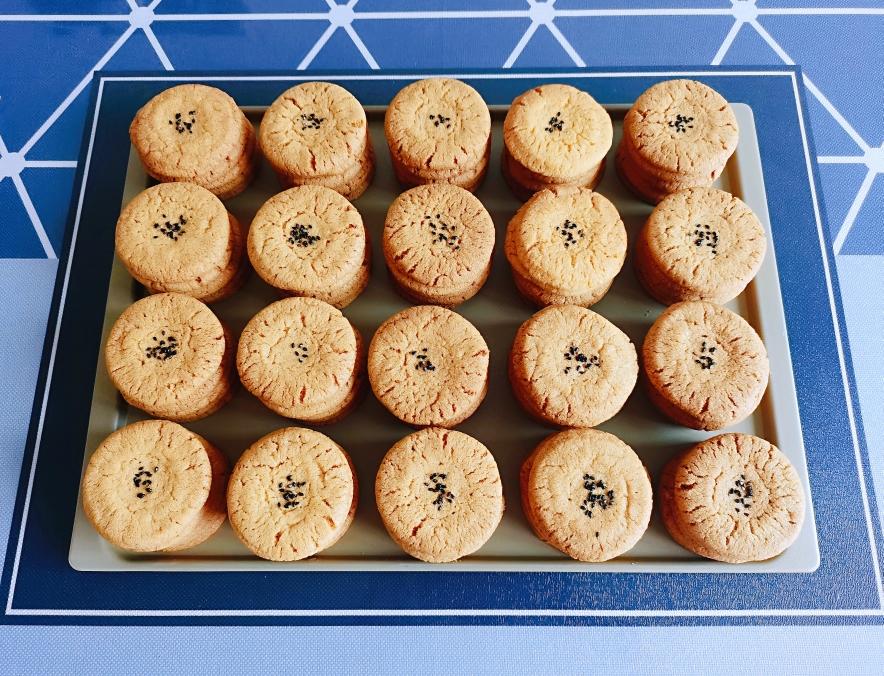
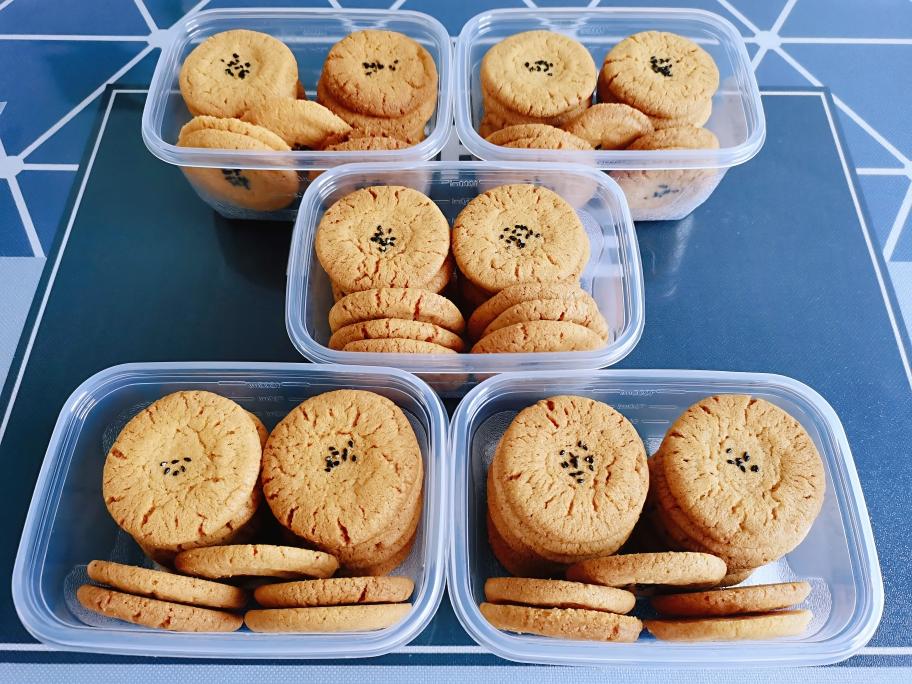
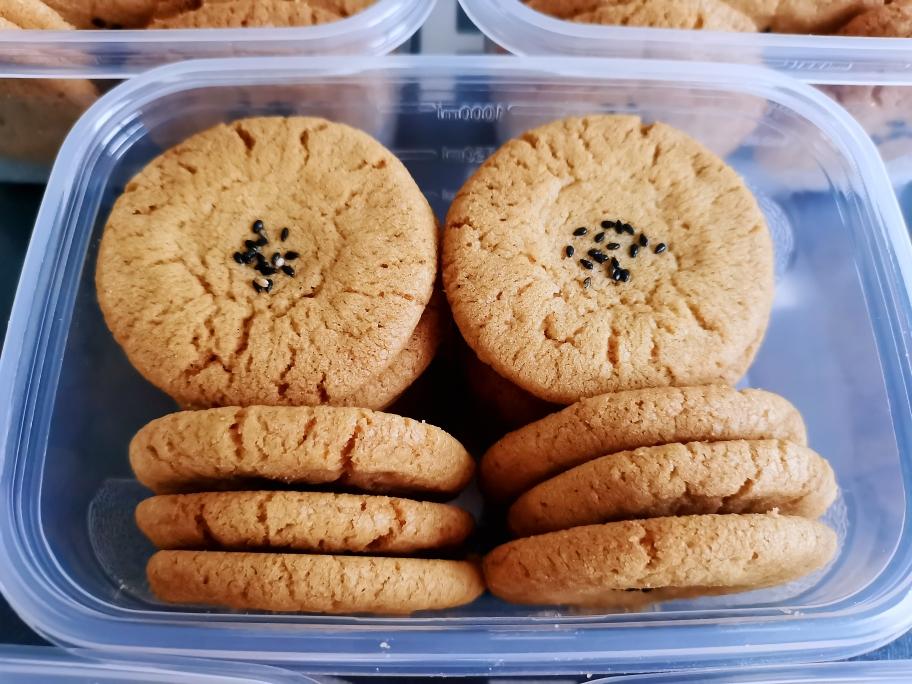
打包。

步骤 14
宫廷桃酥(花生油版)的做法 步骤{instruction.step+1}

酥滴掉渣渣😍

菜谱创建时间:2021-07-30 19:52:39