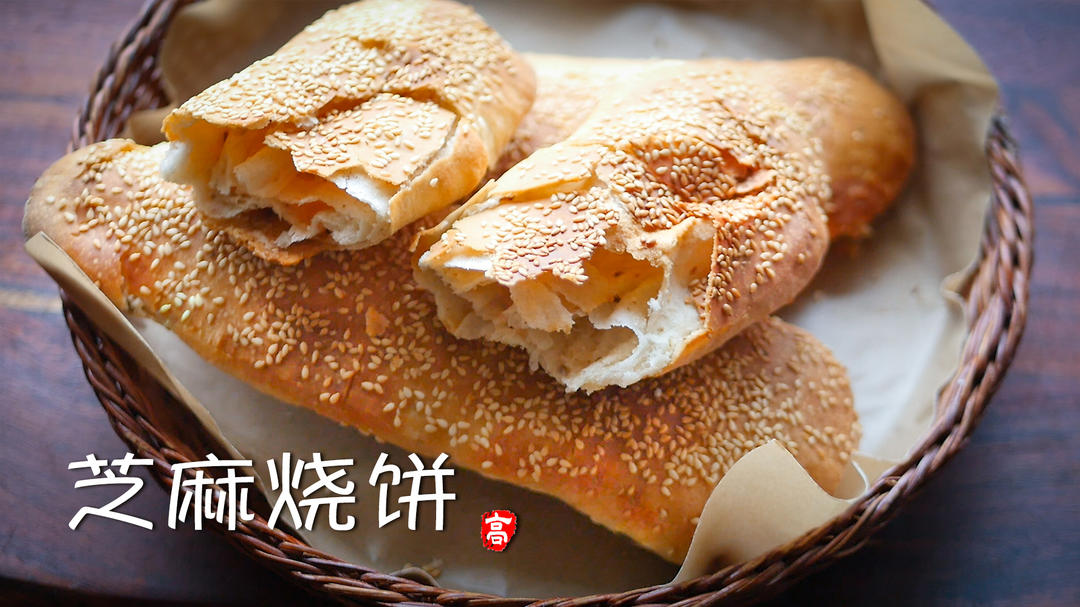
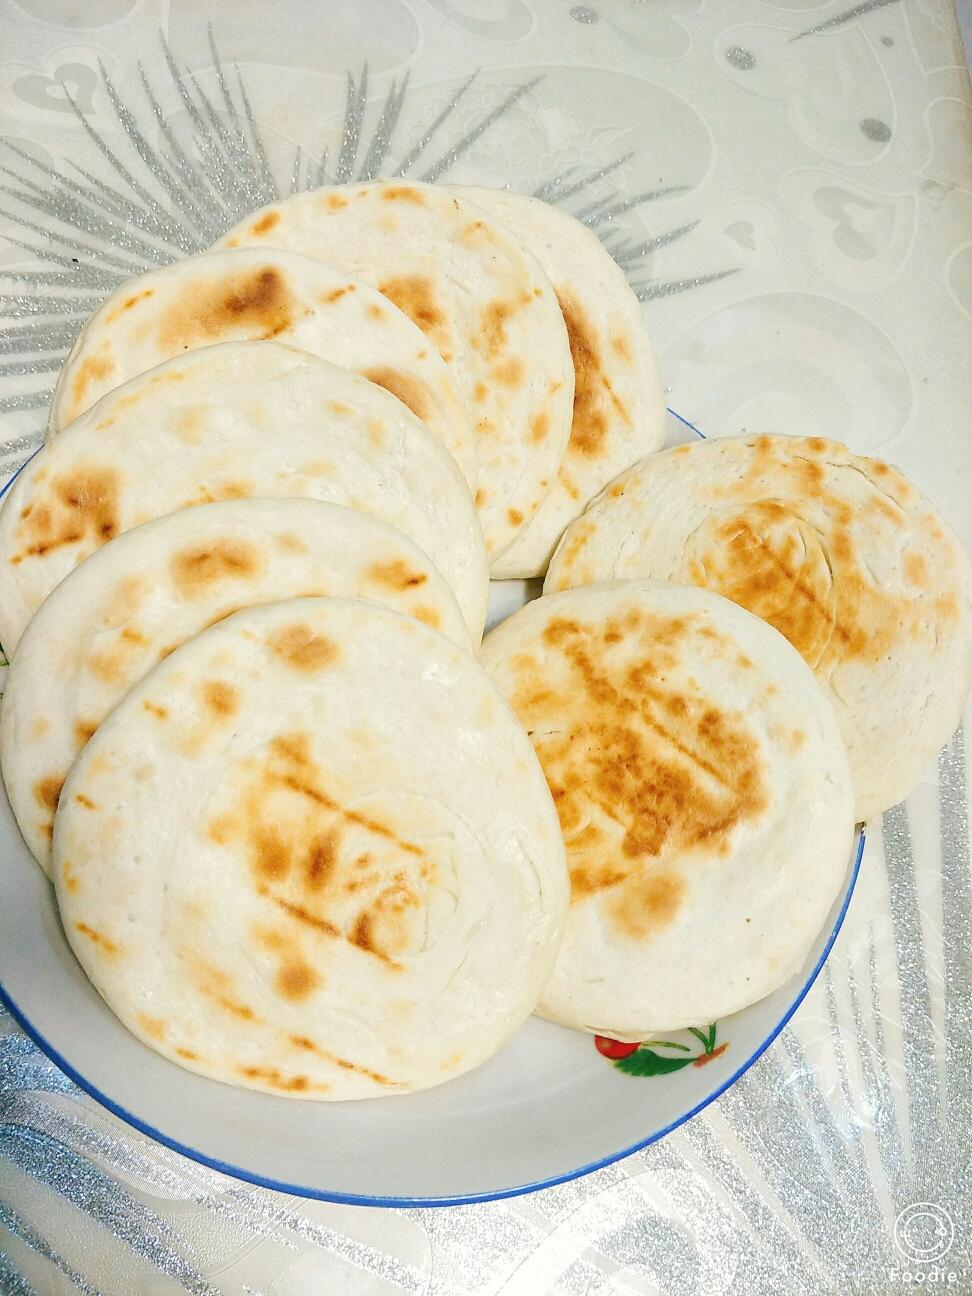

馍夹鸡蛋@肉夹馍饼→电饼铛版

馍夹鸡蛋@肉夹馍饼→电饼铛版

1.7万人浏览 837人收藏 10人做过
作者:幽里幽果
幽里幽果
今天起的早想吃肉夹馍,没有肉肉就做夹鸡蛋吧😄这个馍馍夹带汤汁的更好吃可以很好的让馍馍吸收汤汁,趁热吃外焦里软😁想吃快手早餐可以头天和好面,盖保鲜膜放冰箱,第二天直接做就可以了😋

用料

馍夹鸡蛋@肉夹馍饼→电饼铛版的做法步骤

步骤 1
馍夹鸡蛋@肉夹馍饼→电饼铛版的做法 步骤{instruction.step+1}

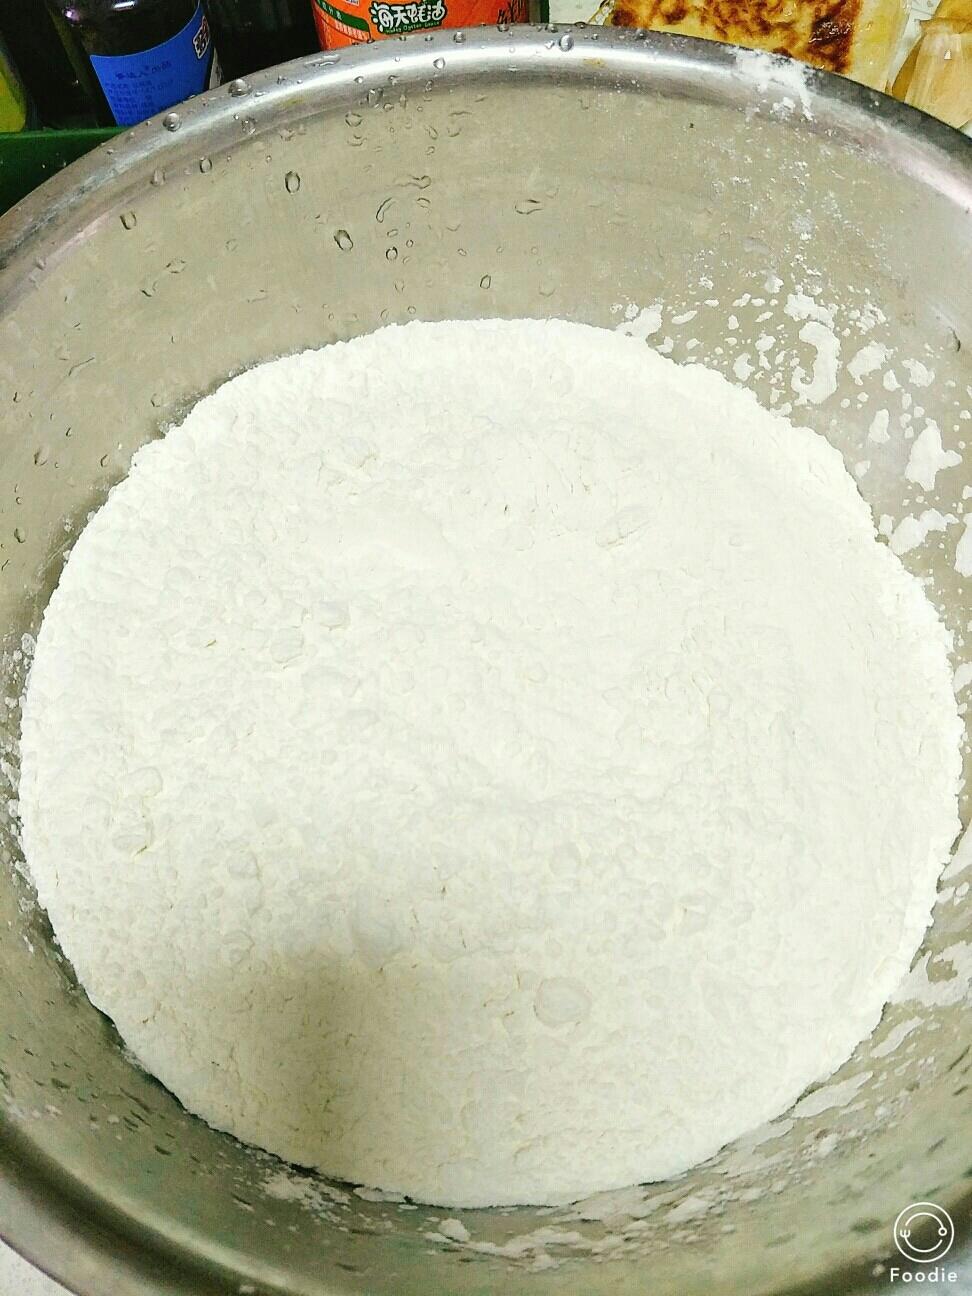
盆中放入面粉300克,白糖10克

步骤 2
馍夹鸡蛋@肉夹馍饼→电饼铛版的做法 步骤{instruction.step+1}

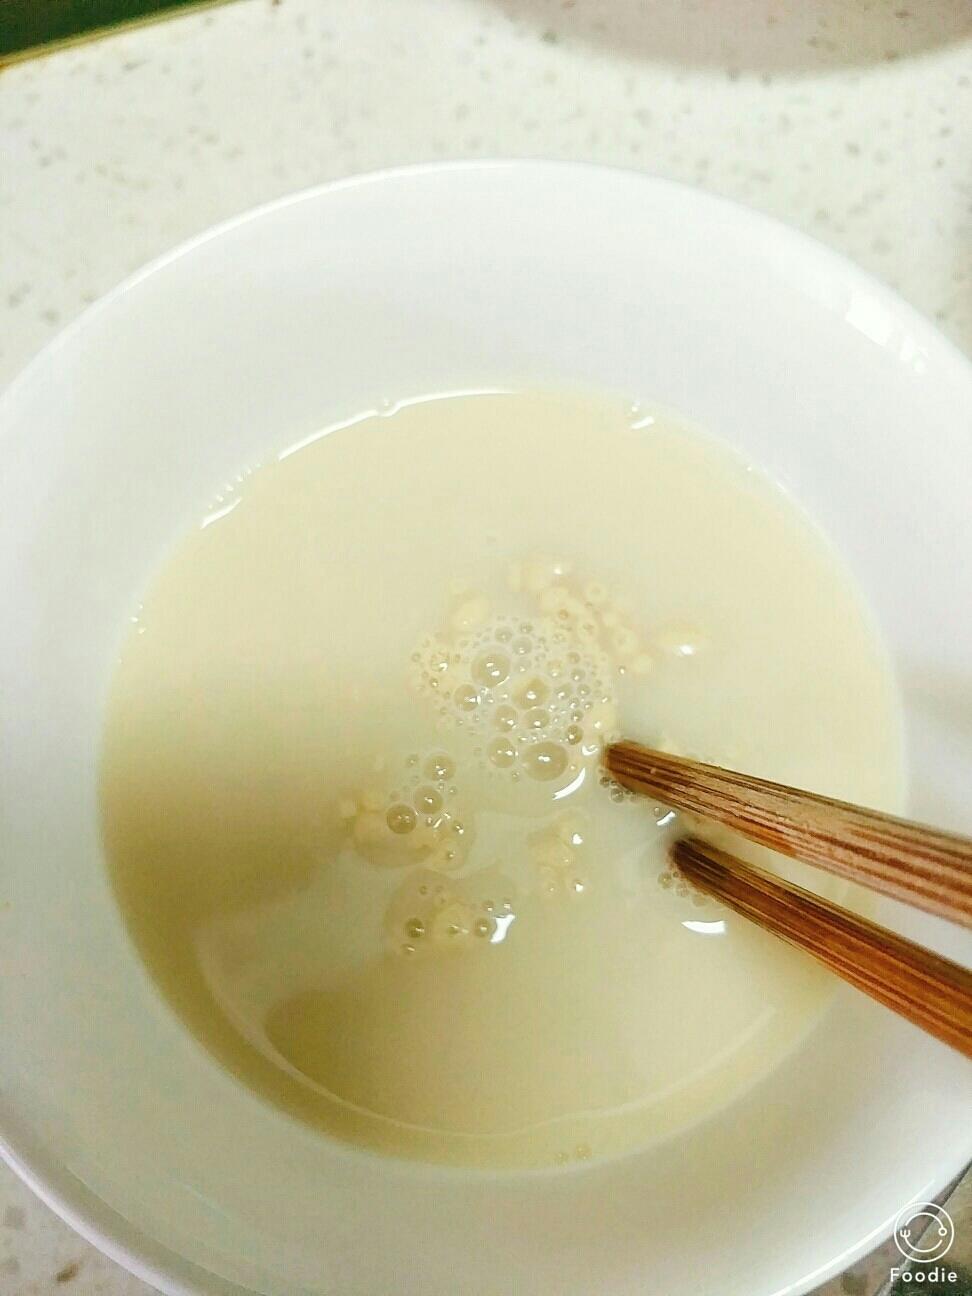
酵母另放一个碗中,温水化开,我喜欢这样操作,可以直接放面粉中也可以

步骤 3
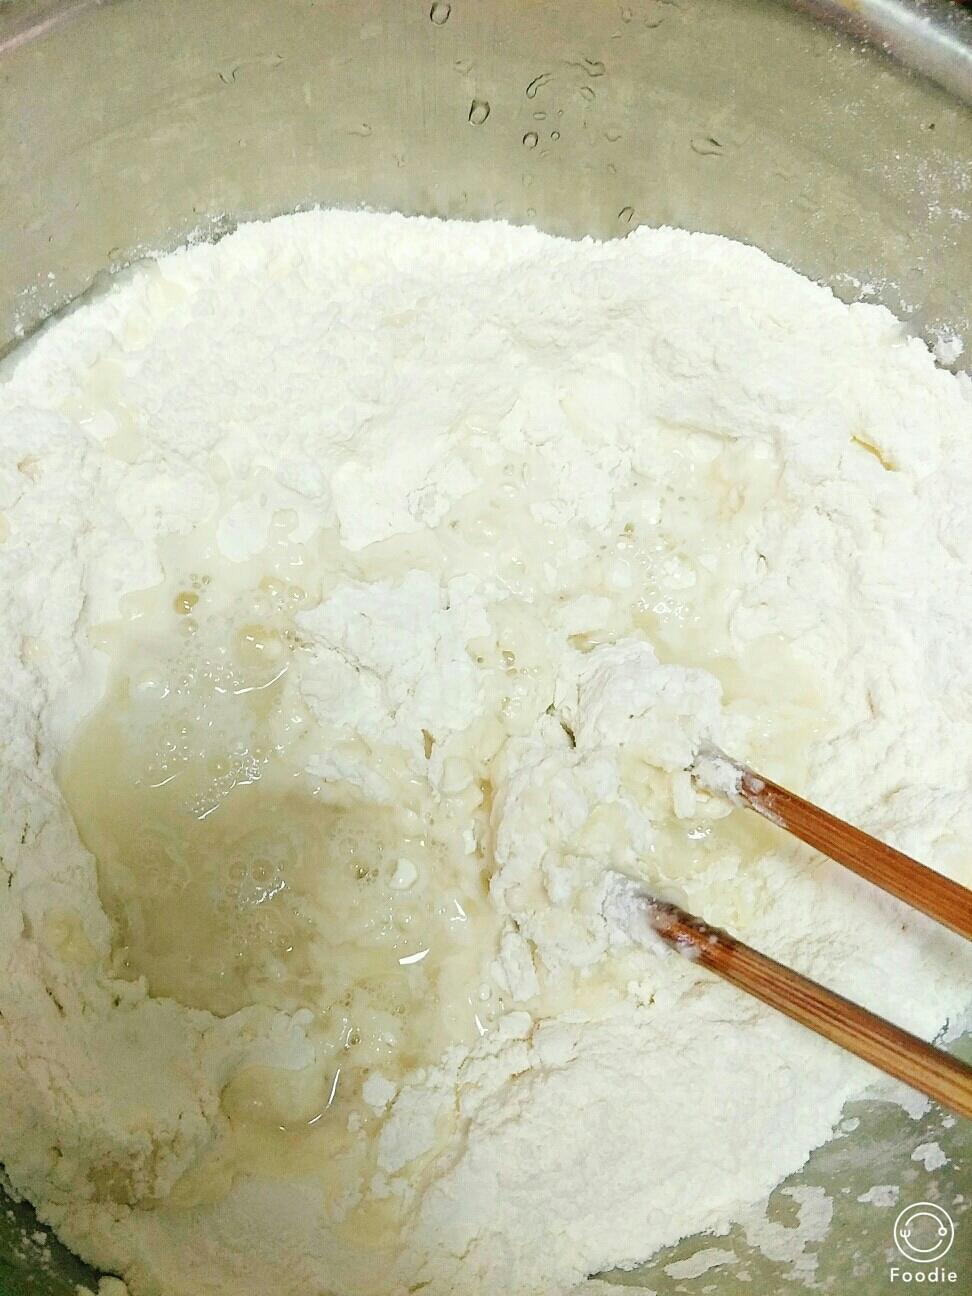
馍夹鸡蛋@肉夹馍饼→电饼铛版的做法 步骤{instruction.step+1}

倒入酵母水

步骤 4
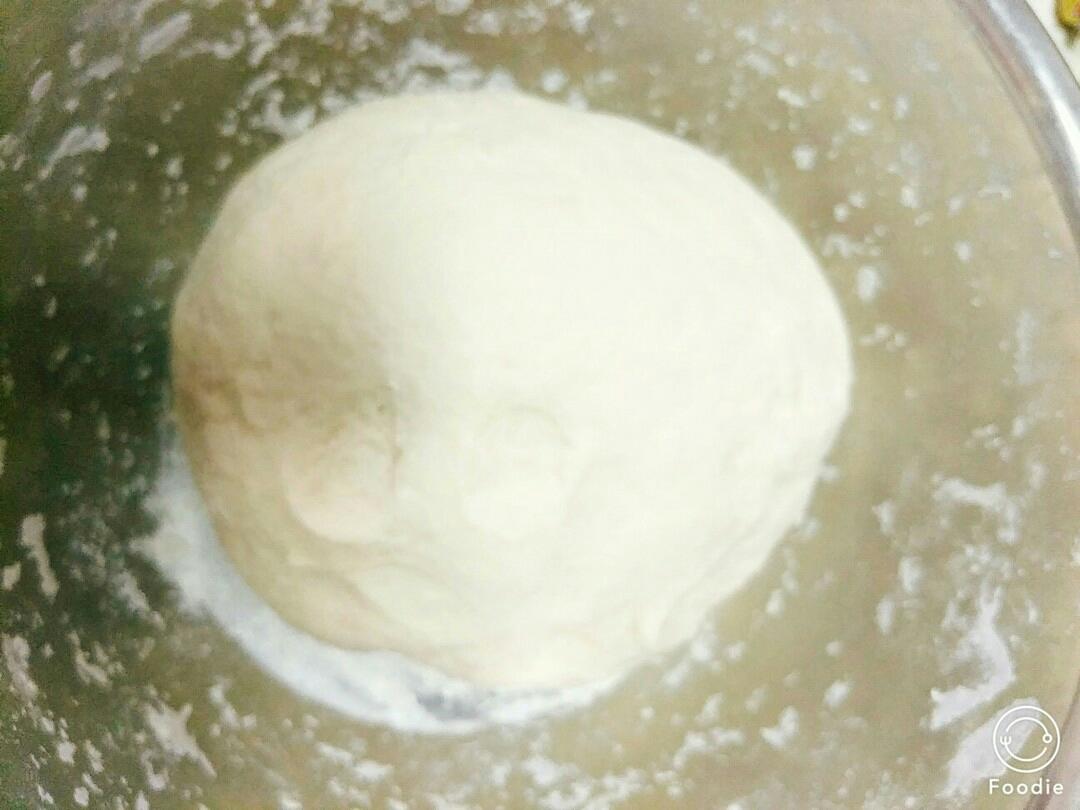
馍夹鸡蛋@肉夹馍饼→电饼铛版的做法 步骤{instruction.step+1}

和成面团

步骤 5
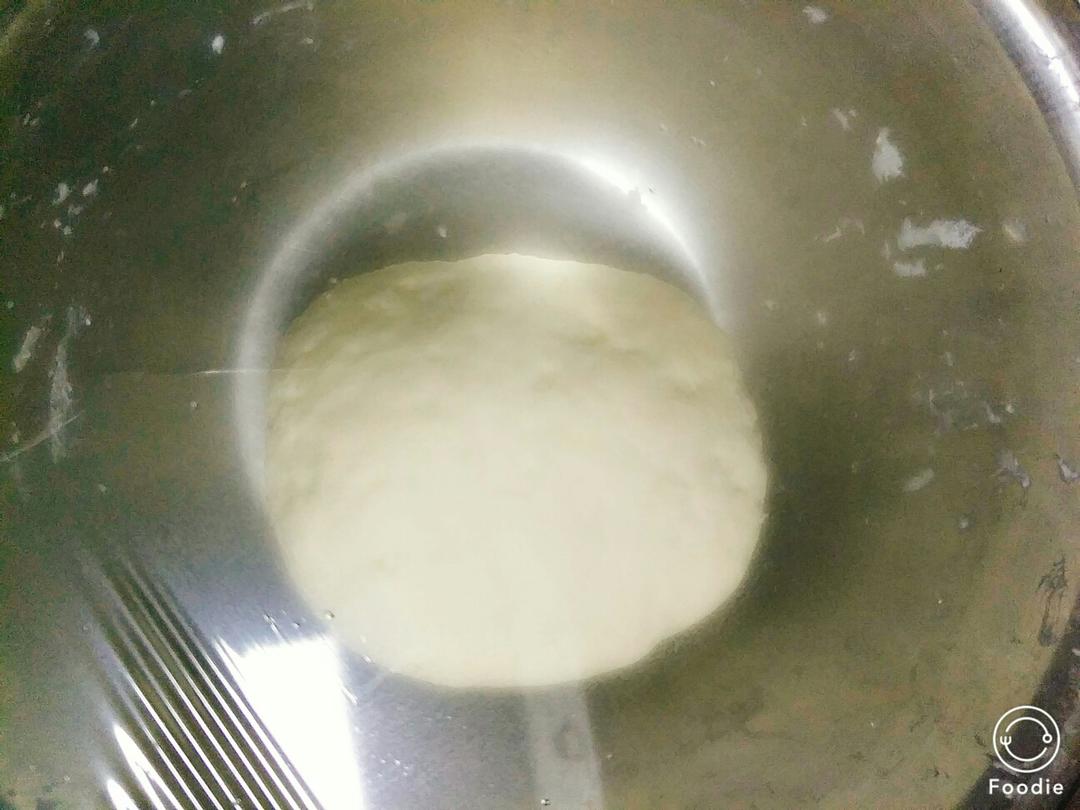
馍夹鸡蛋@肉夹馍饼→电饼铛版的做法 步骤{instruction.step+1}

盖保鲜膜醒半小时,不必太发,三分发就可以,半个小时室温足够了

步骤 6
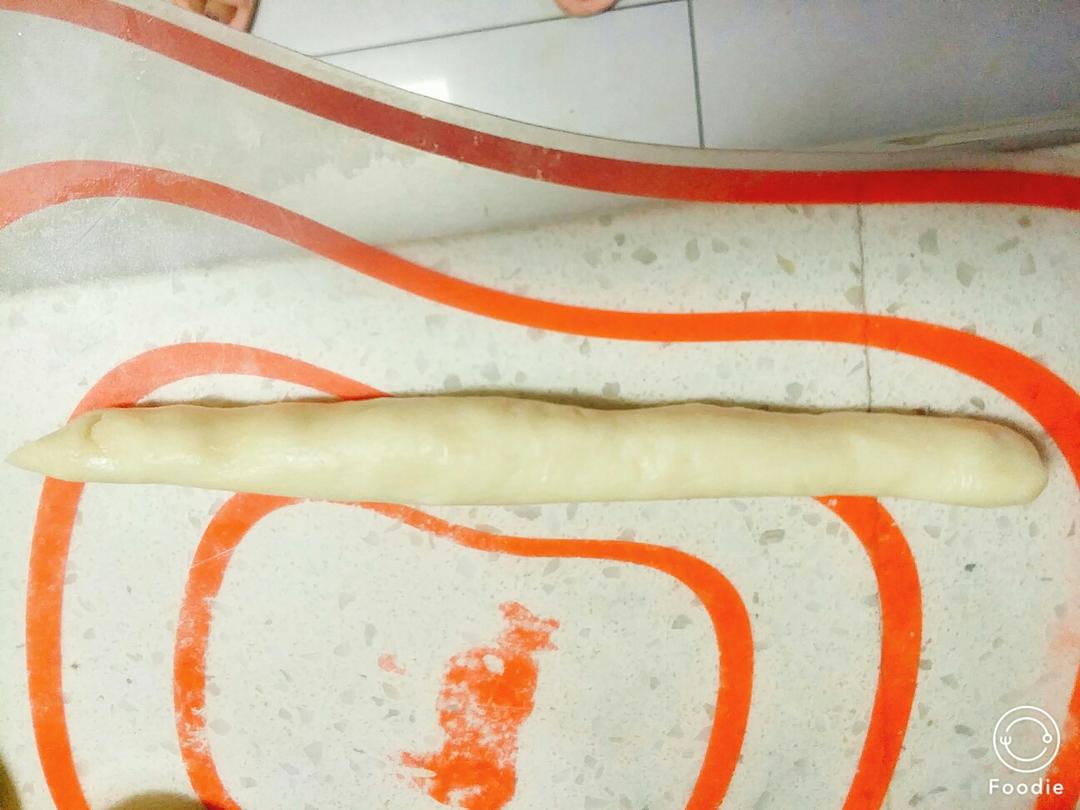
馍夹鸡蛋@肉夹馍饼→电饼铛版的做法 步骤{instruction.step+1}

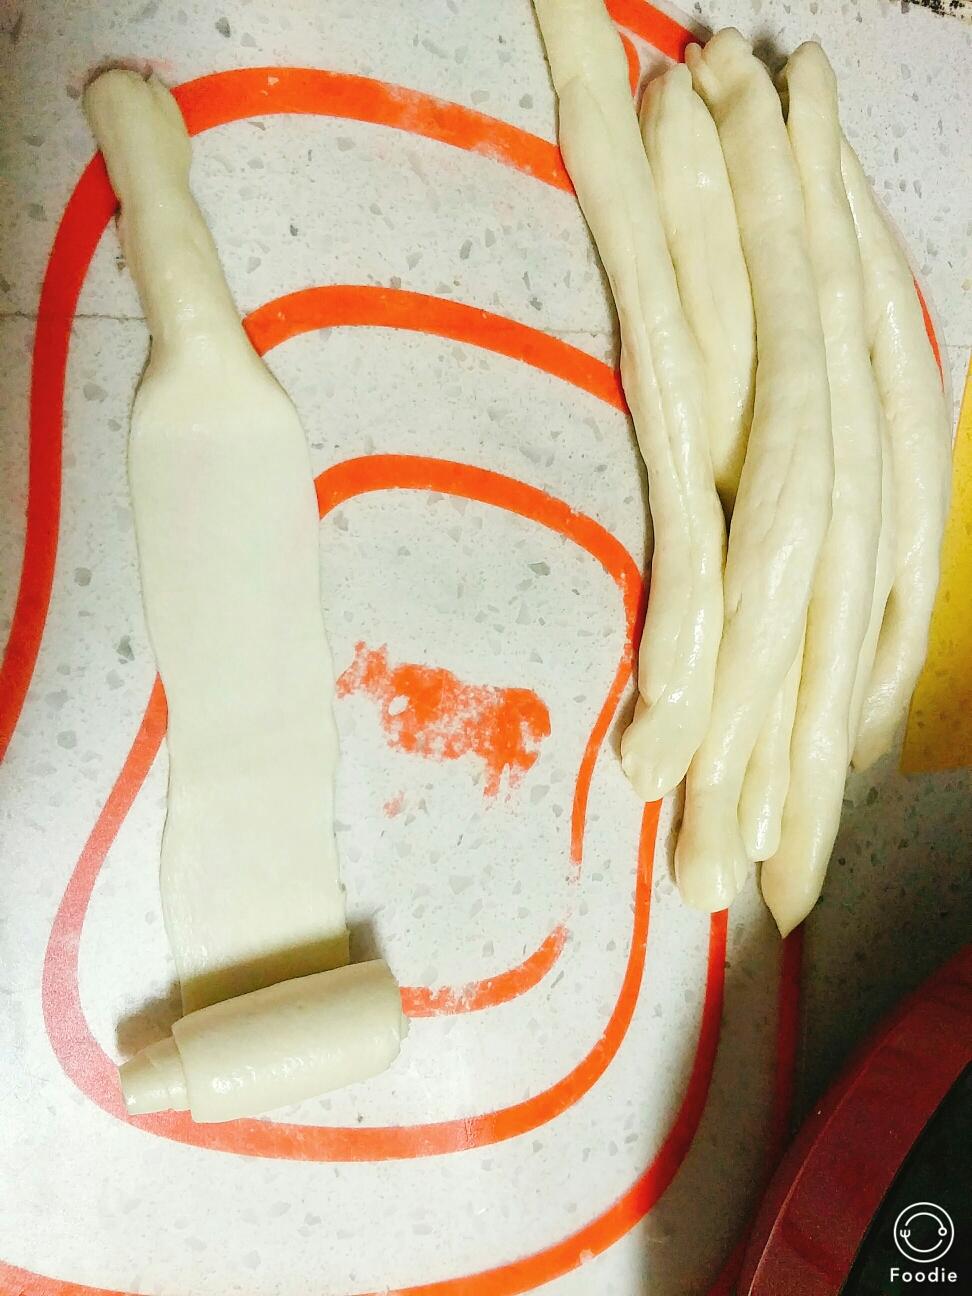
不用揉面,不用放手粉,手抹点油,我分了8个小剂子,然后每个小剂子搓成长条

步骤 7
馍夹鸡蛋@肉夹馍饼→电饼铛版的做法 步骤{instruction.step+1}

案板抹点油,从一头擀薄开始卷,边擀边卷

步骤 8
馍夹鸡蛋@肉夹馍饼→电饼铛版的做法 步骤{instruction.step+1}

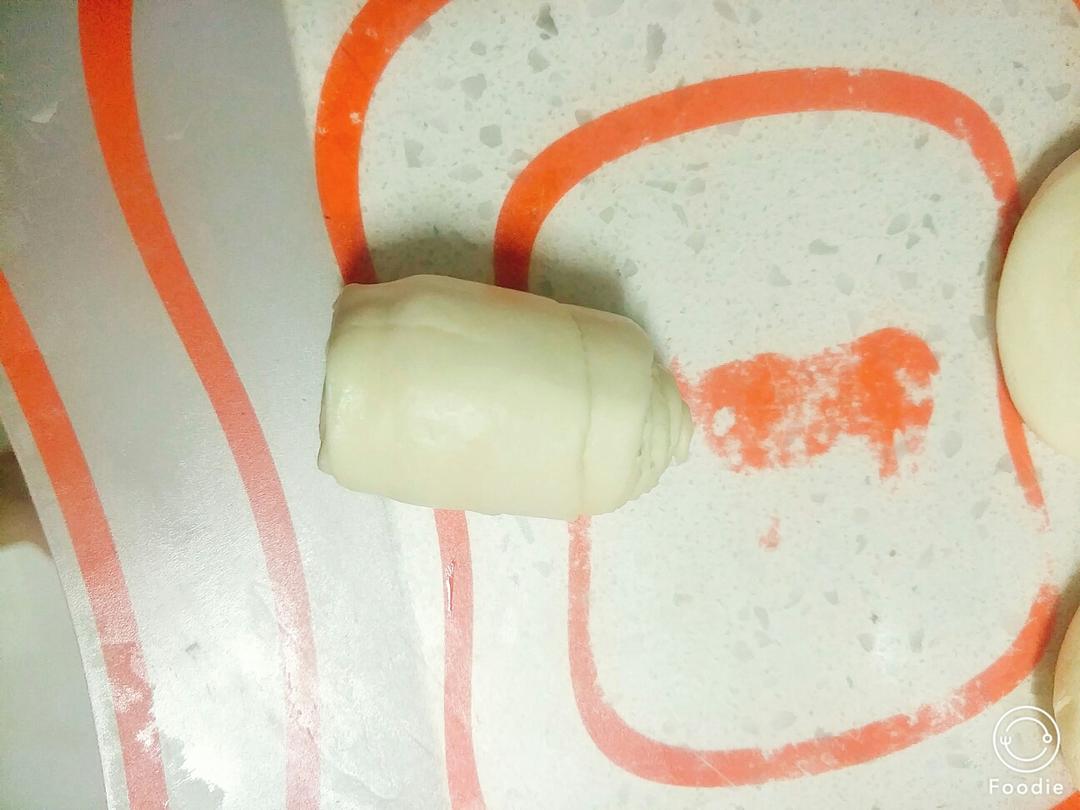
全部擀薄卷好

步骤 9
馍夹鸡蛋@肉夹馍饼→电饼铛版的做法 步骤{instruction.step+1}

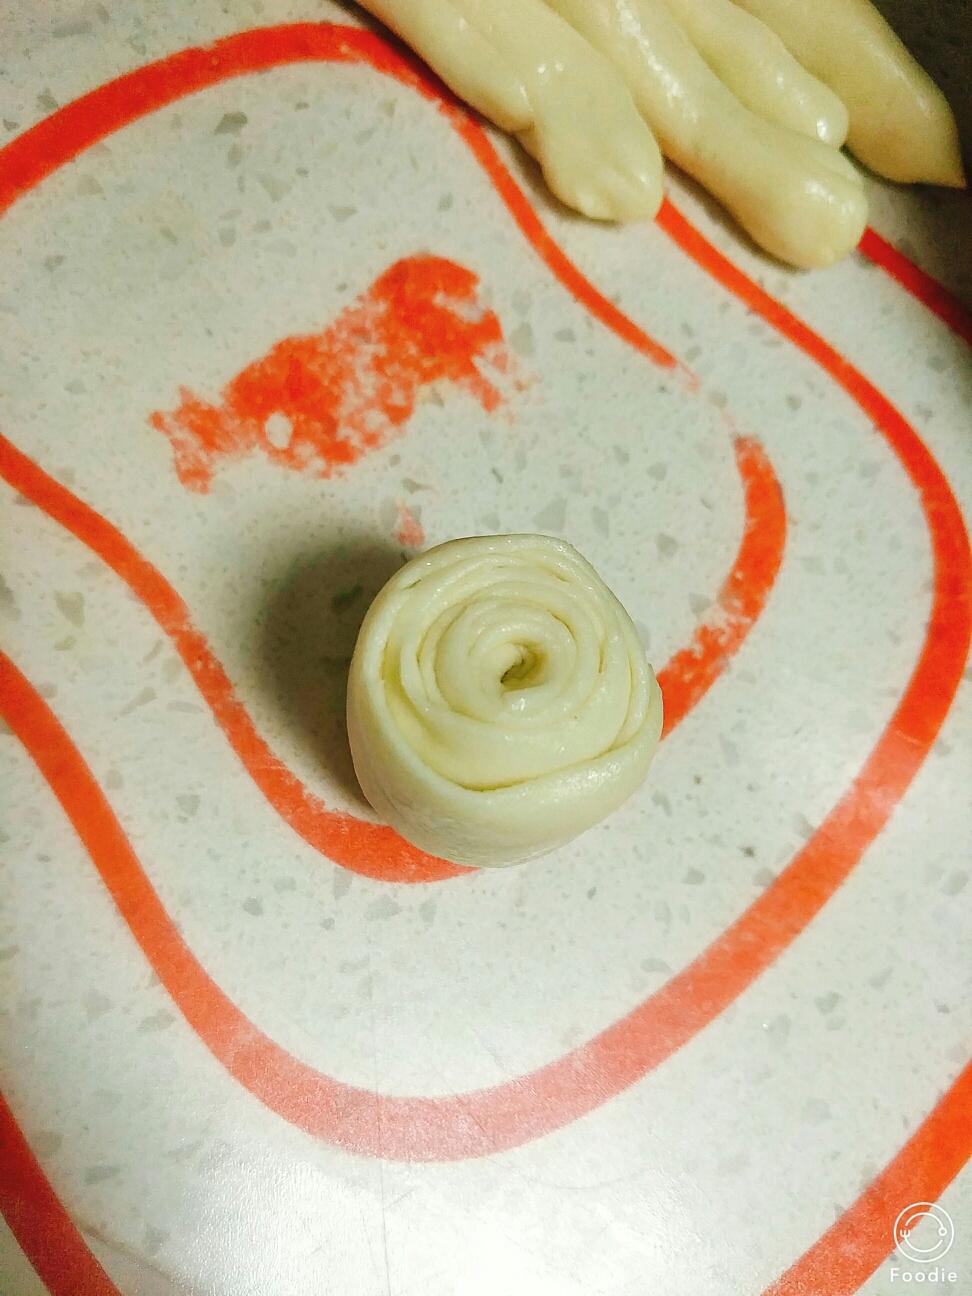
卷好样子

步骤 10
馍夹鸡蛋@肉夹馍饼→电饼铛版的做法 步骤{instruction.step+1}

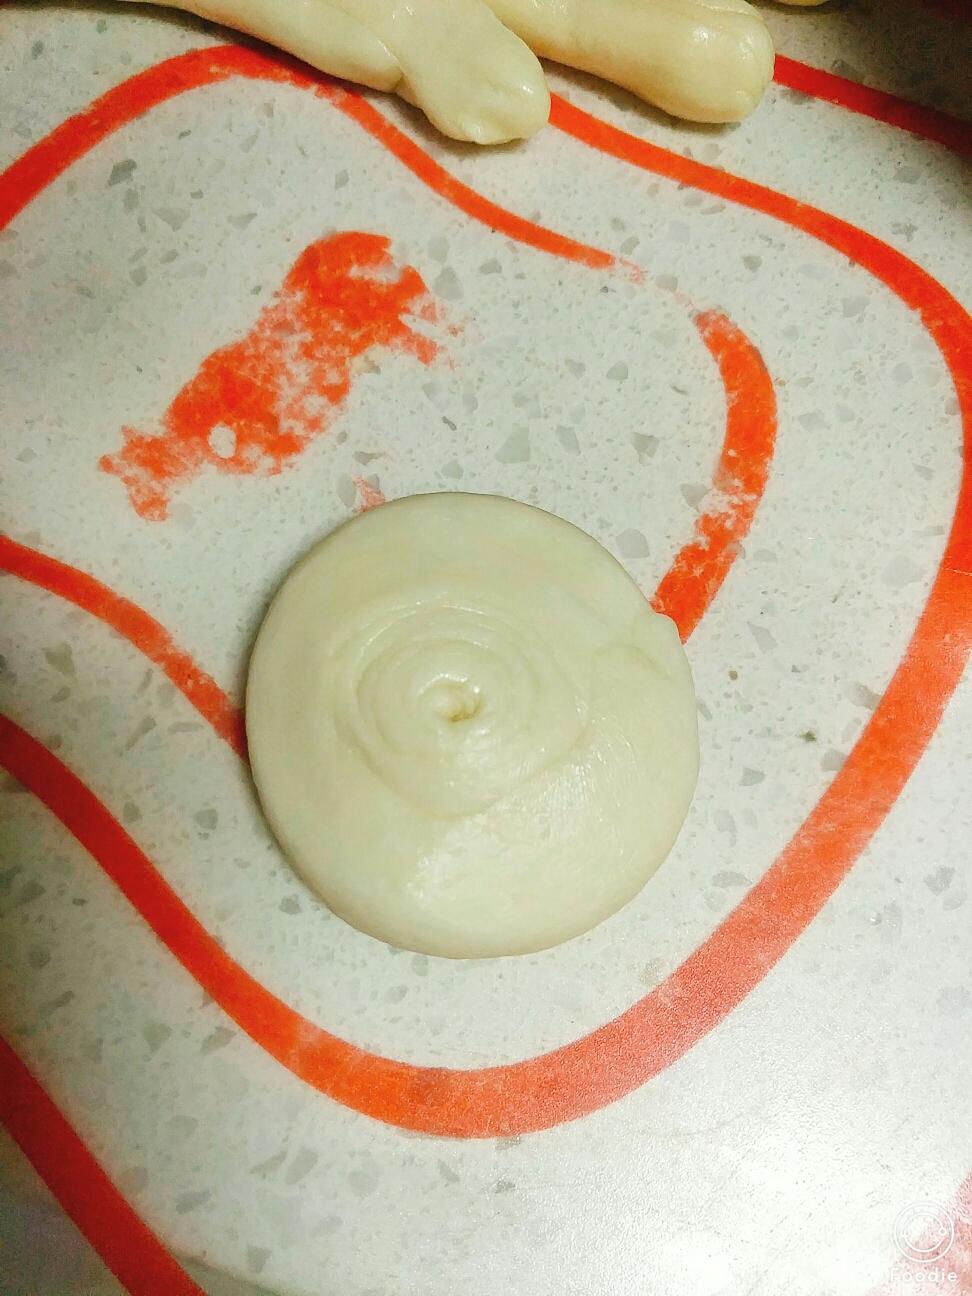
按扁

步骤 11
馍夹鸡蛋@肉夹馍饼→电饼铛版的做法 步骤{instruction.step+1}

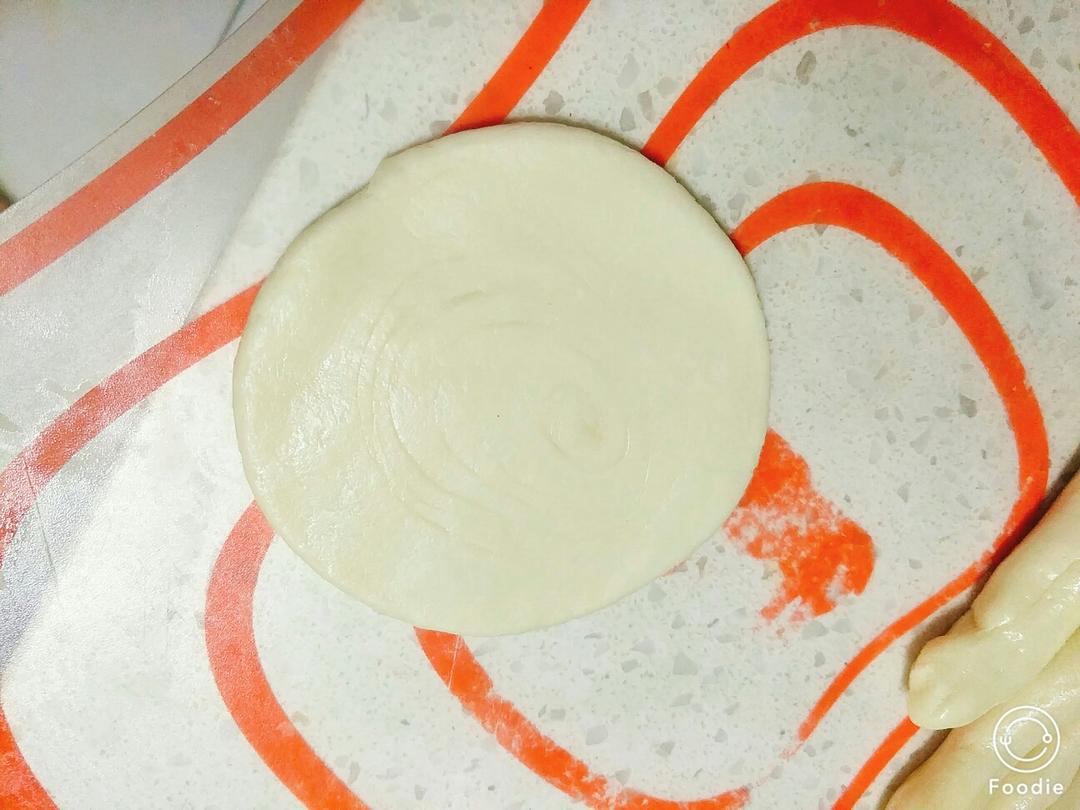
稍擀圆下

步骤 12
馍夹鸡蛋@肉夹馍饼→电饼铛版的做法 步骤{instruction.step+1}

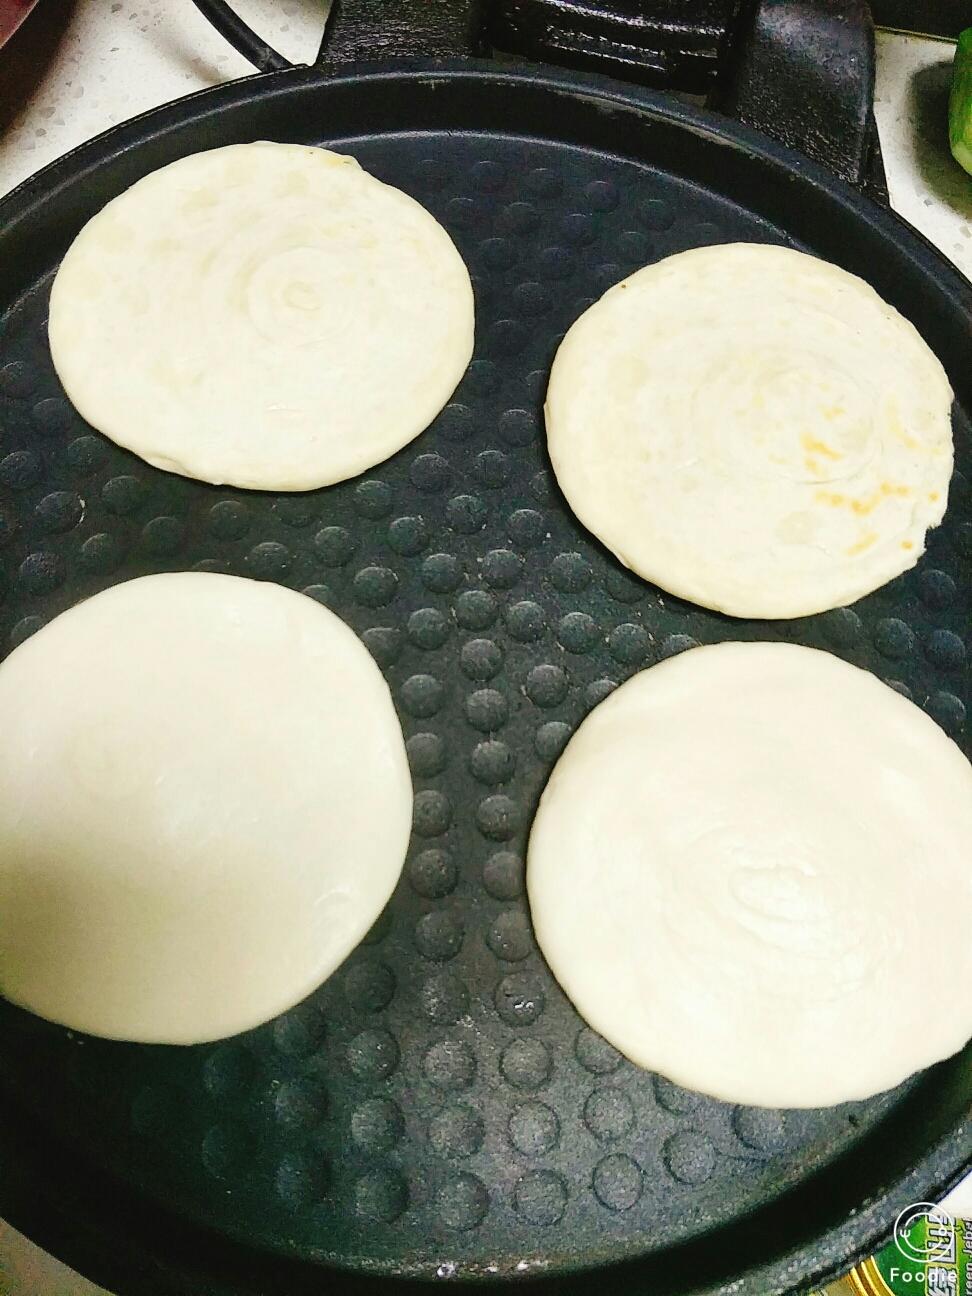
无需放油,直接放入电饼铛,可以边擀边放

步骤 13
馍夹鸡蛋@肉夹馍饼→电饼铛版的做法 步骤{instruction.step+1}

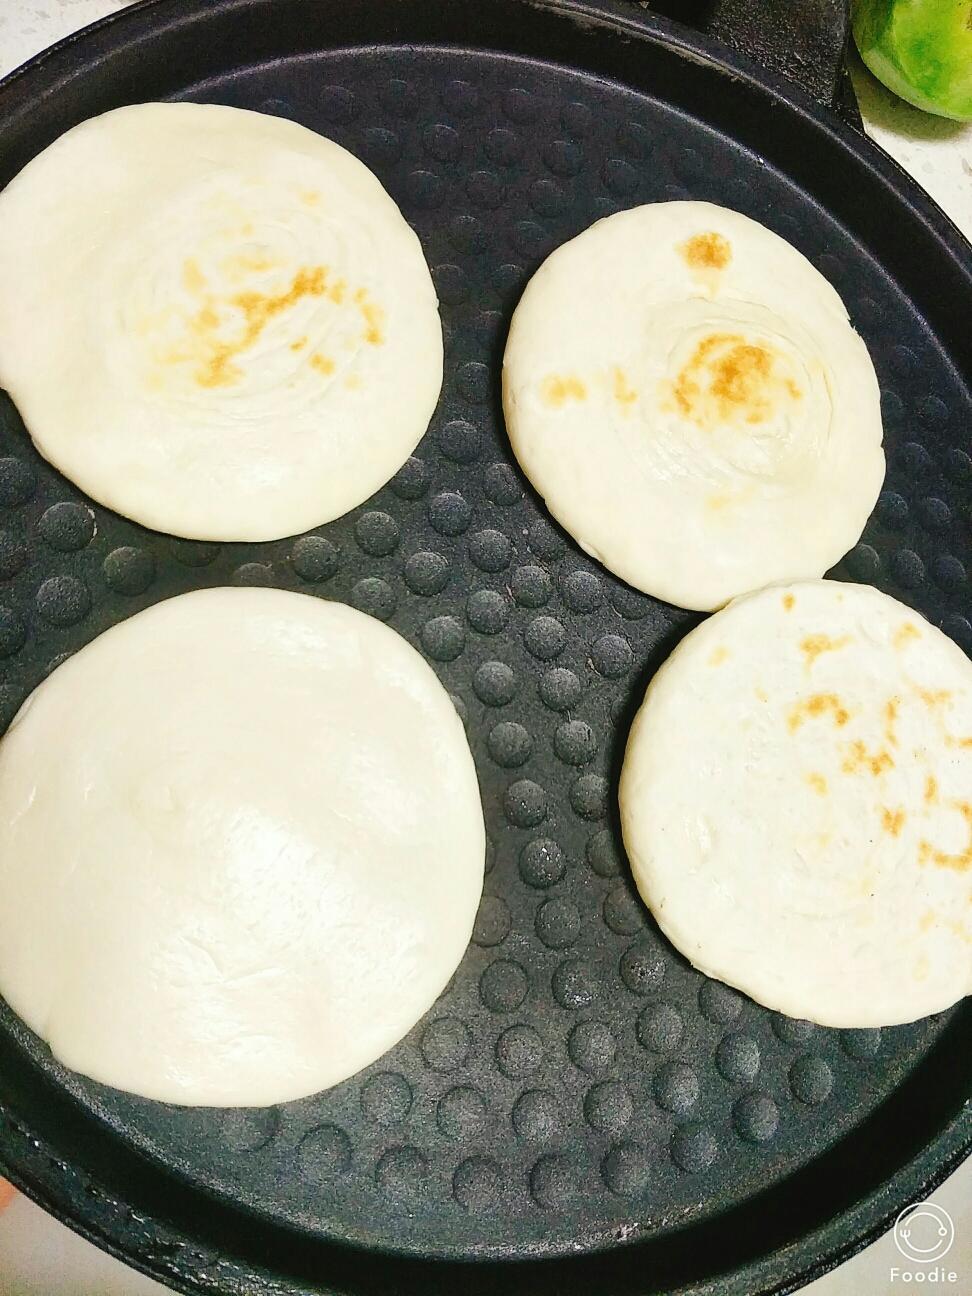
待一面发稍黄定型翻面,盖上盖子

步骤 14
馍夹鸡蛋@肉夹馍饼→电饼铛版的做法 步骤{instruction.step+1}

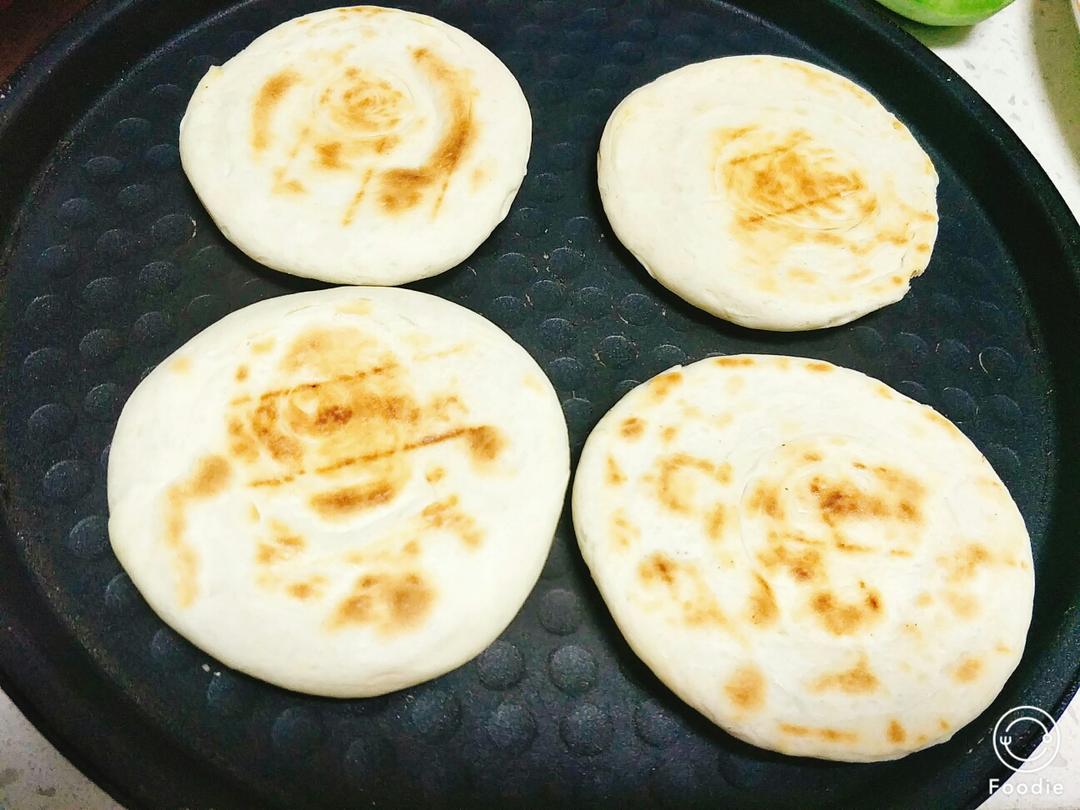
稍微鼓起来了,烙两面金黄即可

步骤 15
馍夹鸡蛋@肉夹馍饼→电饼铛版的做法 步骤{instruction.step+1}

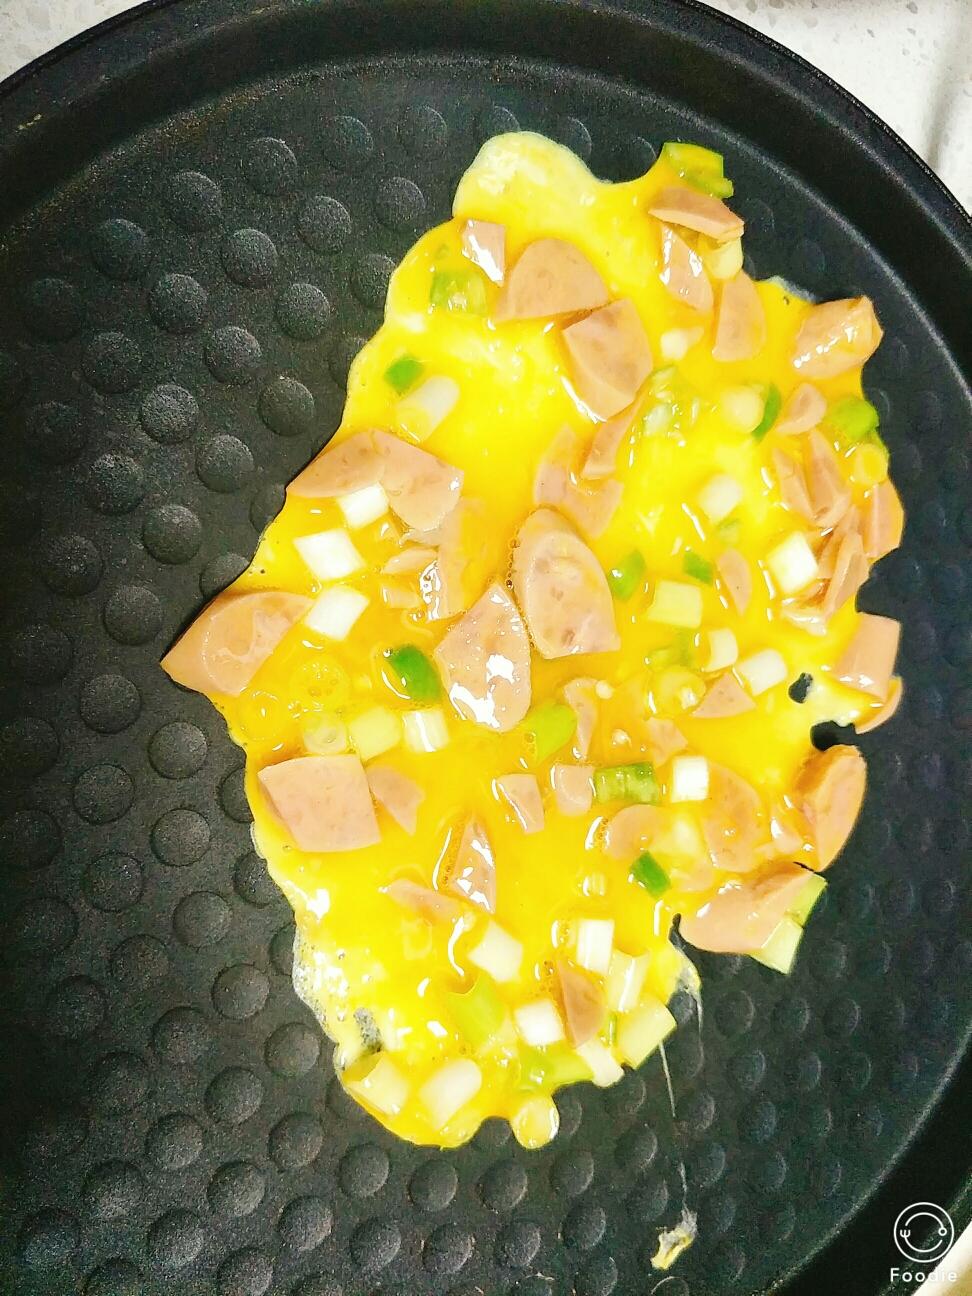
做好馍馍,来个鸡蛋葱花加根火腿煎下

步骤 16
馍夹鸡蛋@肉夹馍饼→电饼铛版的做法 步骤{instruction.step+1}

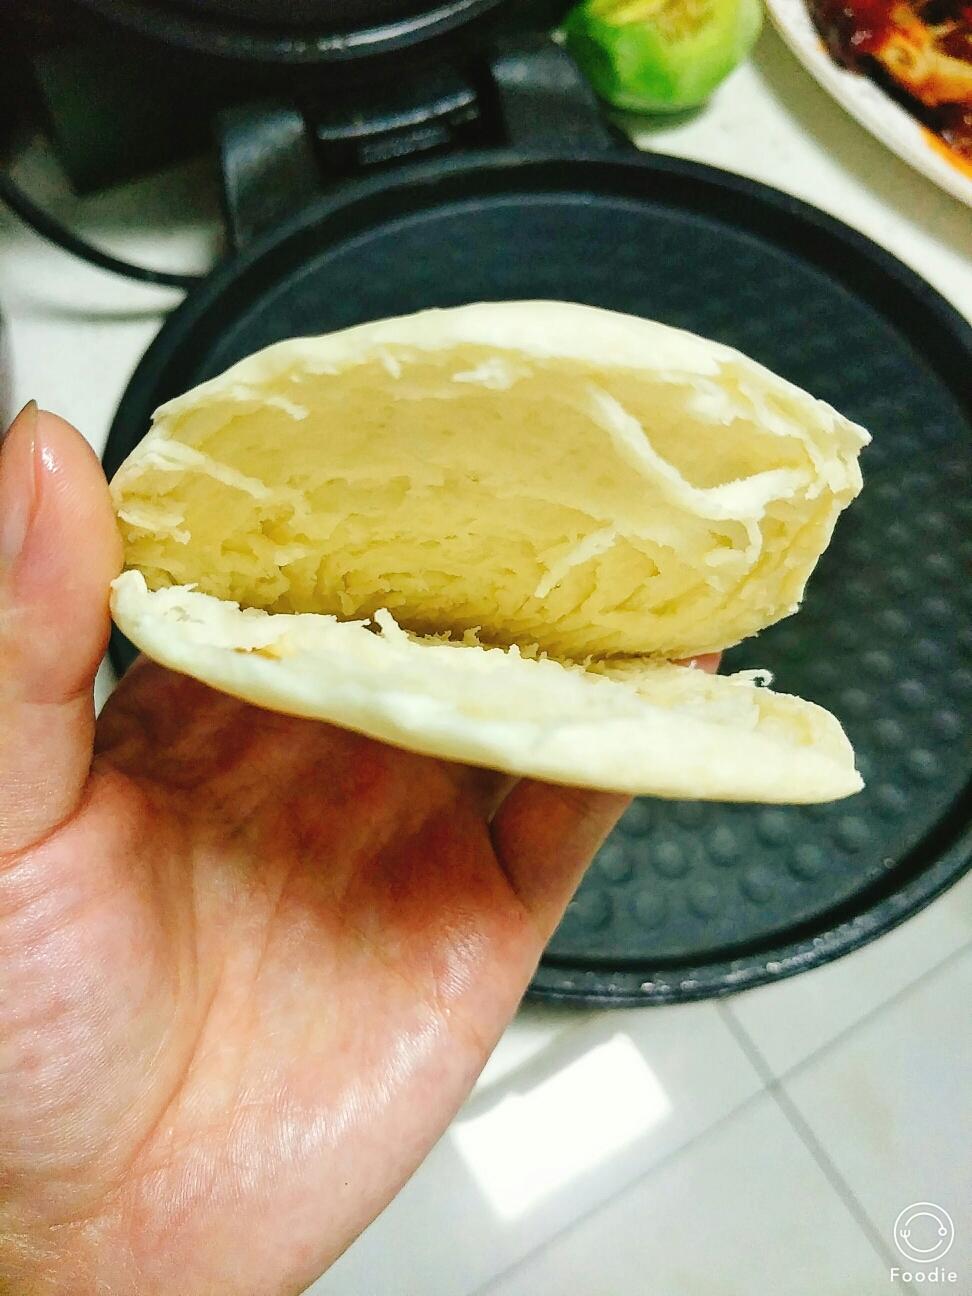
用刀划开

步骤 17
馍夹鸡蛋@肉夹馍饼→电饼铛版的做法 步骤{instruction.step+1}

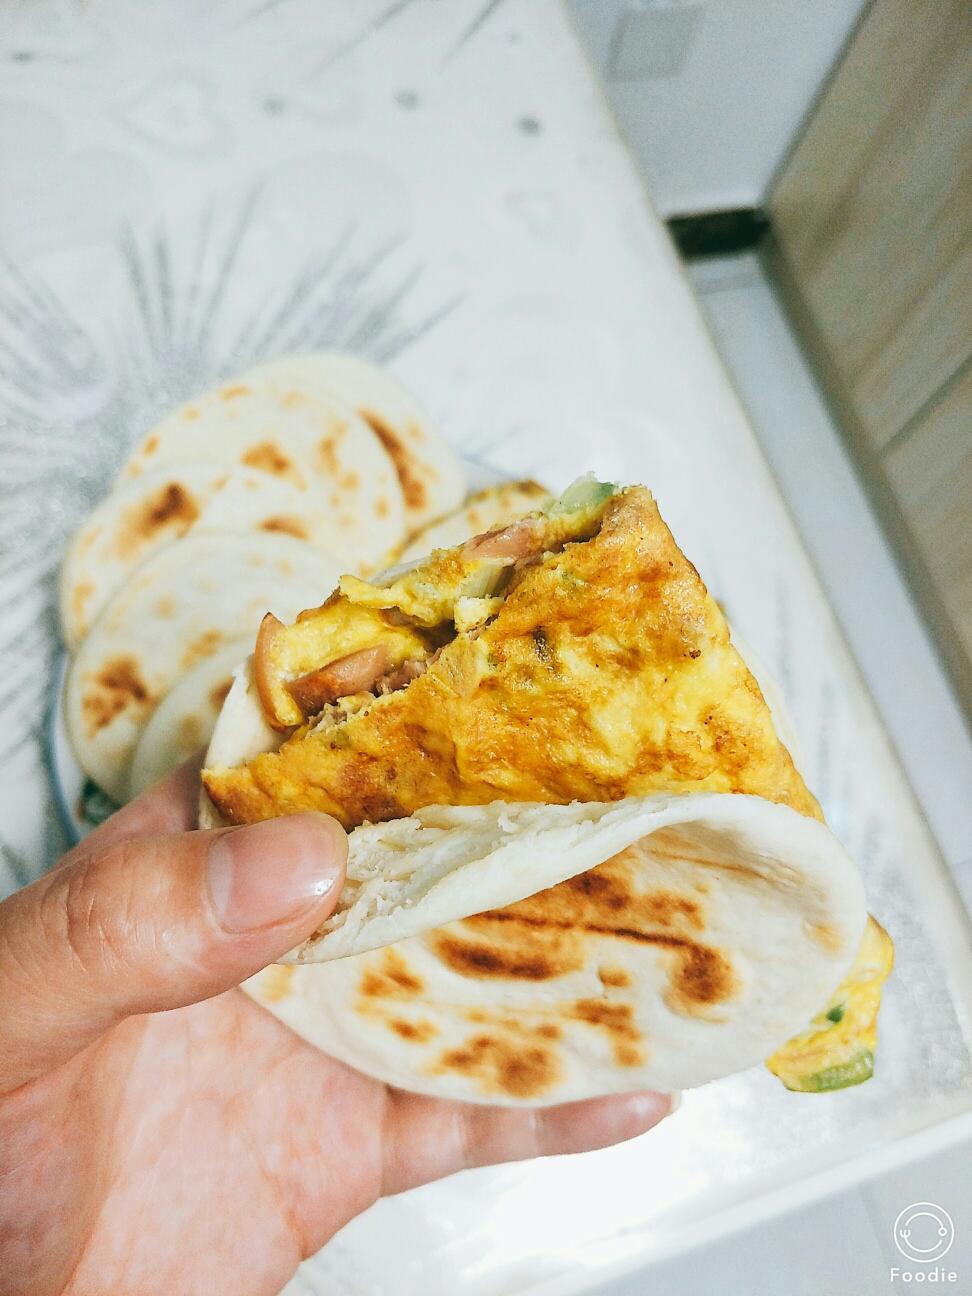
夹馍馍里面😁来一口😄

步骤 18
馍夹鸡蛋@肉夹馍饼→电饼铛版的做法 步骤{instruction.step+1}

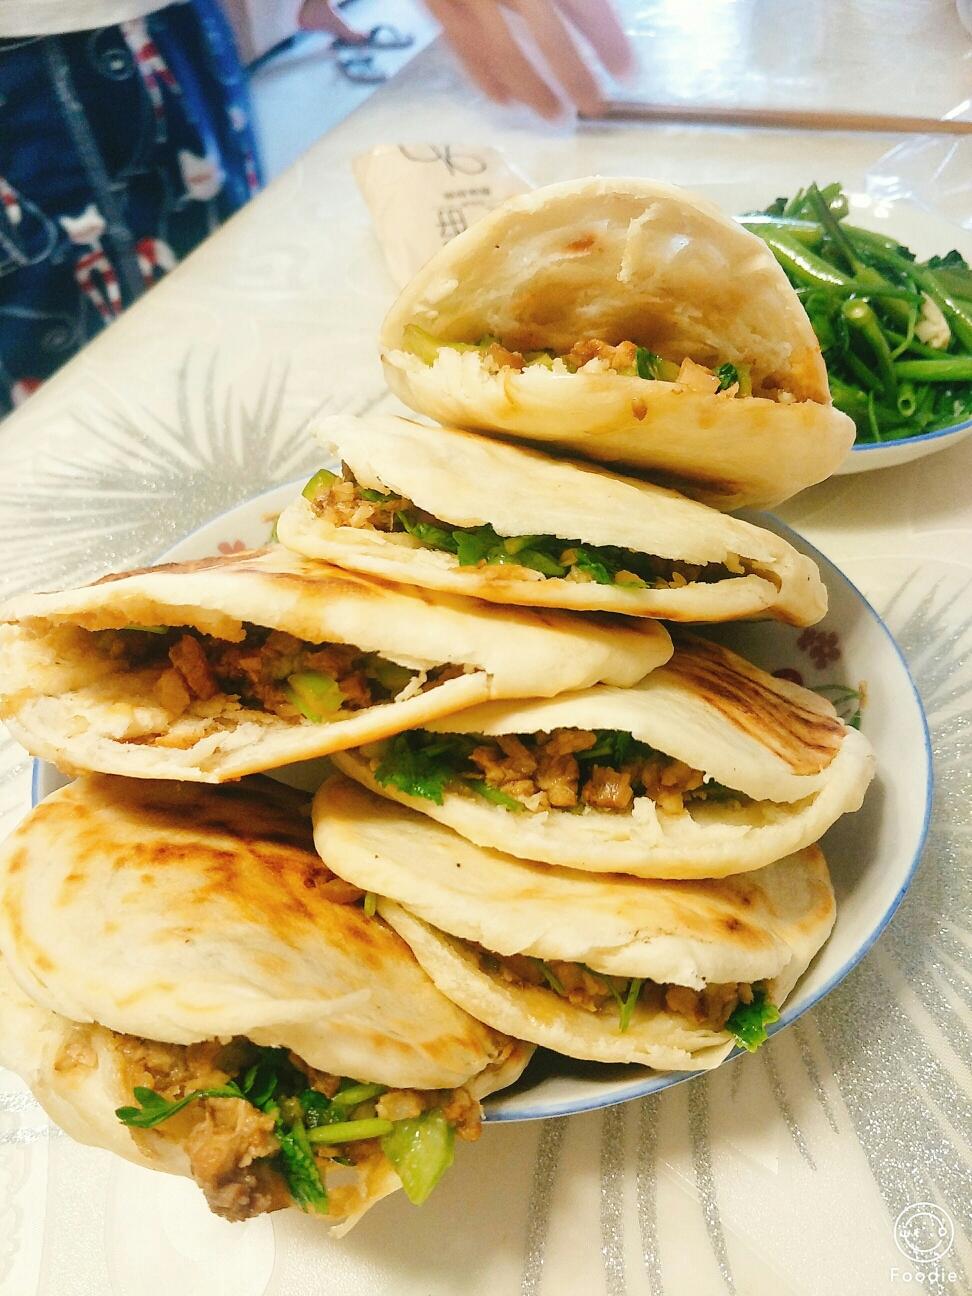
吃上了肉夹馍😁😁

菜谱创建时间:2020-07-22 08:24:42