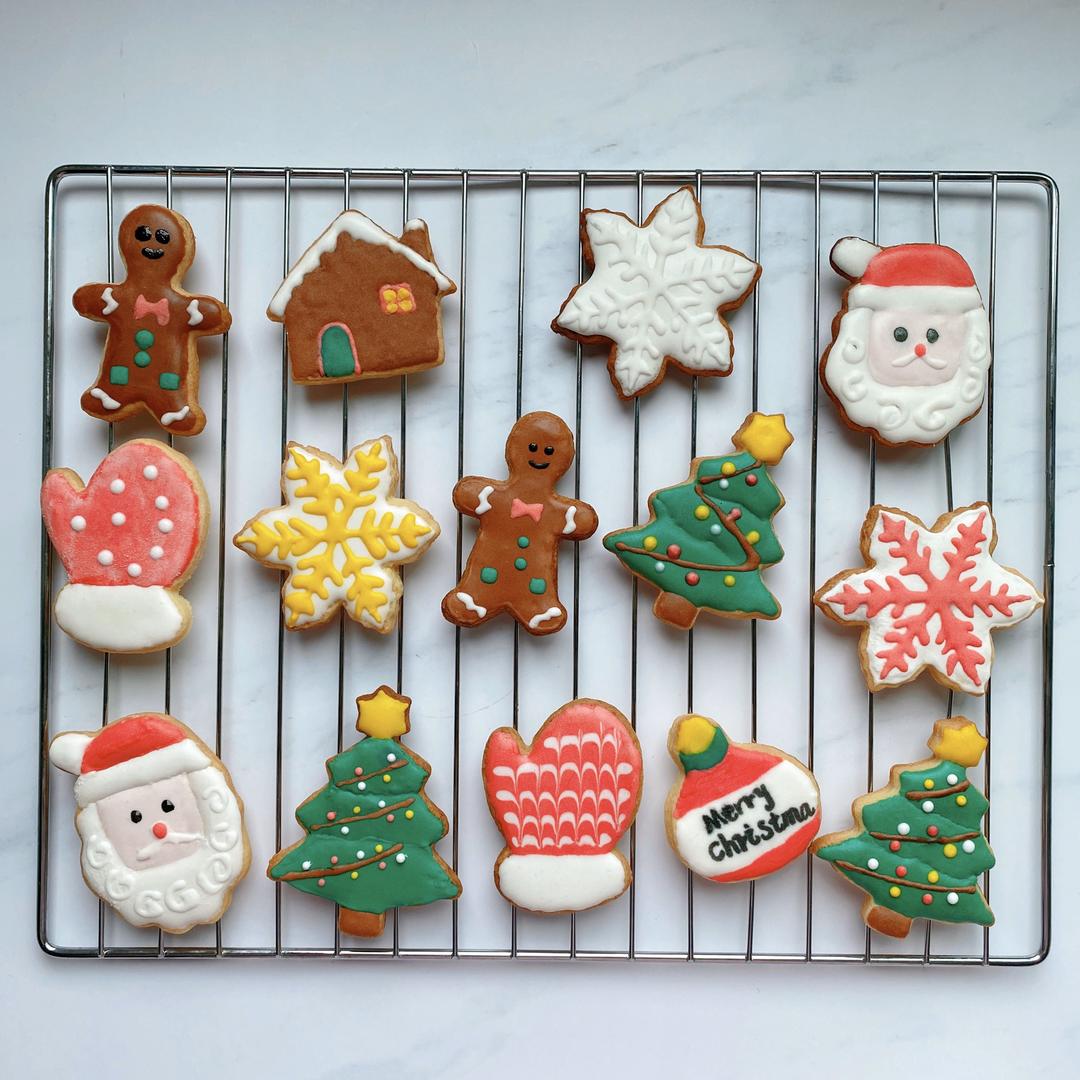

🎄圣诞糖霜饼干

🎄圣诞糖霜饼干

6.0万人浏览 3575人收藏 30人做过
作者:安然吖-
安然吖-
世上本无圣诞老人🎅 所有的惊喜都来自爱你的人❤️

用料

🎄圣诞糖霜饼干的做法步骤

步骤 1
🎄圣诞糖霜饼干的做法 步骤{instruction.step+1}

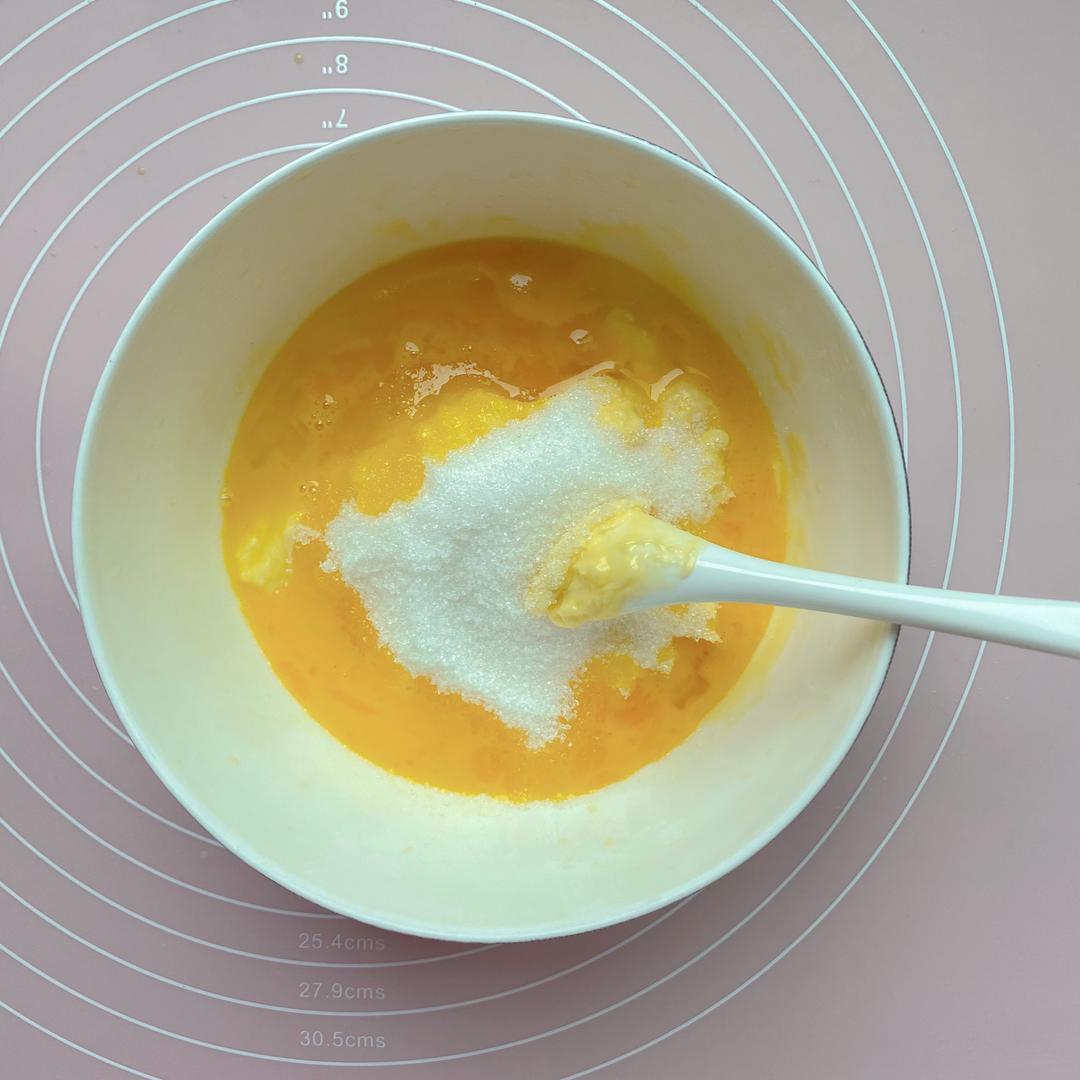
100g黄油室温软化,加入55g糖粉搅拌均匀,加入30g蛋液
步骤 2
🎄圣诞糖霜饼干的做法 步骤{instruction.step+1}

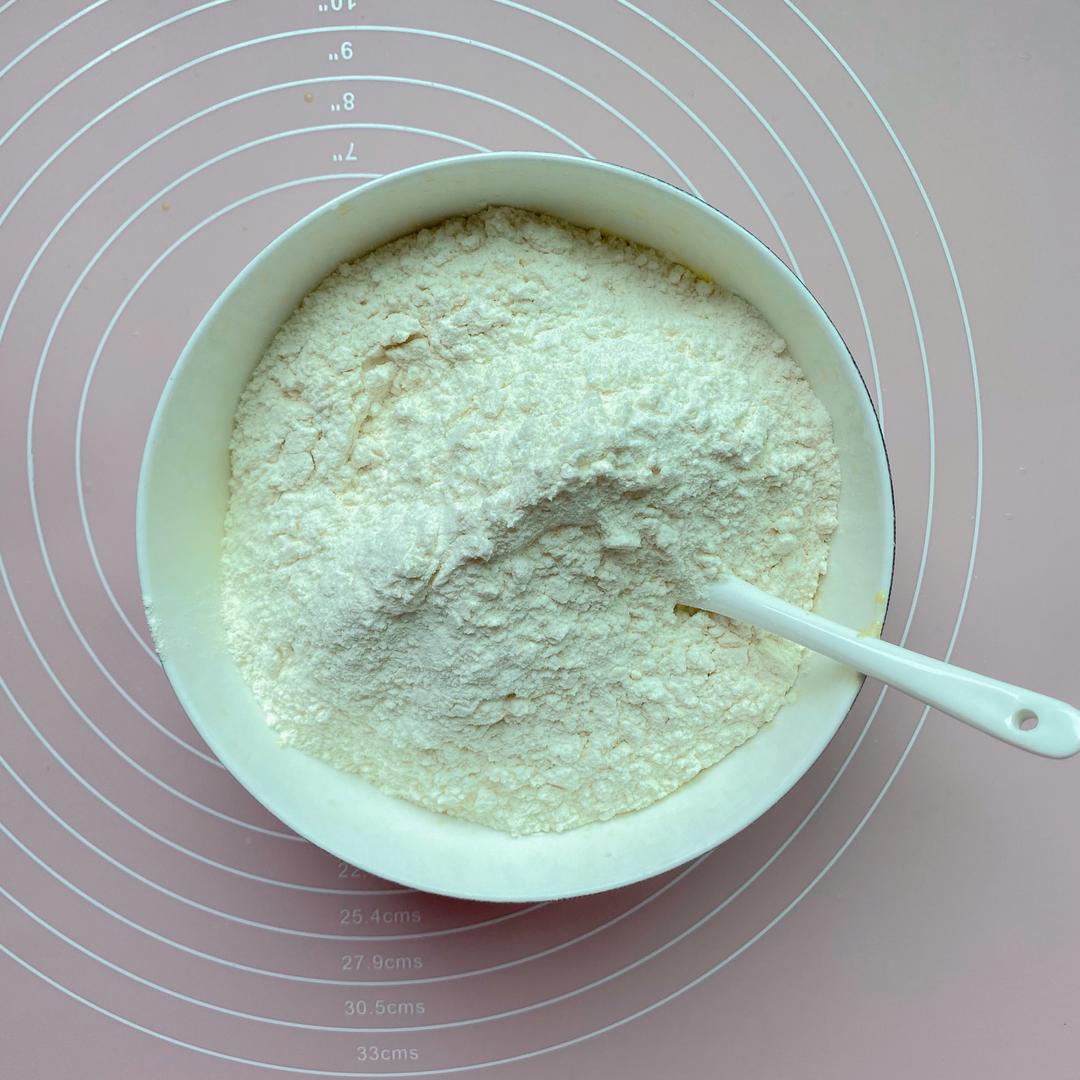
筛入200g低筋面粉,压拌均匀

步骤 3
🎄圣诞糖霜饼干的做法 步骤{instruction.step+1}

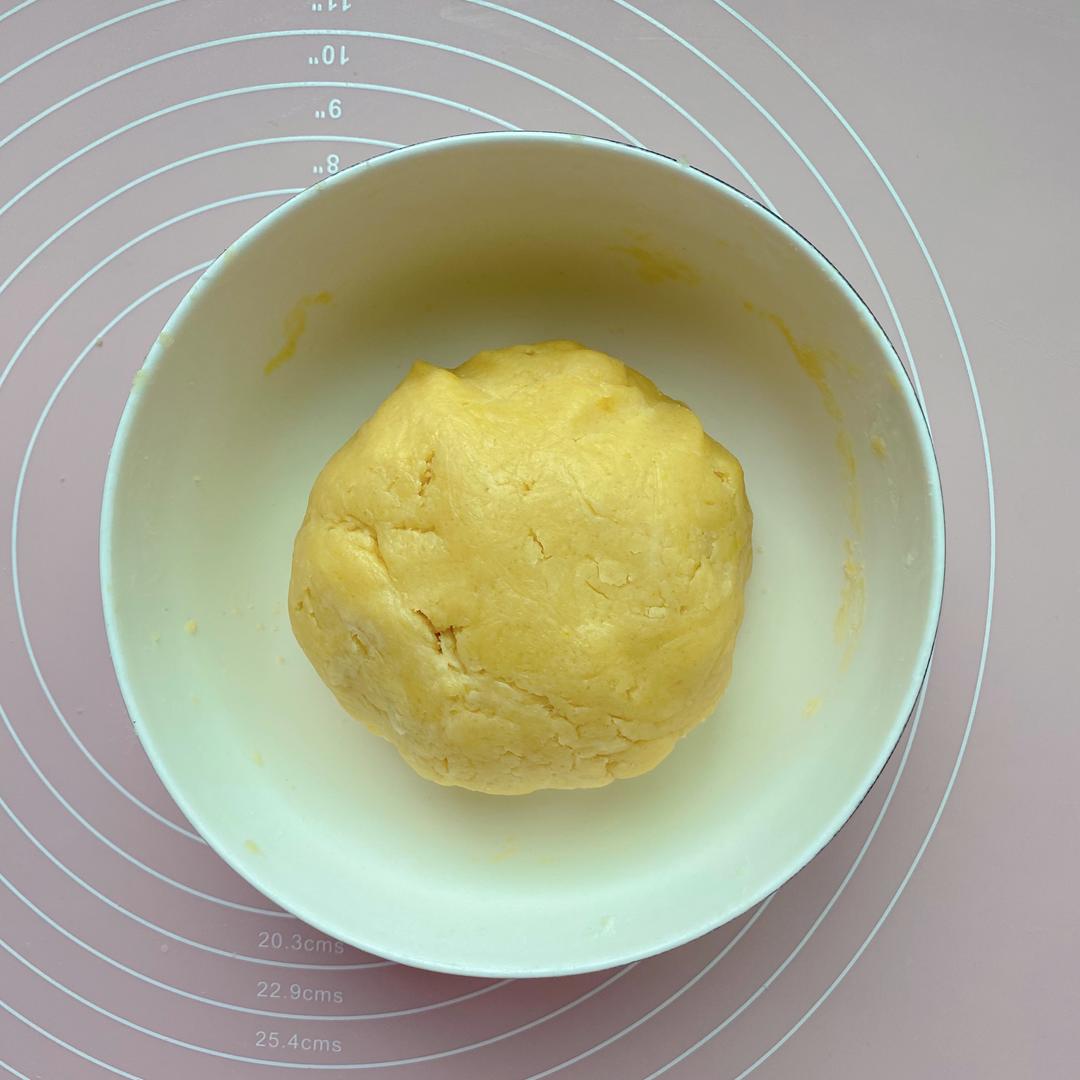
揉成团,放入保鲜袋,冰箱冷冻30分钟

步骤 4
🎄圣诞糖霜饼干的做法 步骤{instruction.step+1}

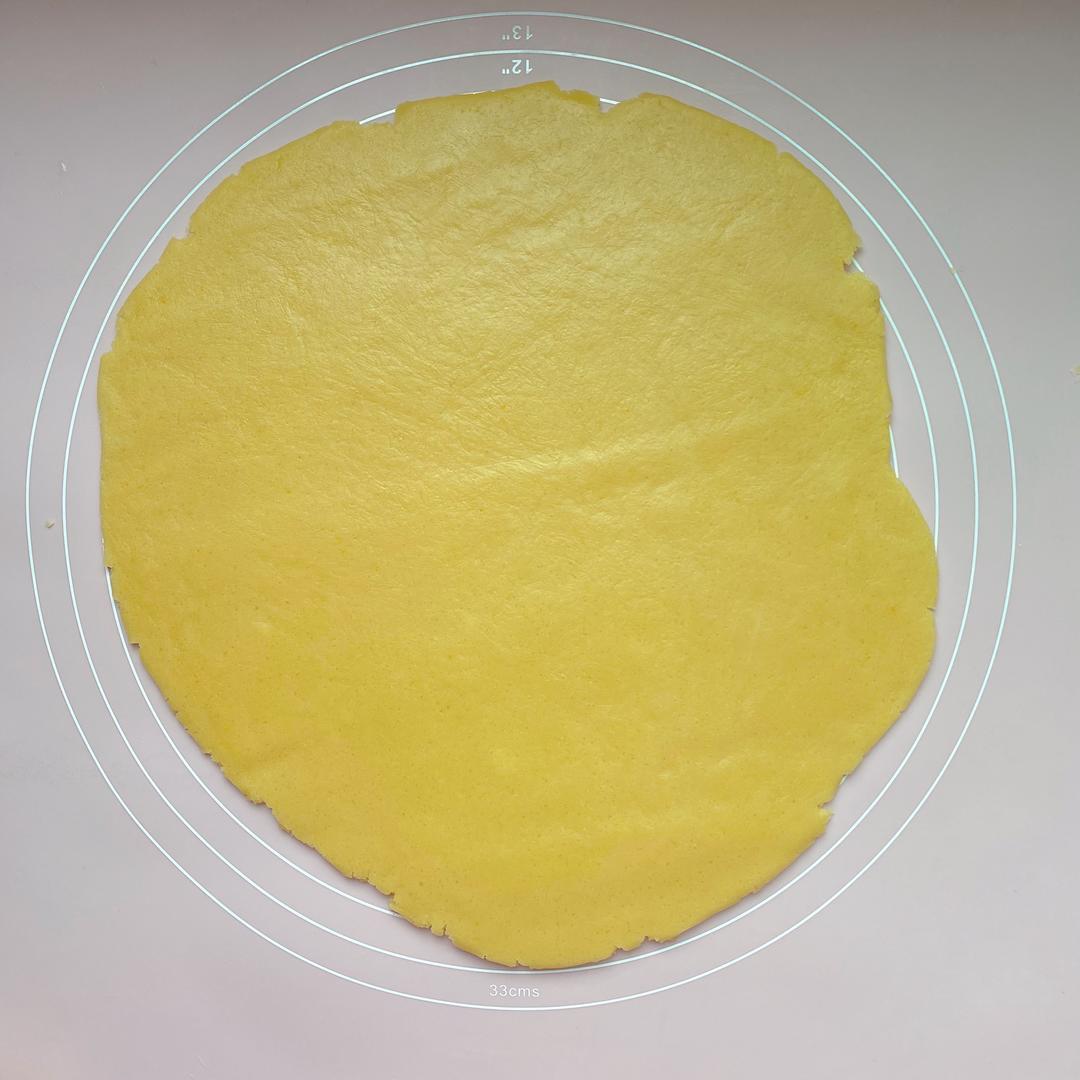
拿出擀面杖擀平

步骤 5
🎄圣诞糖霜饼干的做法 步骤{instruction.step+1}

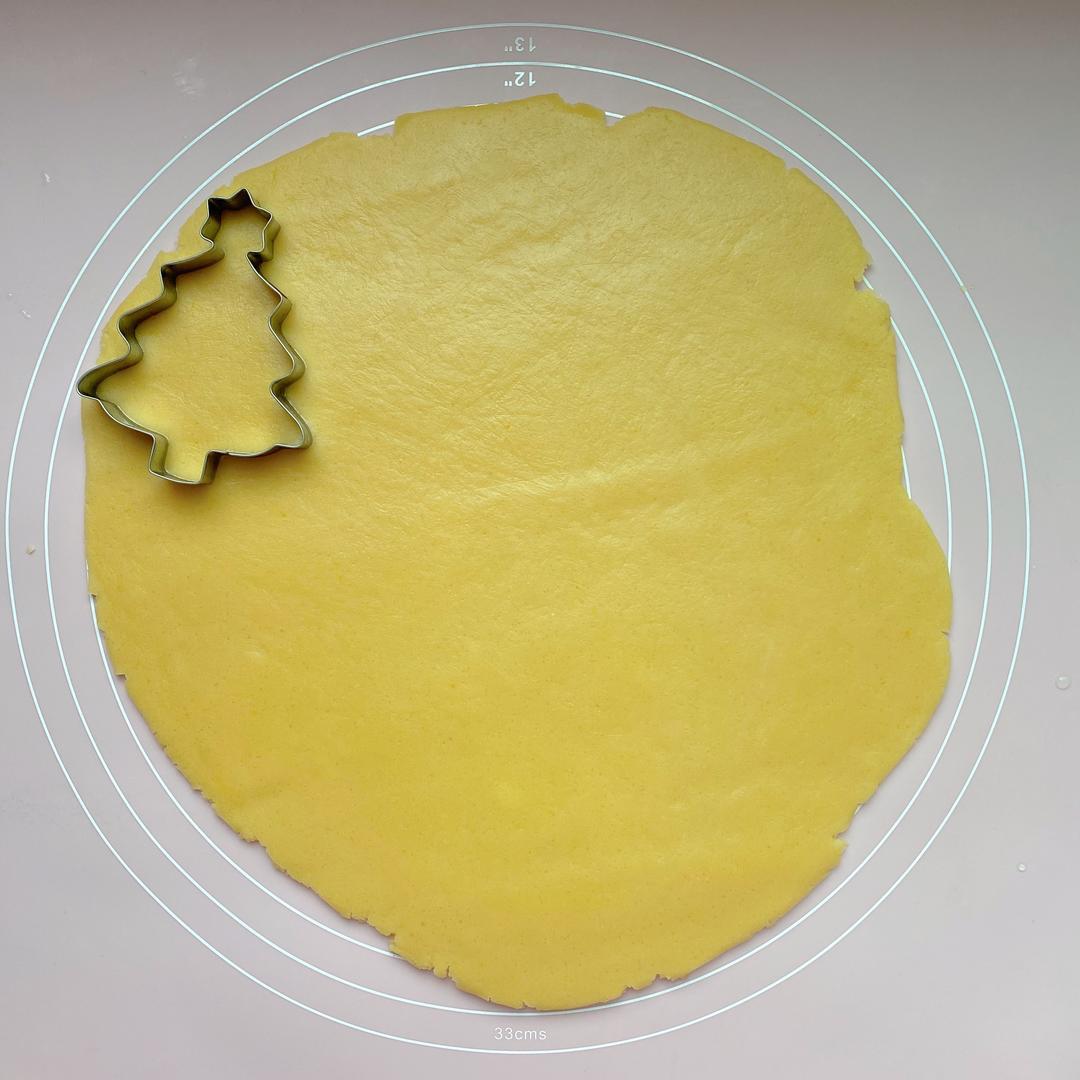
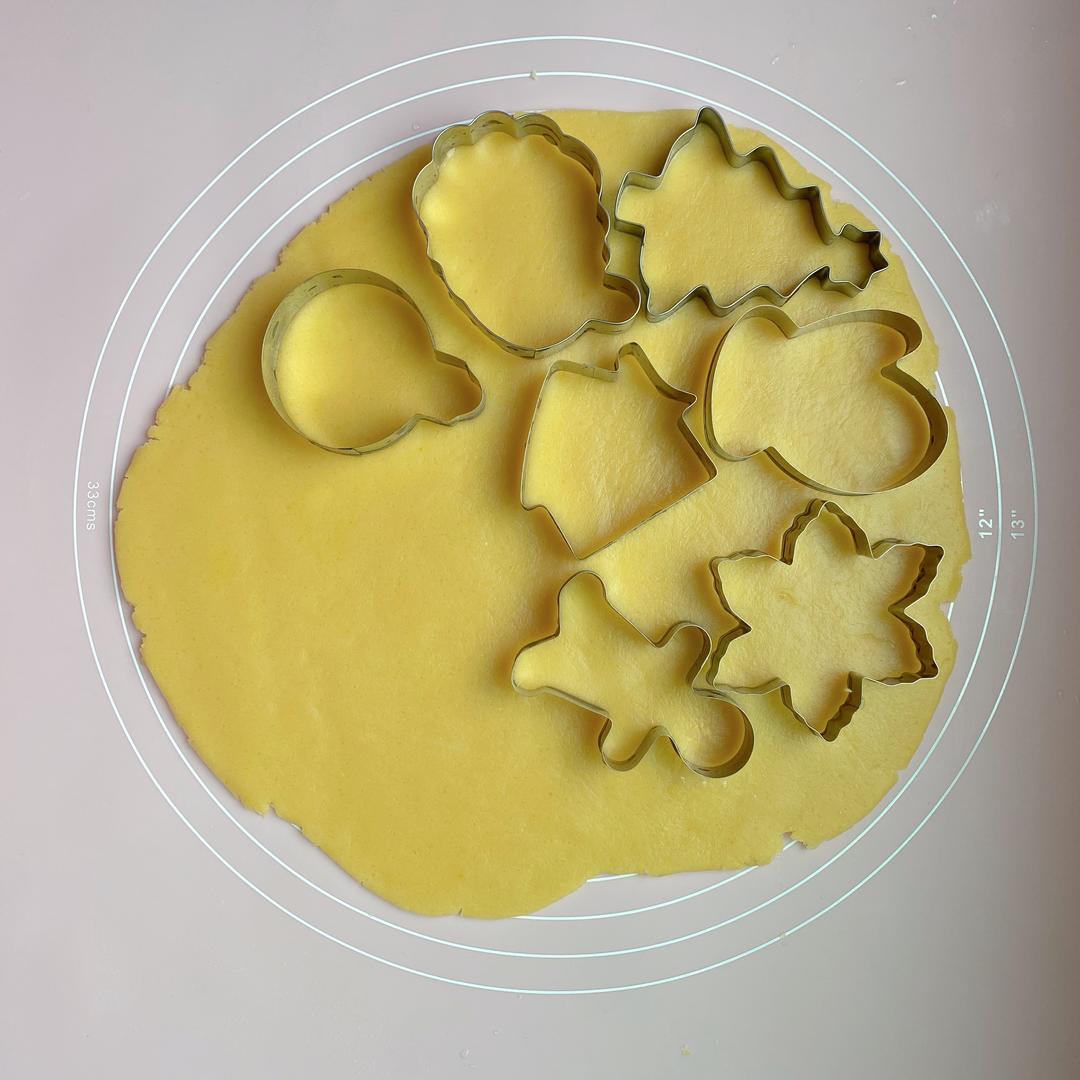
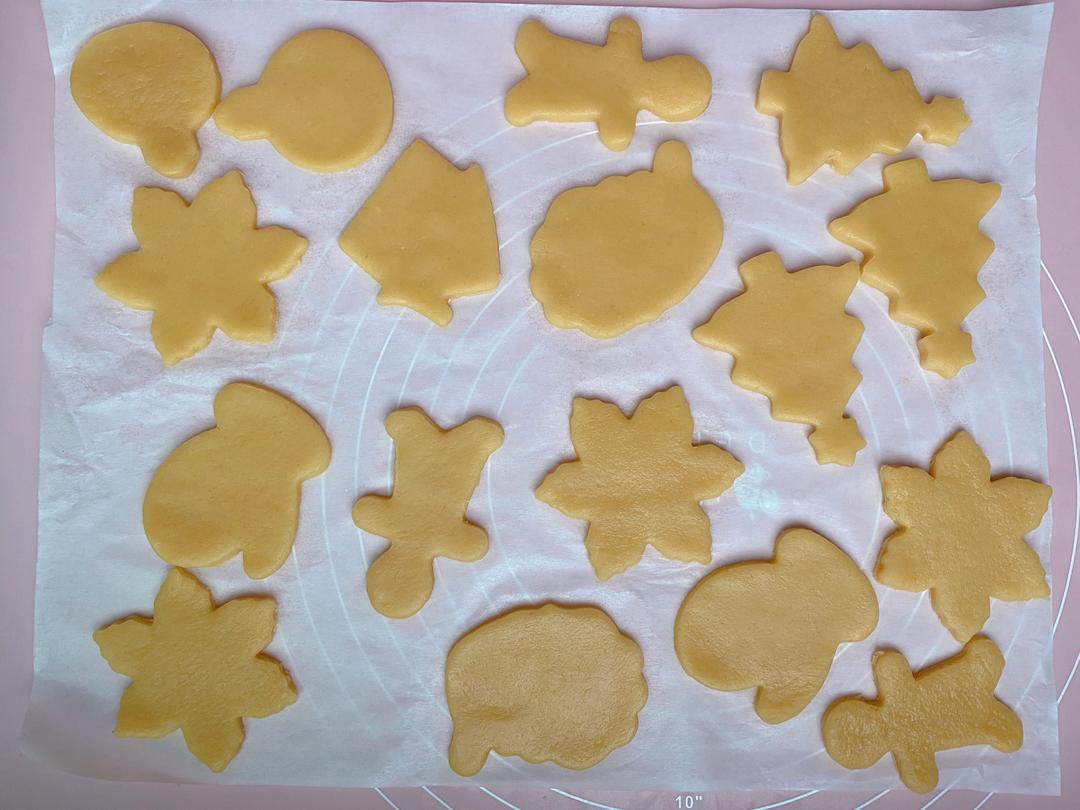
用模具压出不同的形状

步骤 6
🎄圣诞糖霜饼干的做法 步骤{instruction.step+1}

各种形状的模具~

步骤 7
🎄圣诞糖霜饼干的做法 步骤{instruction.step+1}

得到各种不同形状的饼干

步骤 8
🎄圣诞糖霜饼干的做法 步骤{instruction.step+1}

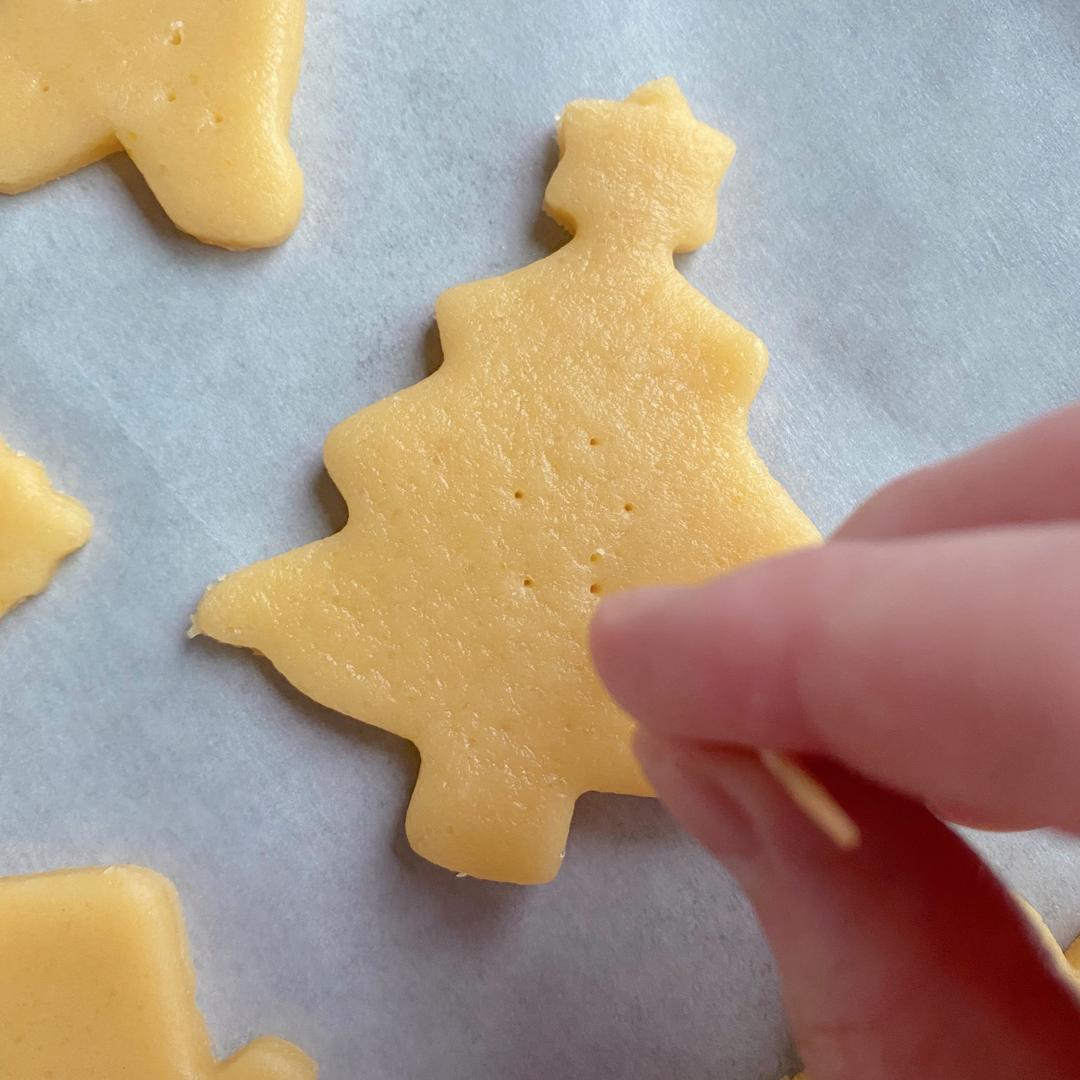
用牙签在饼干上戳几个孔,防止鼓包

步骤 9
🎄圣诞糖霜饼干的做法 步骤{instruction.step+1}

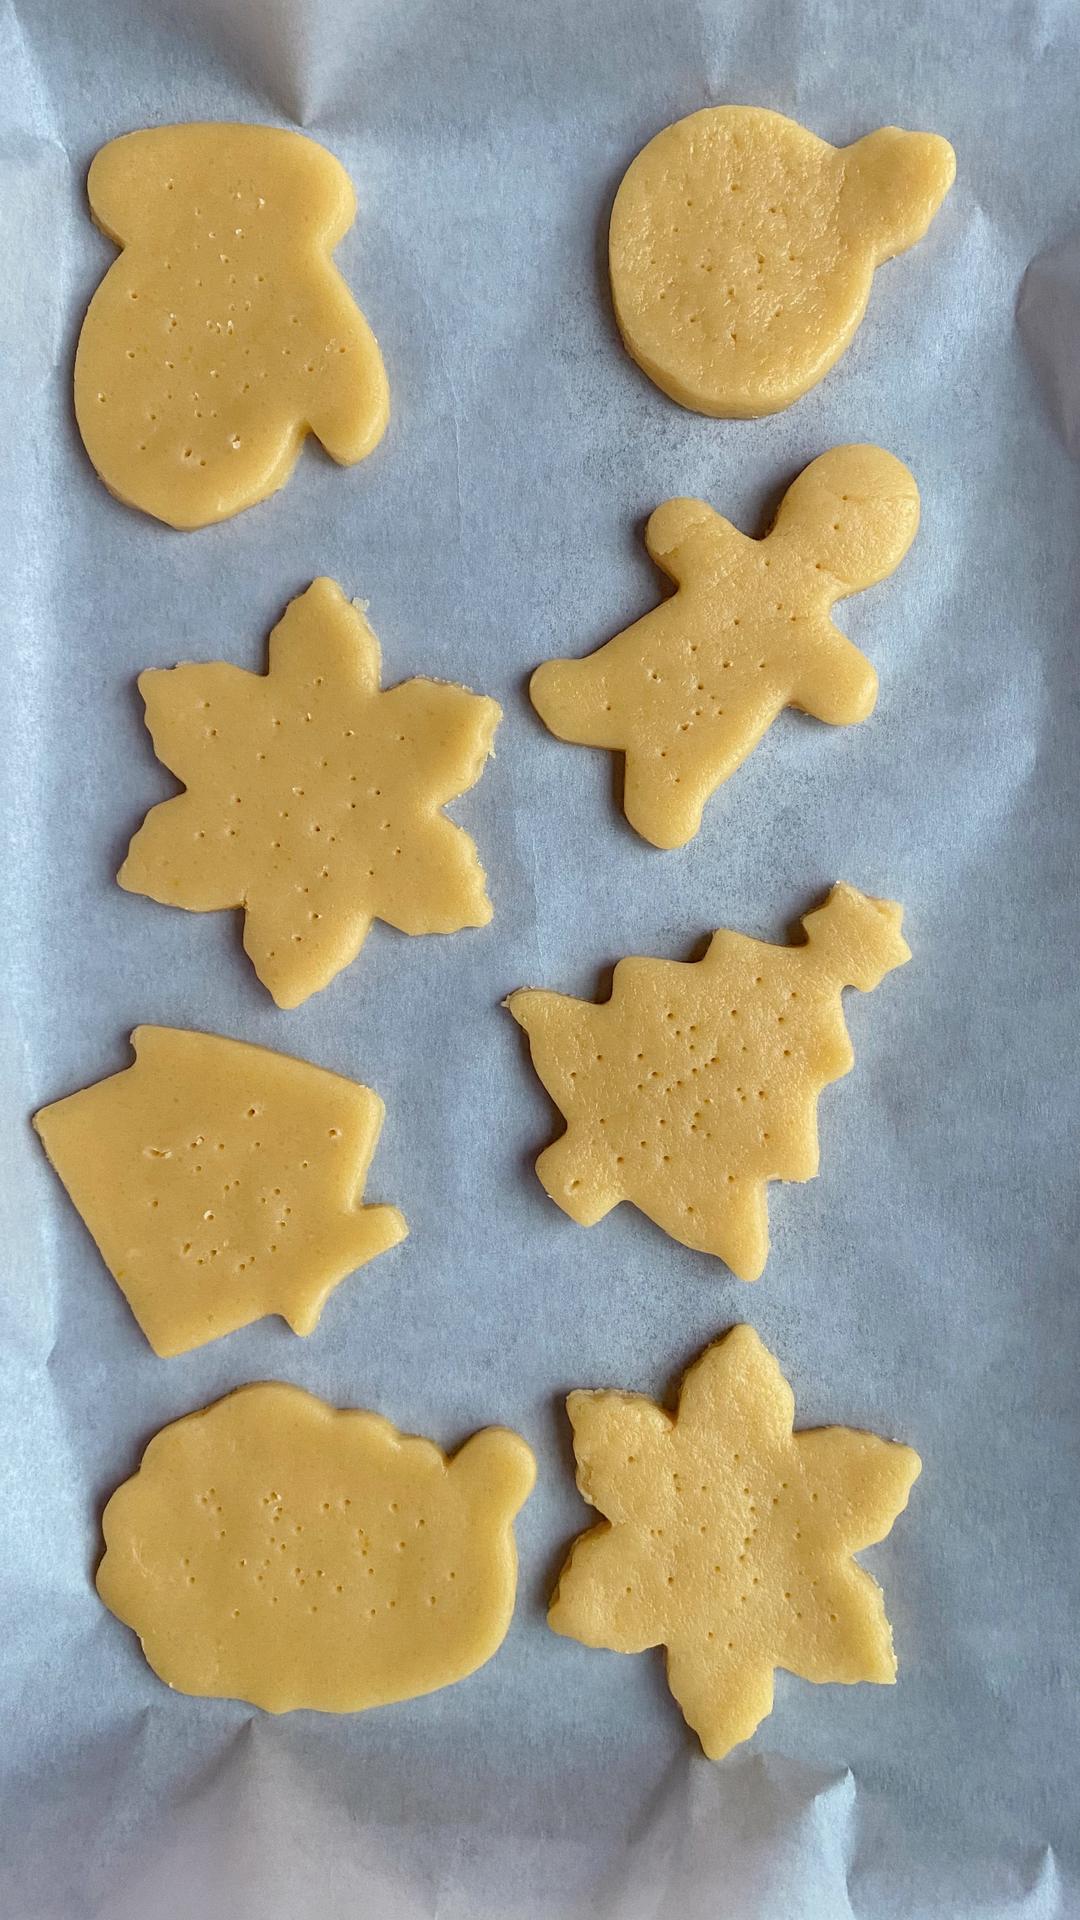
每个都戳洞,放入烤箱150度烤25分钟

步骤 10
🎄圣诞糖霜饼干的做法 步骤{instruction.step+1}

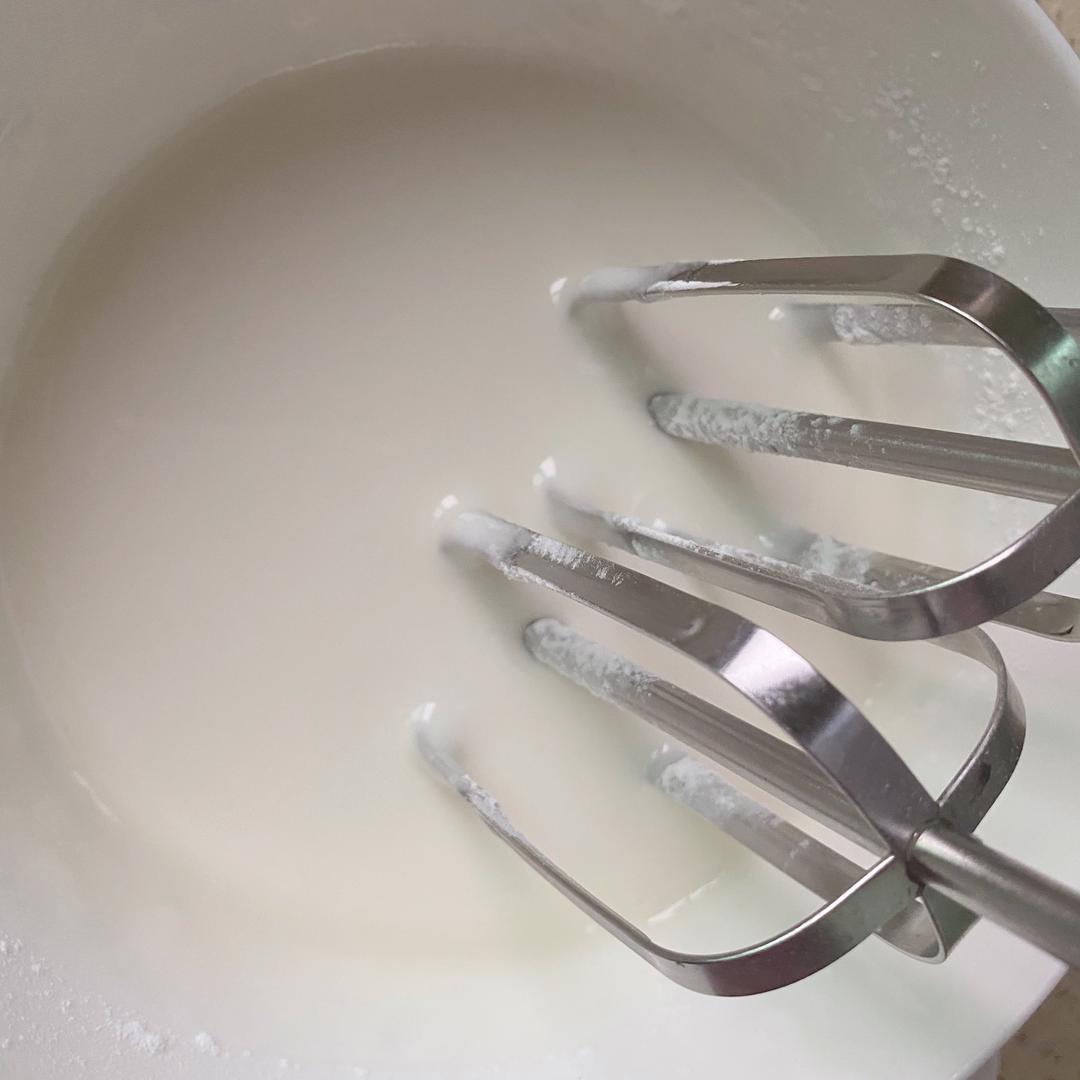
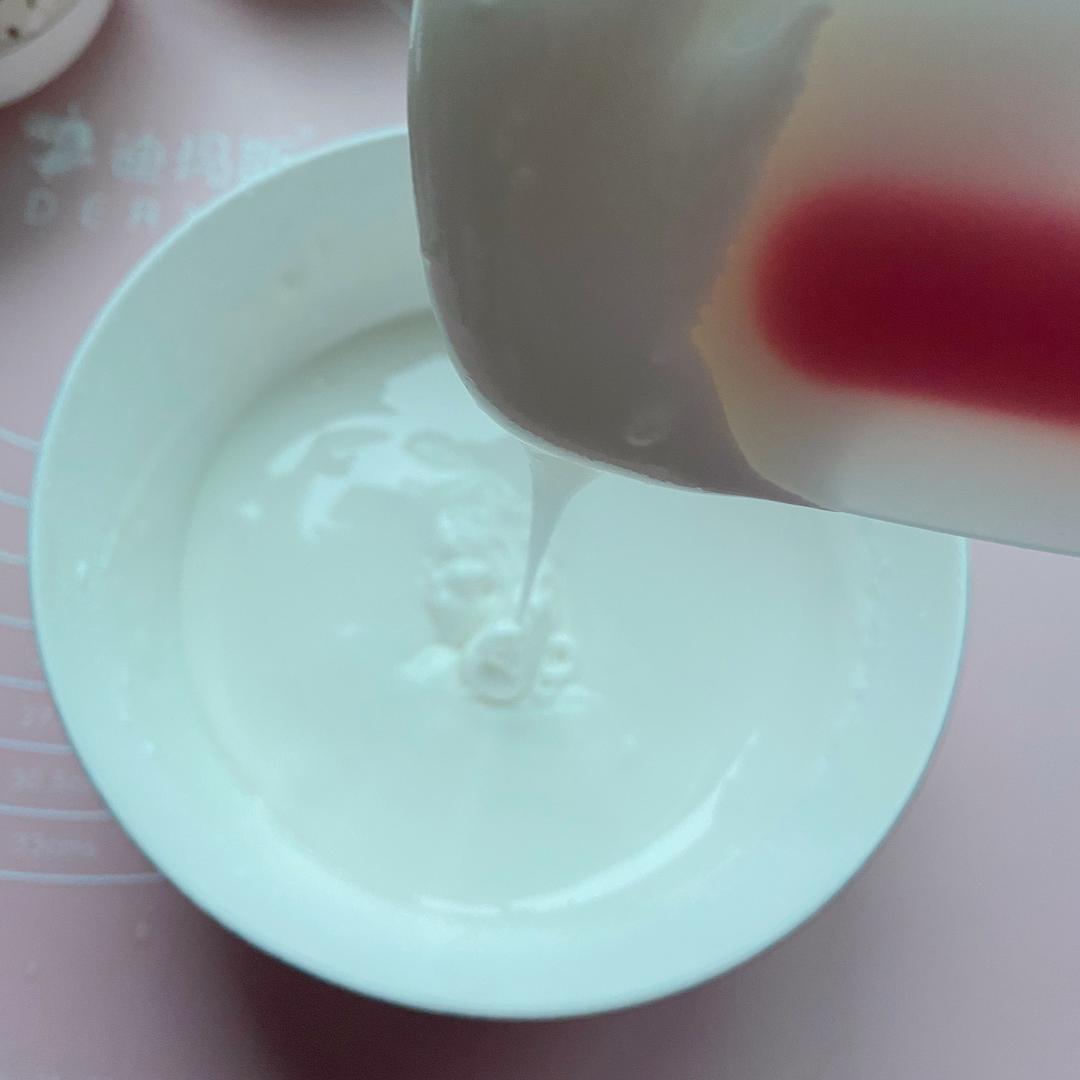
30g蛋清加入150g糖粉打匀

步骤 11
🎄圣诞糖霜饼干的做法 步骤{instruction.step+1}

至提起糖霜低落10s后融合,然后加入不同颜色的食用色素调制成不同颜色的糖霜并且装入裱花袋
步骤 12
🎄圣诞糖霜饼干的做法 步骤{instruction.step+1}

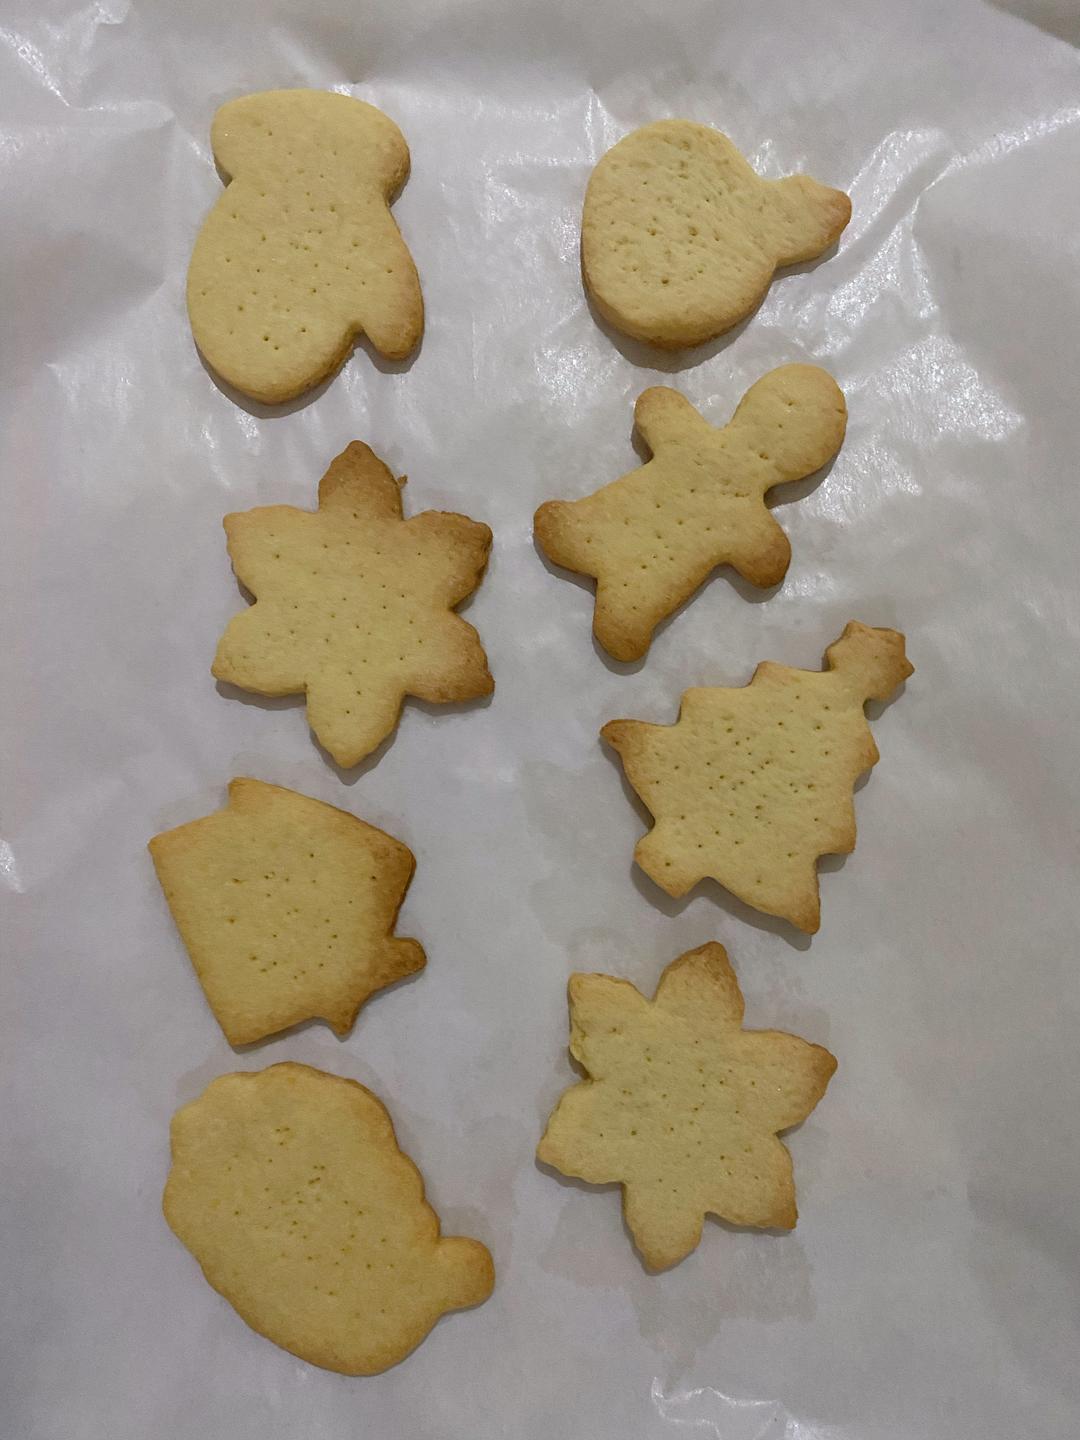
饼干出炉了

步骤 13
🎄圣诞糖霜饼干的做法 步骤{instruction.step+1}

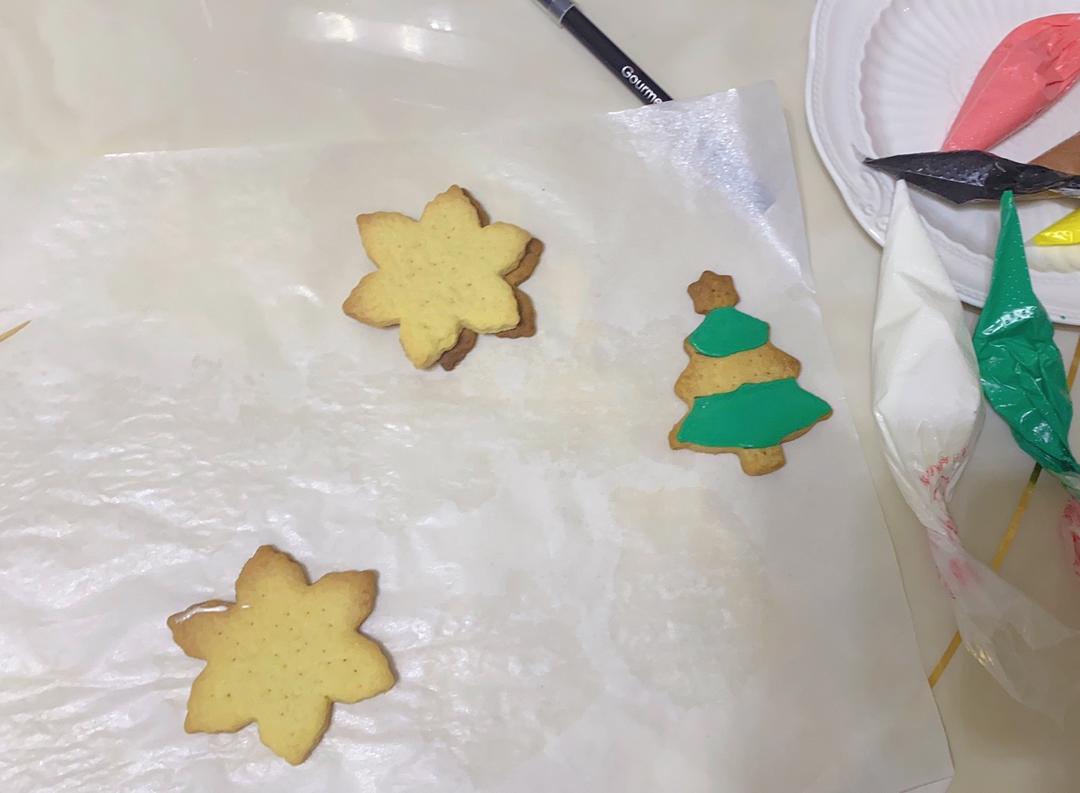
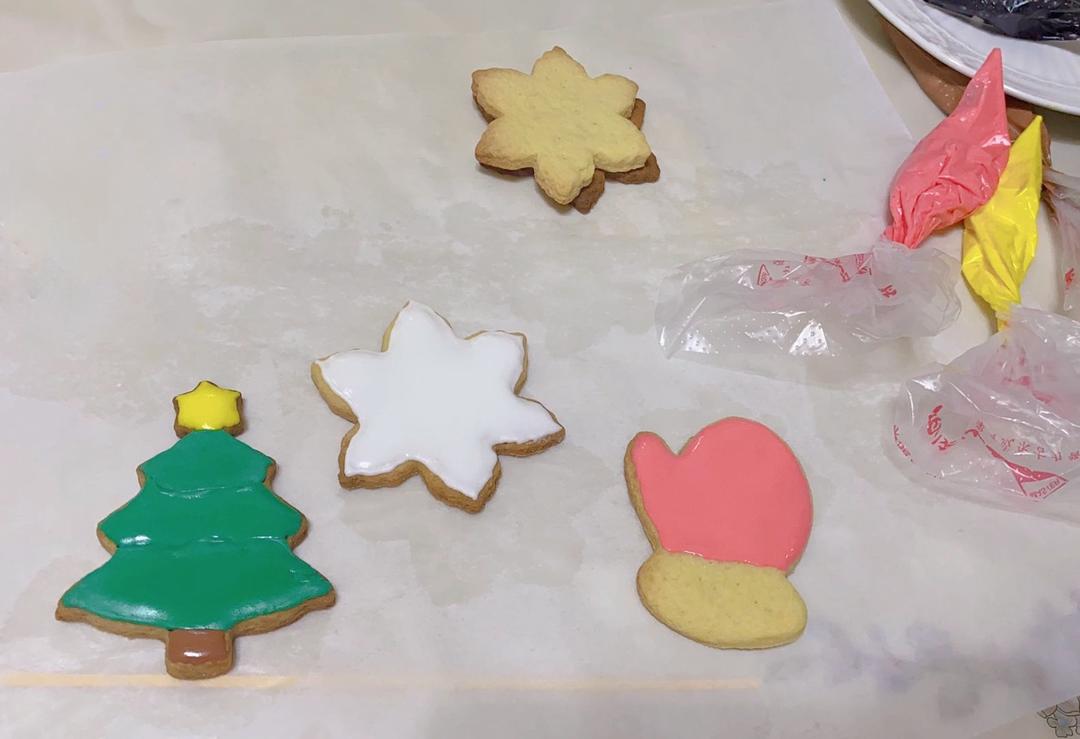
不同颜色的糖霜涂抹在饼干表面,等一层干了之后再涂另一层,饼干会更有层次感

步骤 14
🎄圣诞糖霜饼干的做法 步骤{instruction.step+1}

静置风干的时间比较长,可以用吹风机轻轻吹干也可以烤箱30度左右烘干

步骤 15
🎄圣诞糖霜饼干的做法 步骤{instruction.step+1}

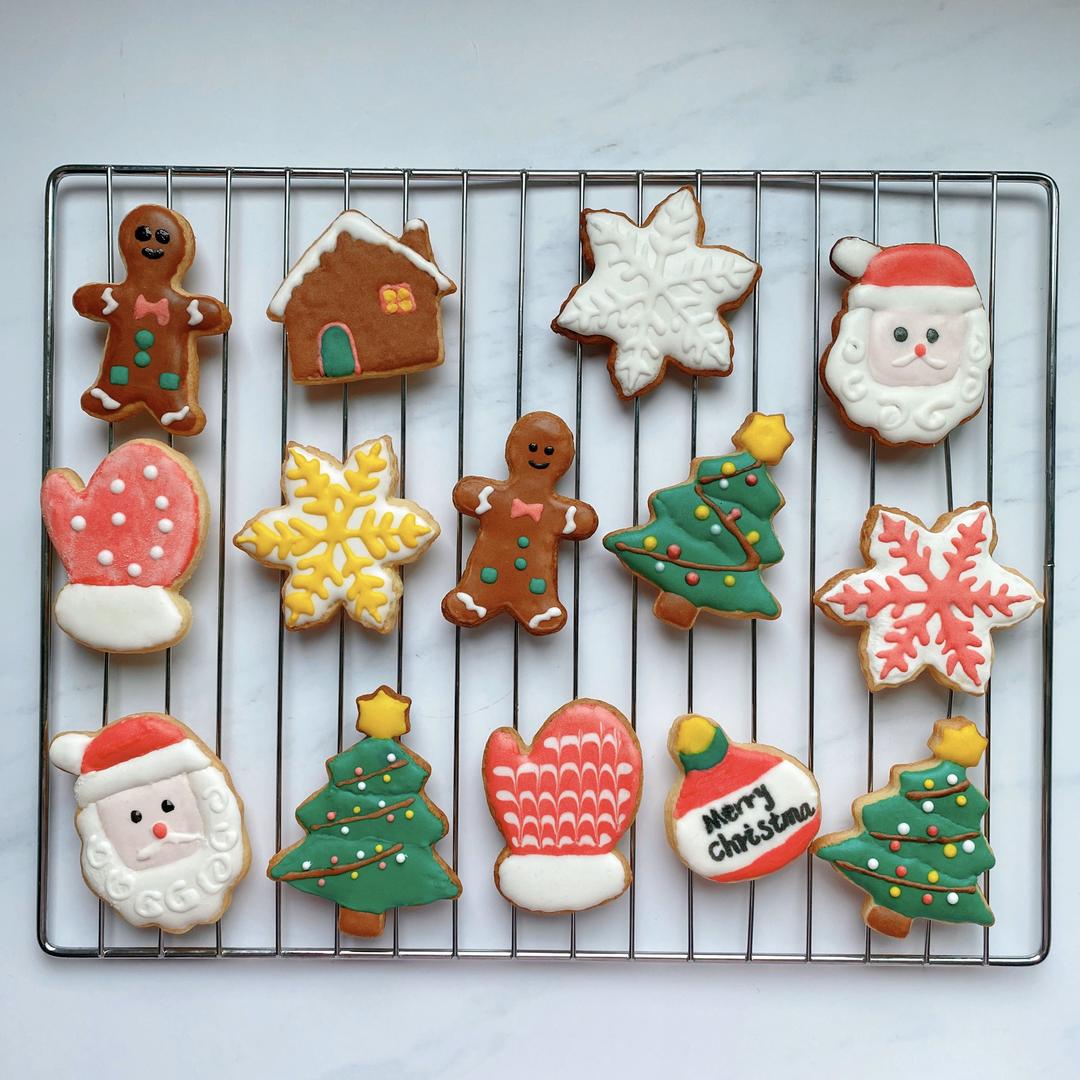
一个个可爱精致的圣诞节饼干就出炉啦~

🎄圣诞糖霜饼干的小贴士

1.介意蛋清是否可以生吃的可以准备无菌蛋 2.饼干涂抹是一层颜色干了再涂抹另一层,觉得麻烦可用烤箱30度烘干饼干
菜谱创建时间:2020-04-18 06:54:53