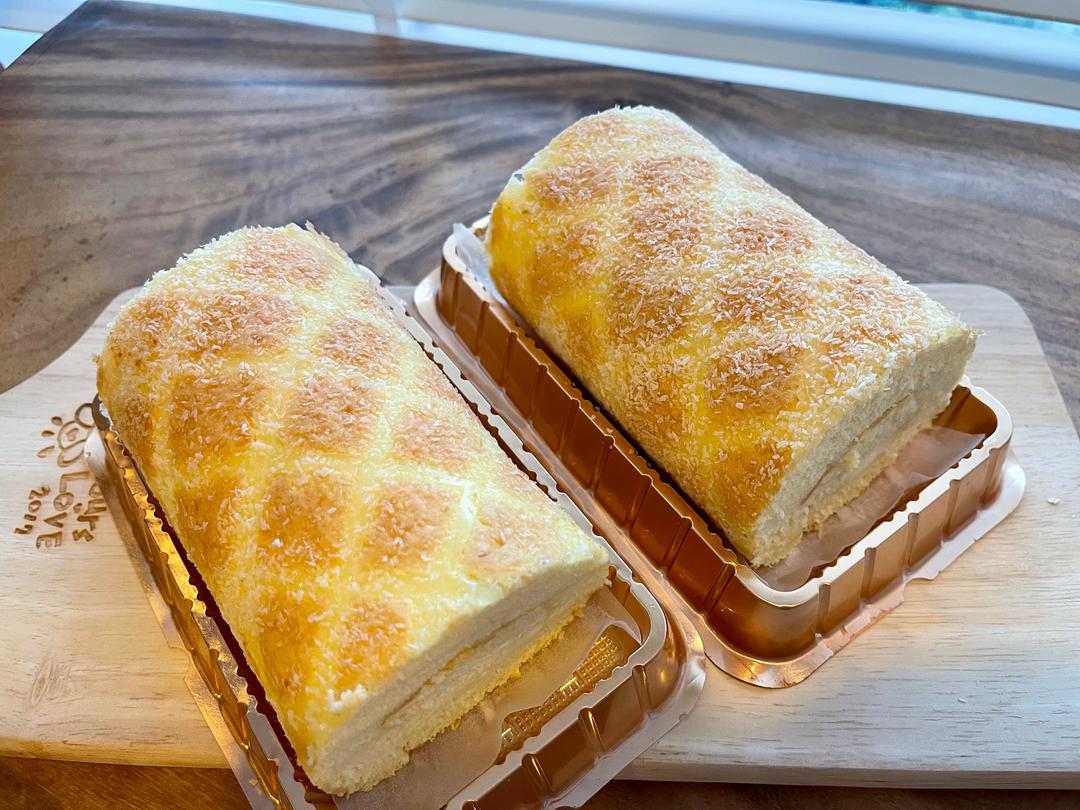
椰香香妃卷 小美版

椰香香妃卷 小美版

2066人浏览 221人收藏 3人做过
作者:Cindy手作
Cindy手作
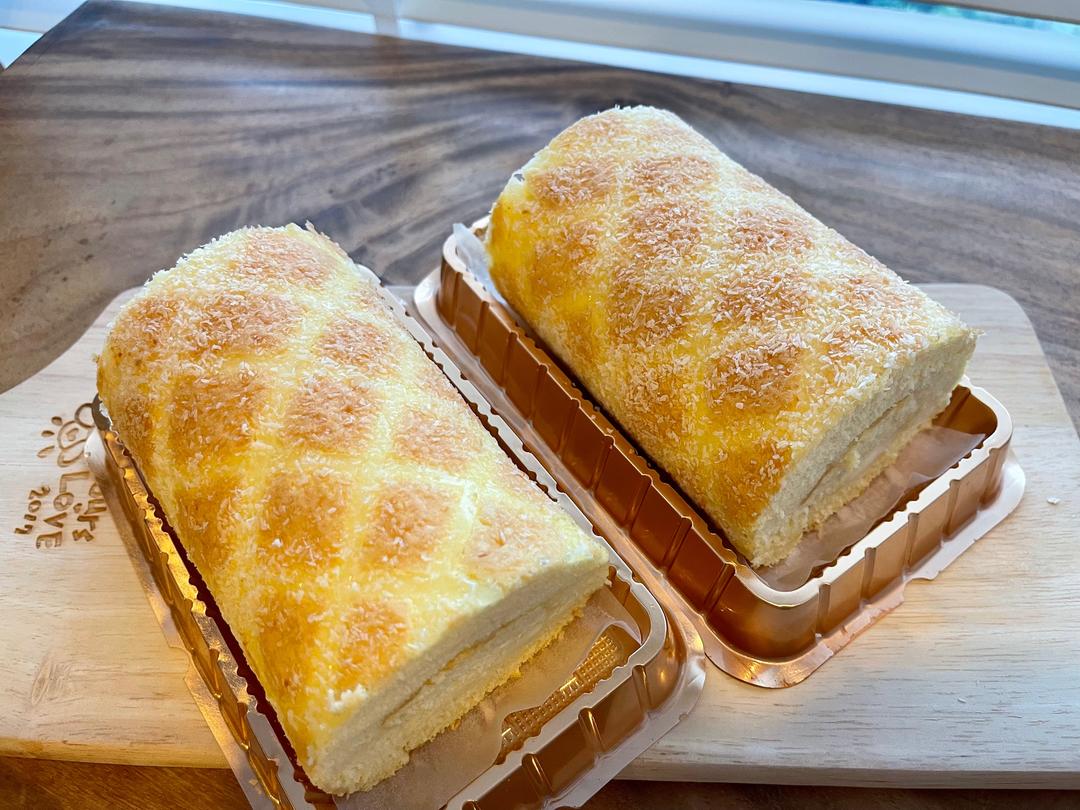
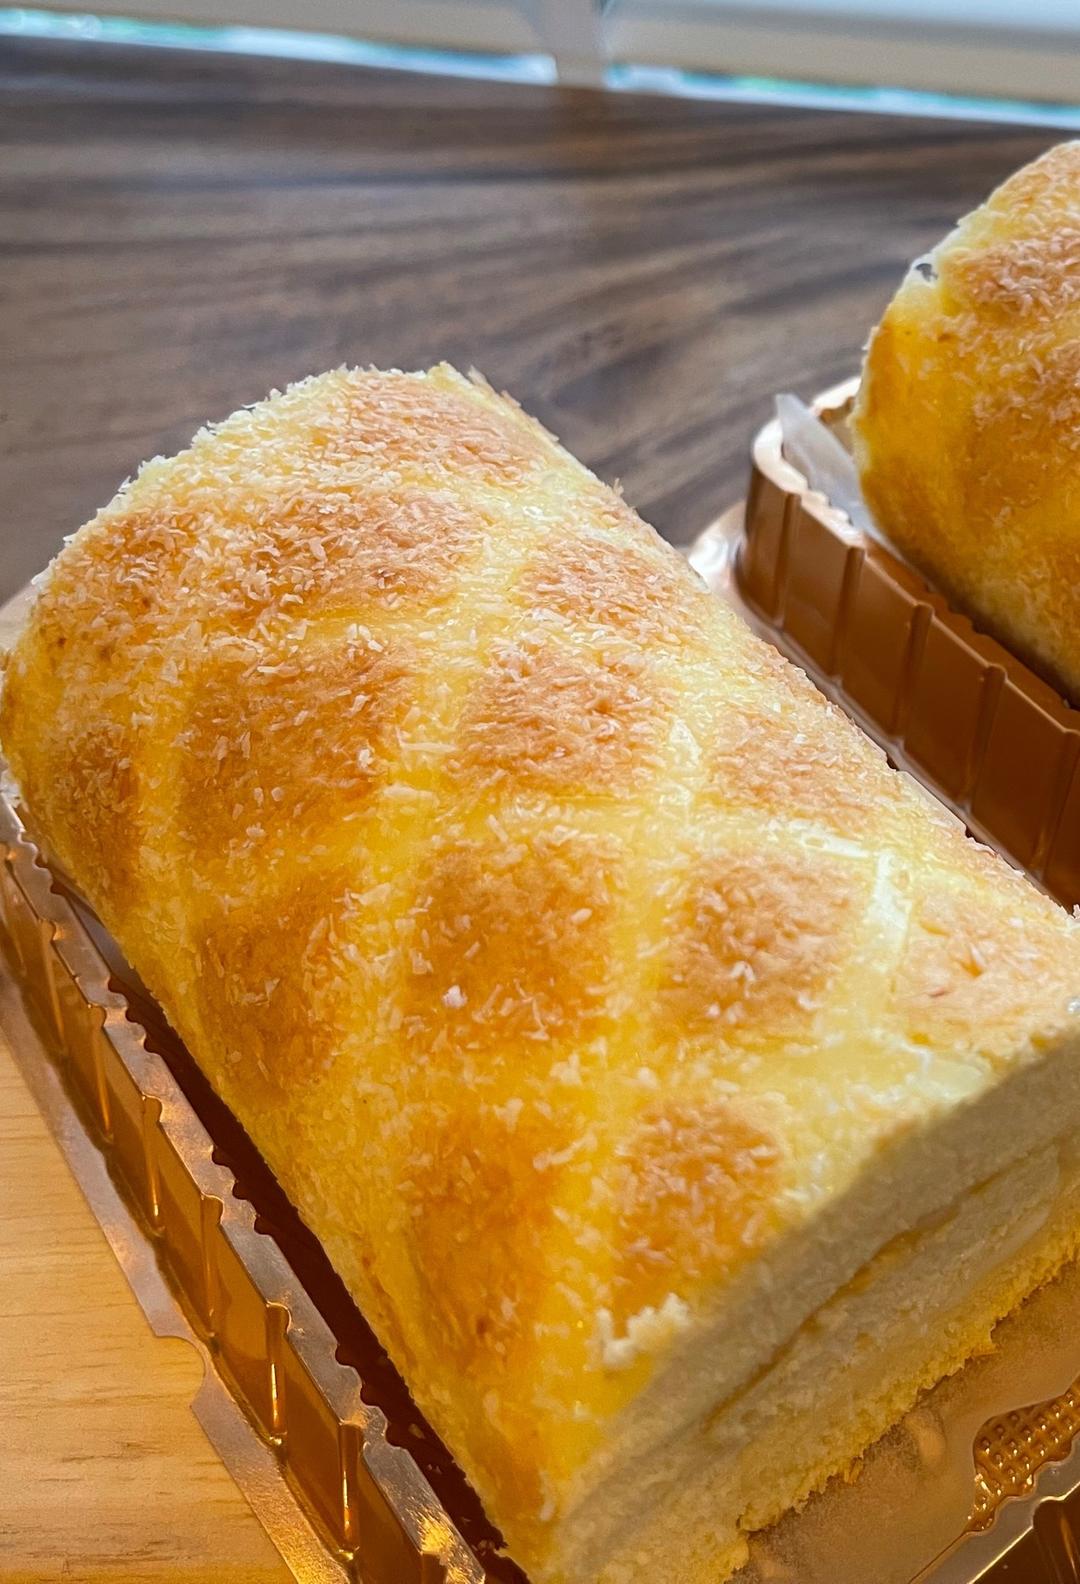
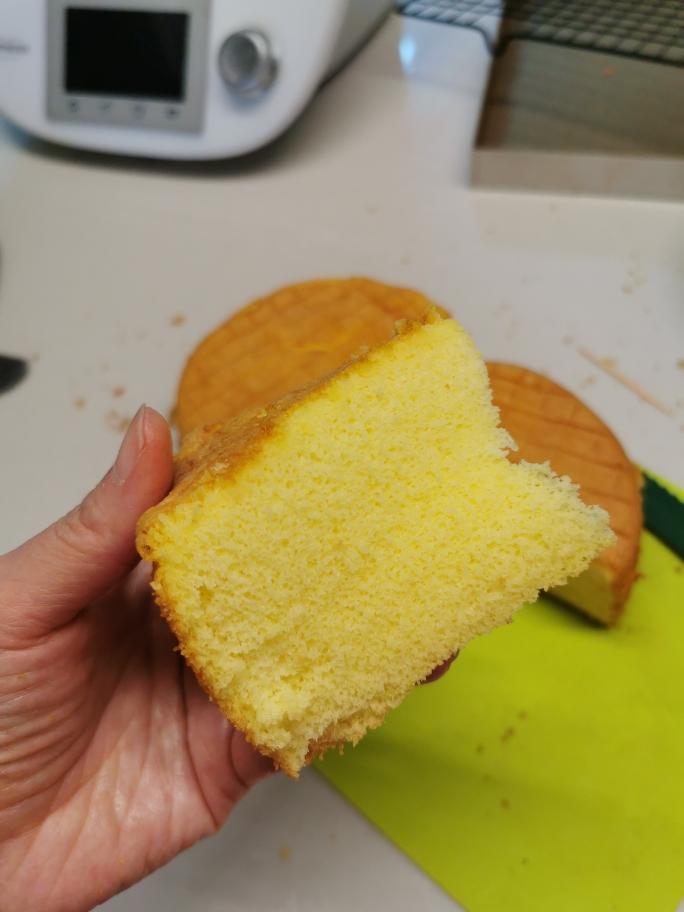
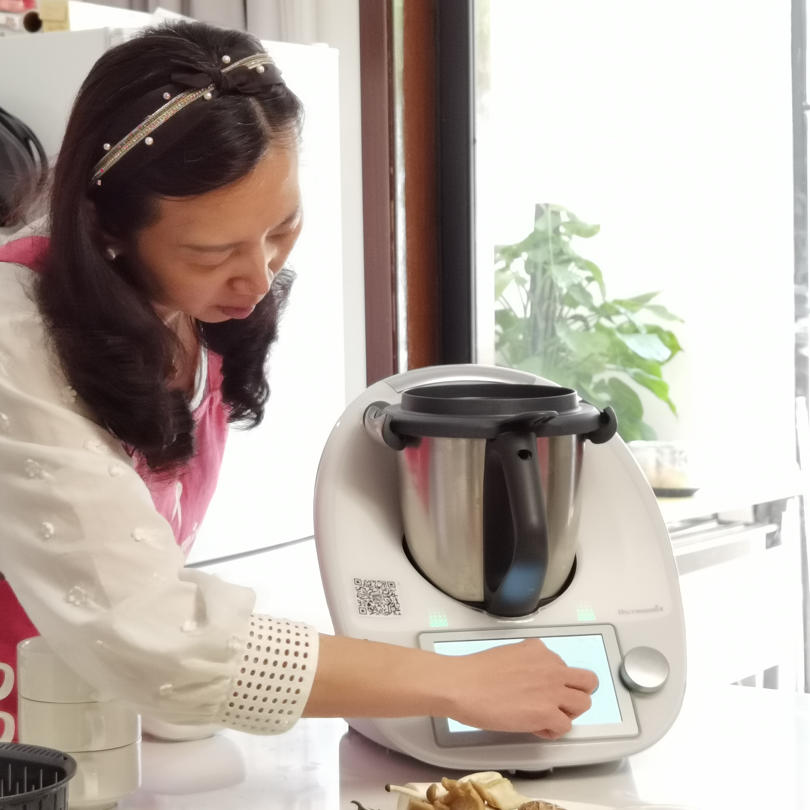
网红同款-椰香香妃卷,小美做蛋糕有多轻松,做过的都知道,12分钟打发全蛋,5秒混合面粉和油脂,蛋糕糊就做好了[偷笑] 这款蛋糕卷,咸甜带点椰香,确实好吃😋 烤箱预热170度 烘烤20分钟 28*28烤盘

用料

椰香香妃卷 小美版的做法步骤

步骤 1
椰香香妃卷 小美版的做法 步骤{instruction.step+1}

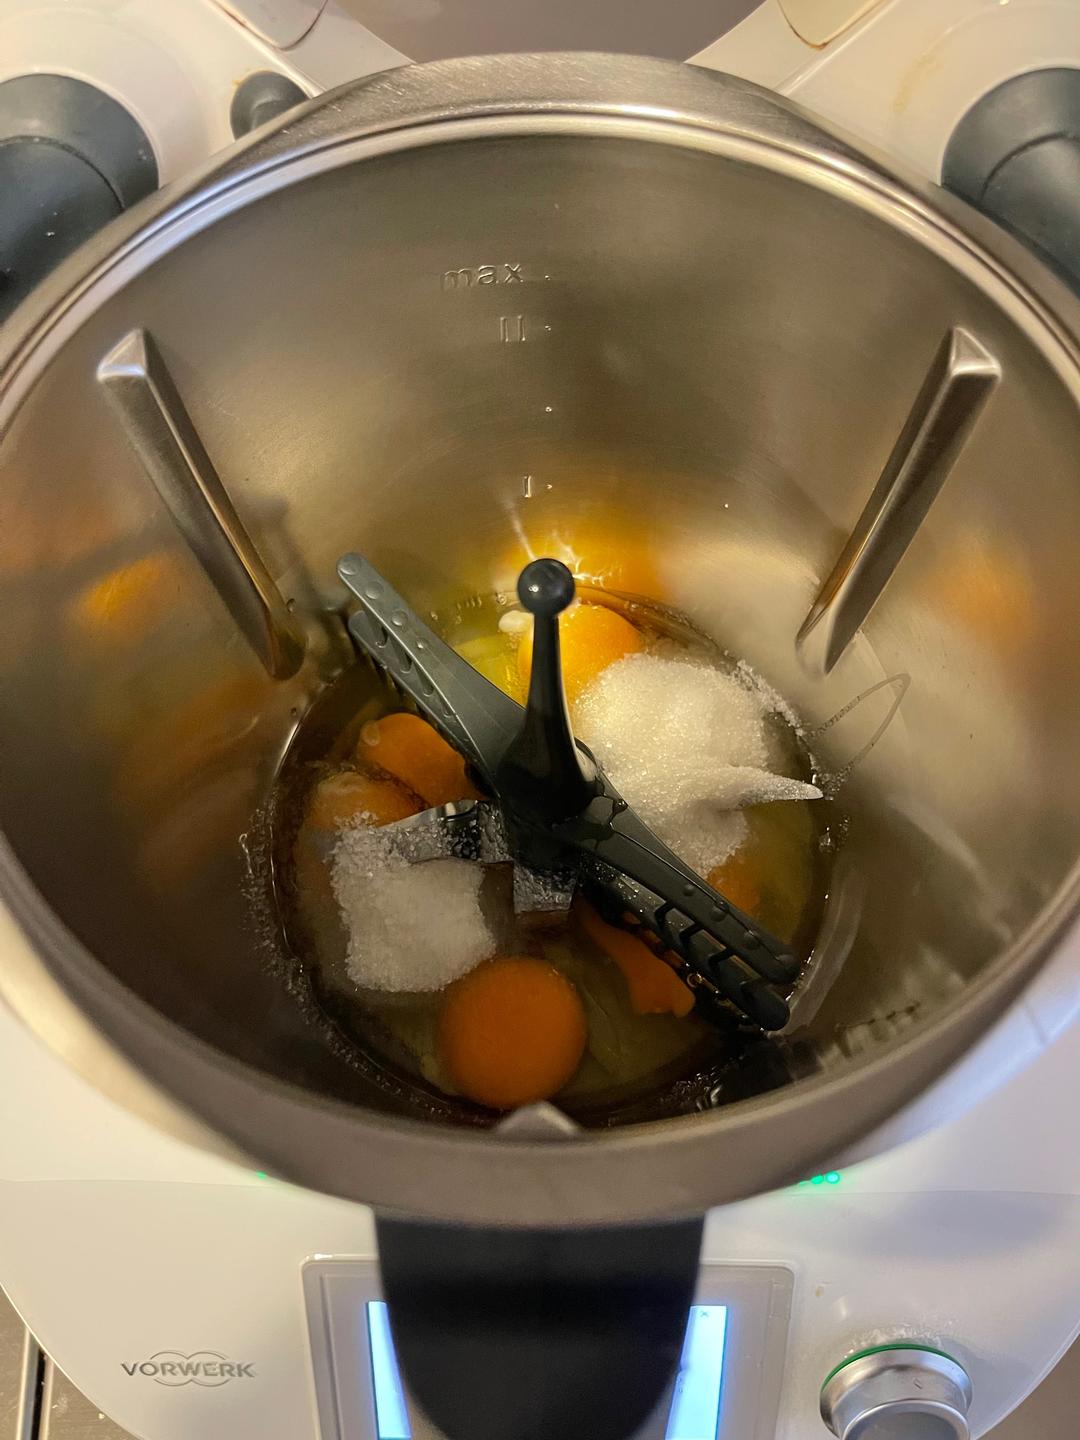
干净无水无油主锅,插入蝴蝶棒,放入鸡蛋和砂糖
步骤 2
椰香香妃卷 小美版的做法 步骤{instruction.step+1}

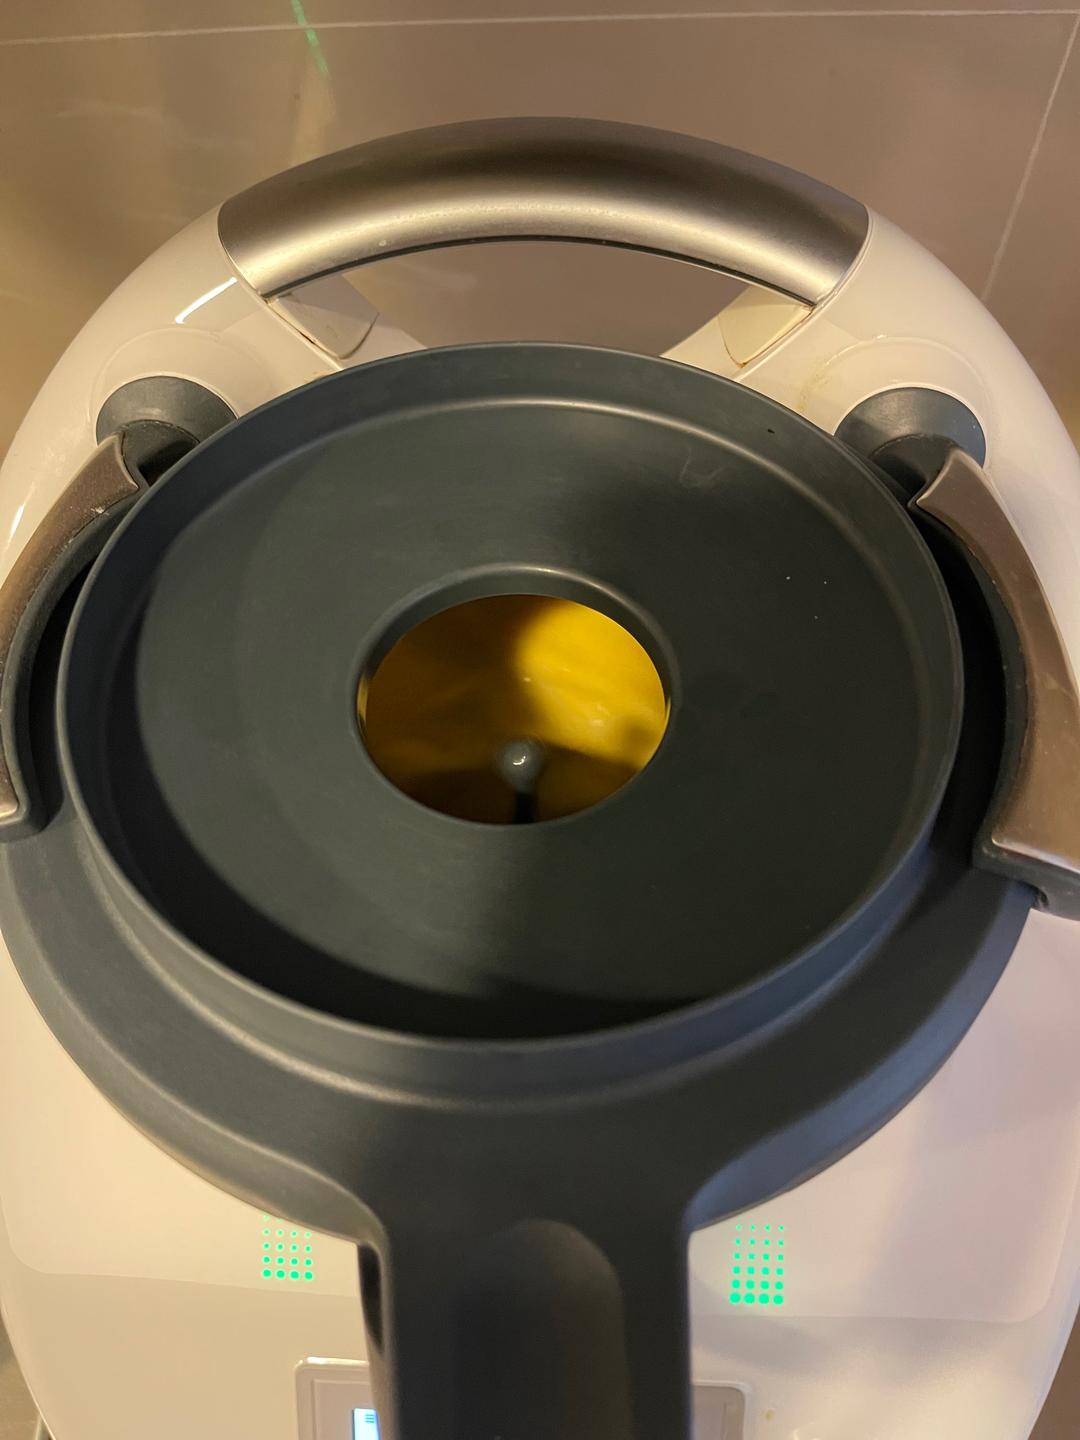
不要盖量杯盖,设定12分钟/40度/速度4

步骤 3
椰香香妃卷 小美版的做法 步骤{instruction.step+1}

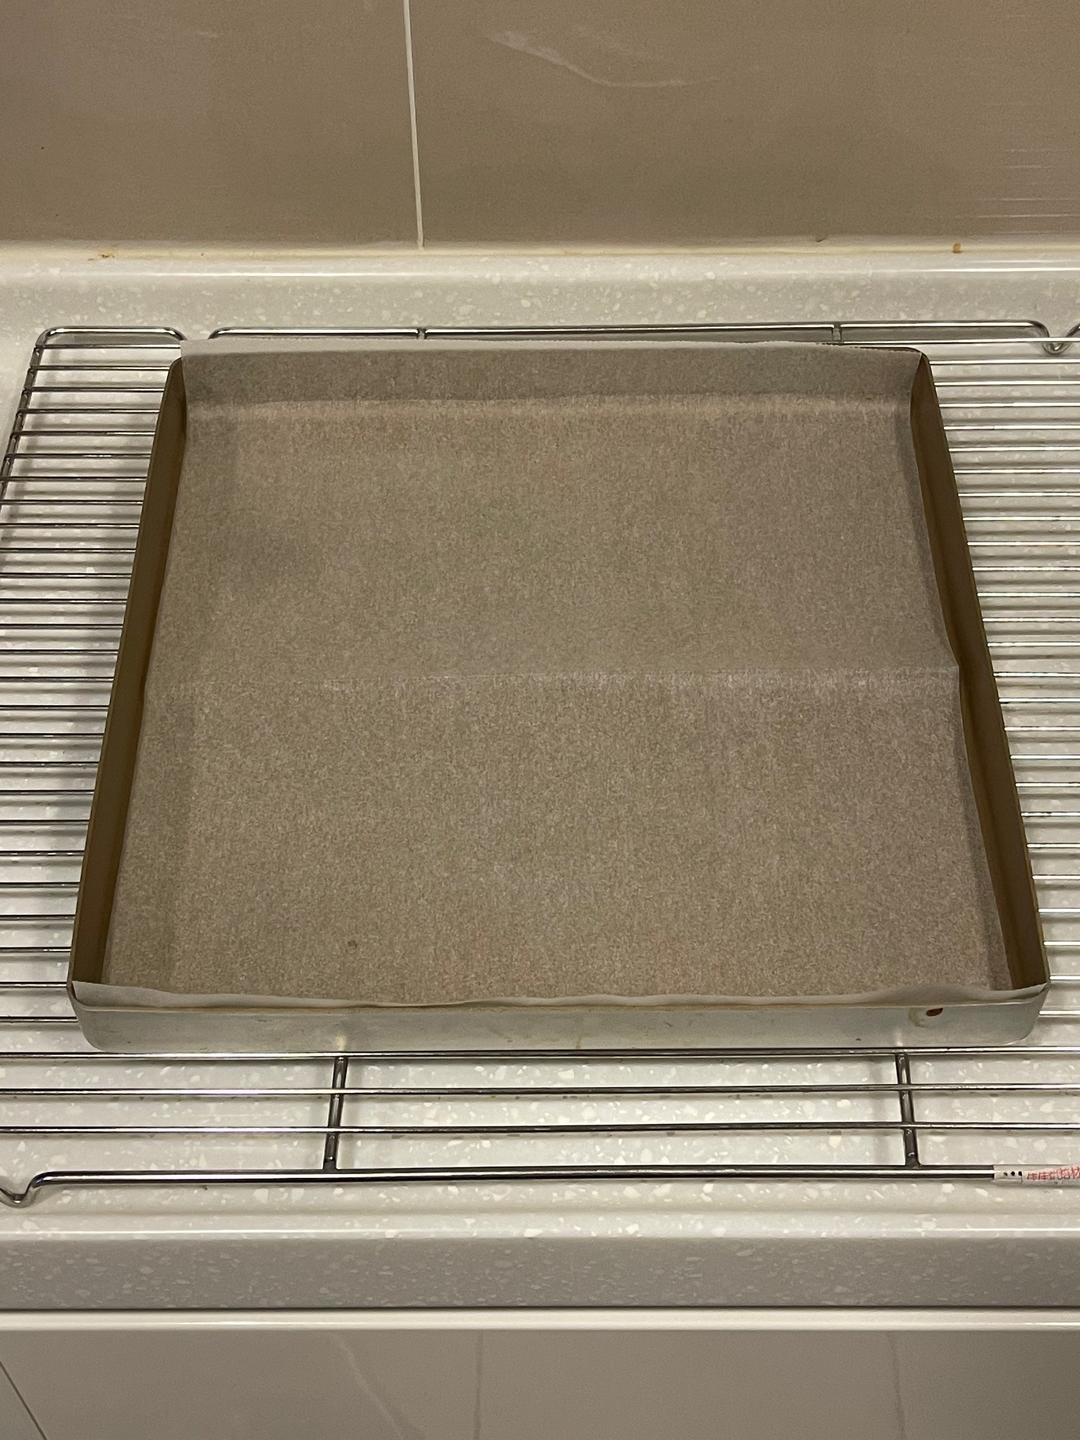
打发全蛋的同时,先预热烤箱170度,同时烤盘准备烘焙纸

步骤 4
椰香香妃卷 小美版的做法 步骤{instruction.step+1}

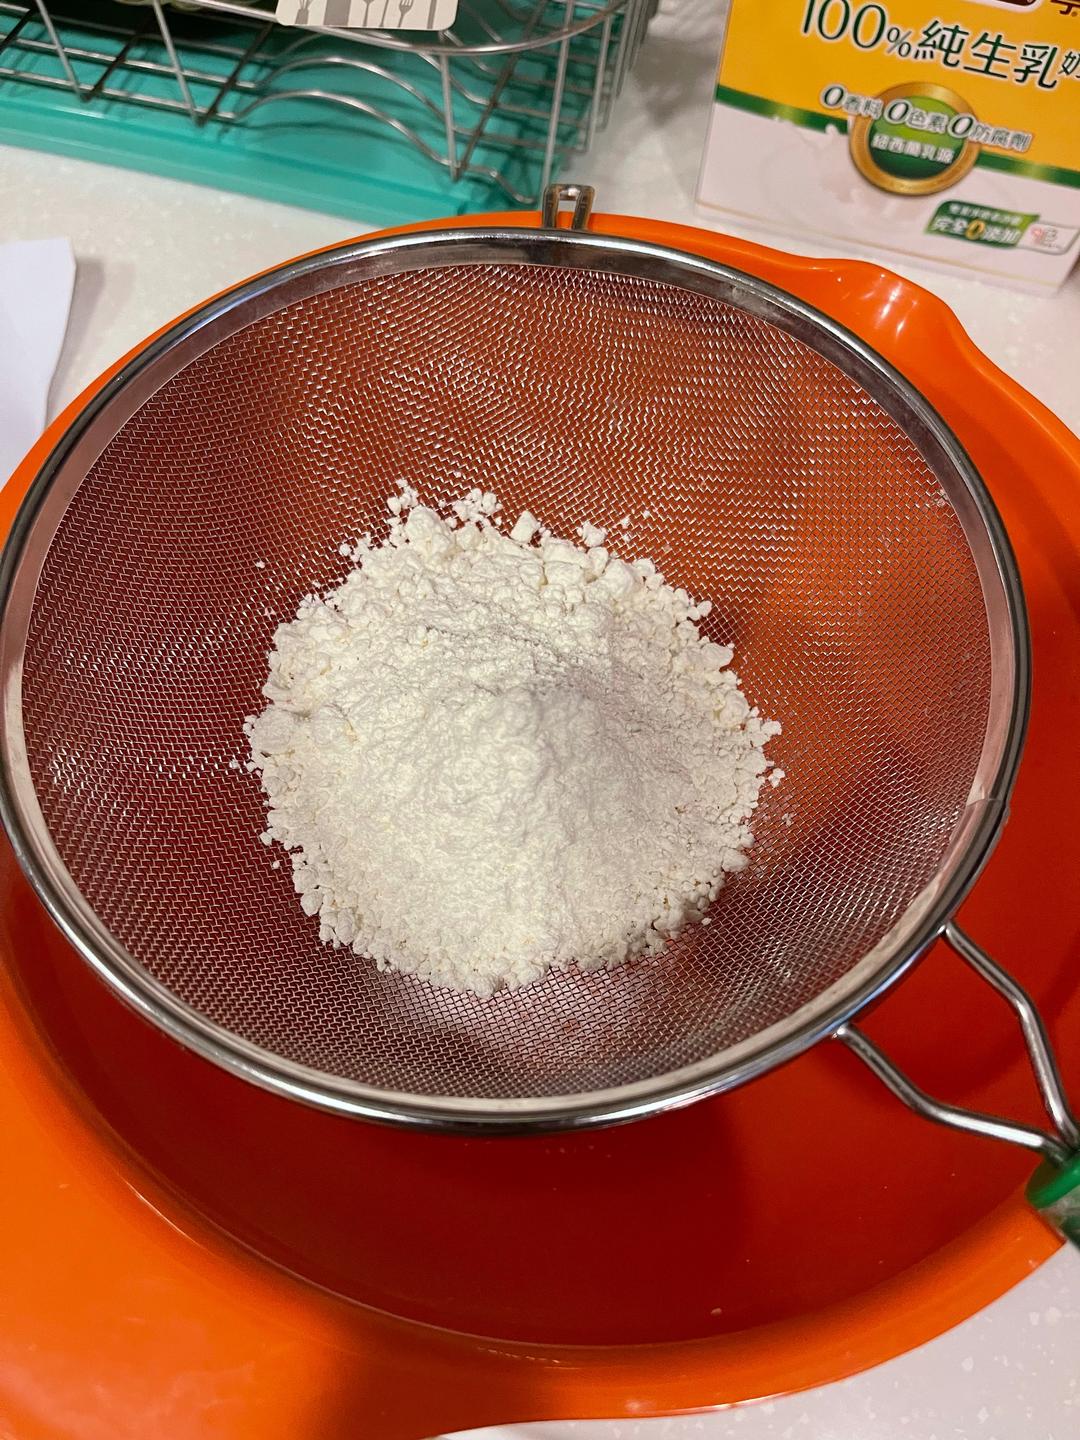
面粉过筛备用

步骤 5
椰香香妃卷 小美版的做法 步骤{instruction.step+1}

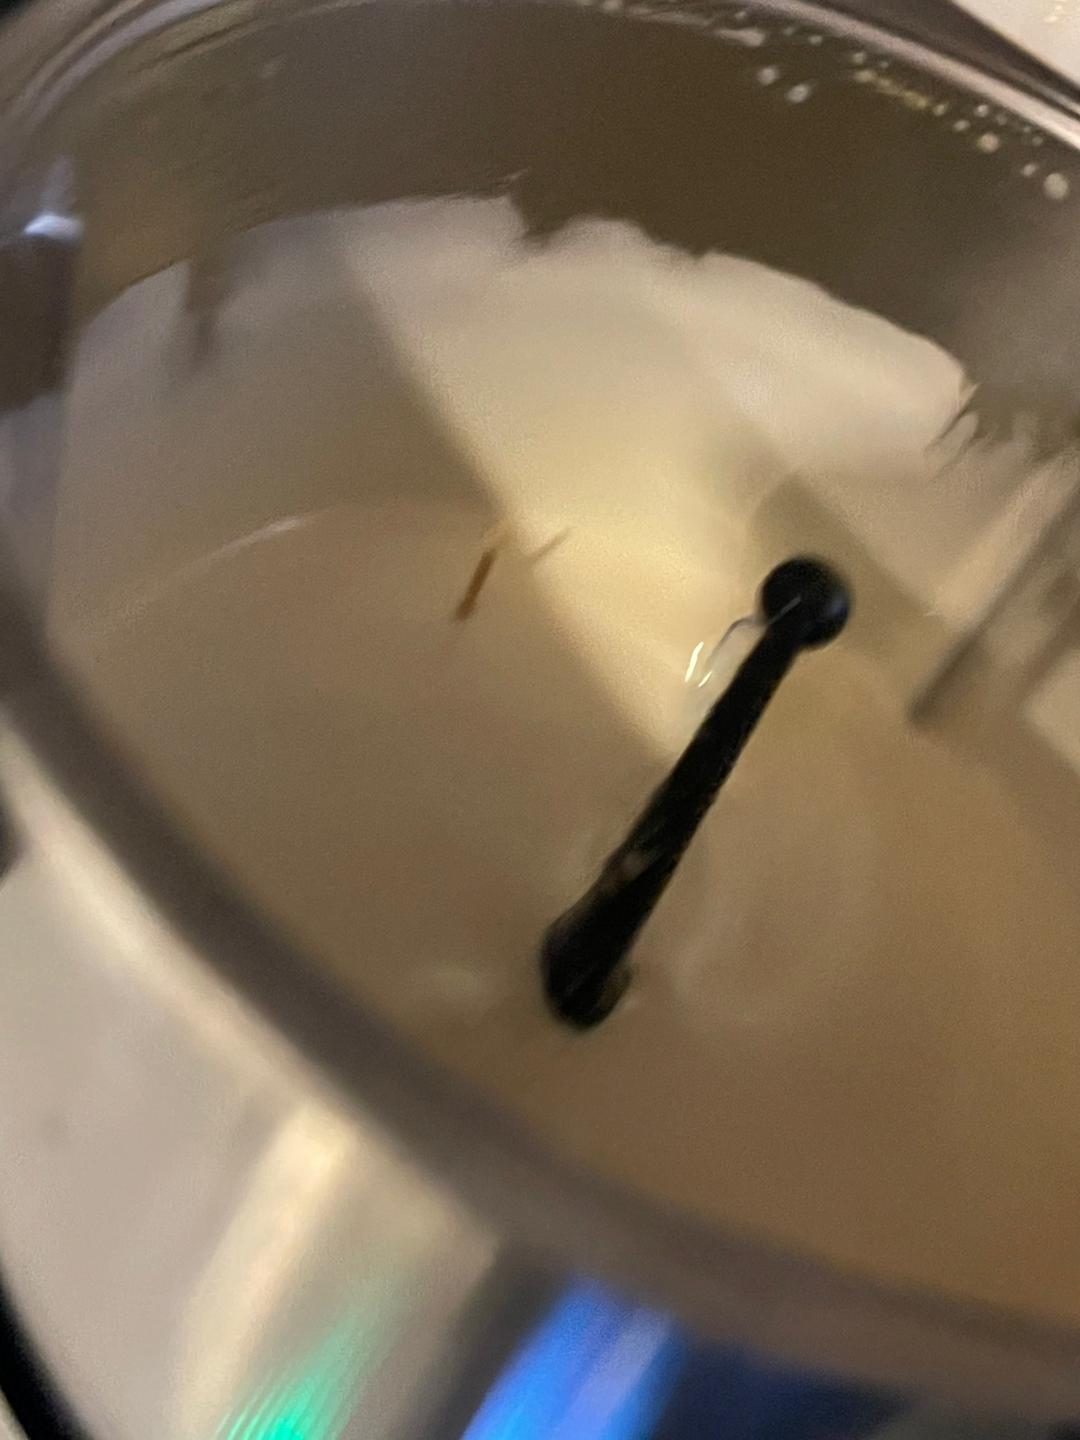
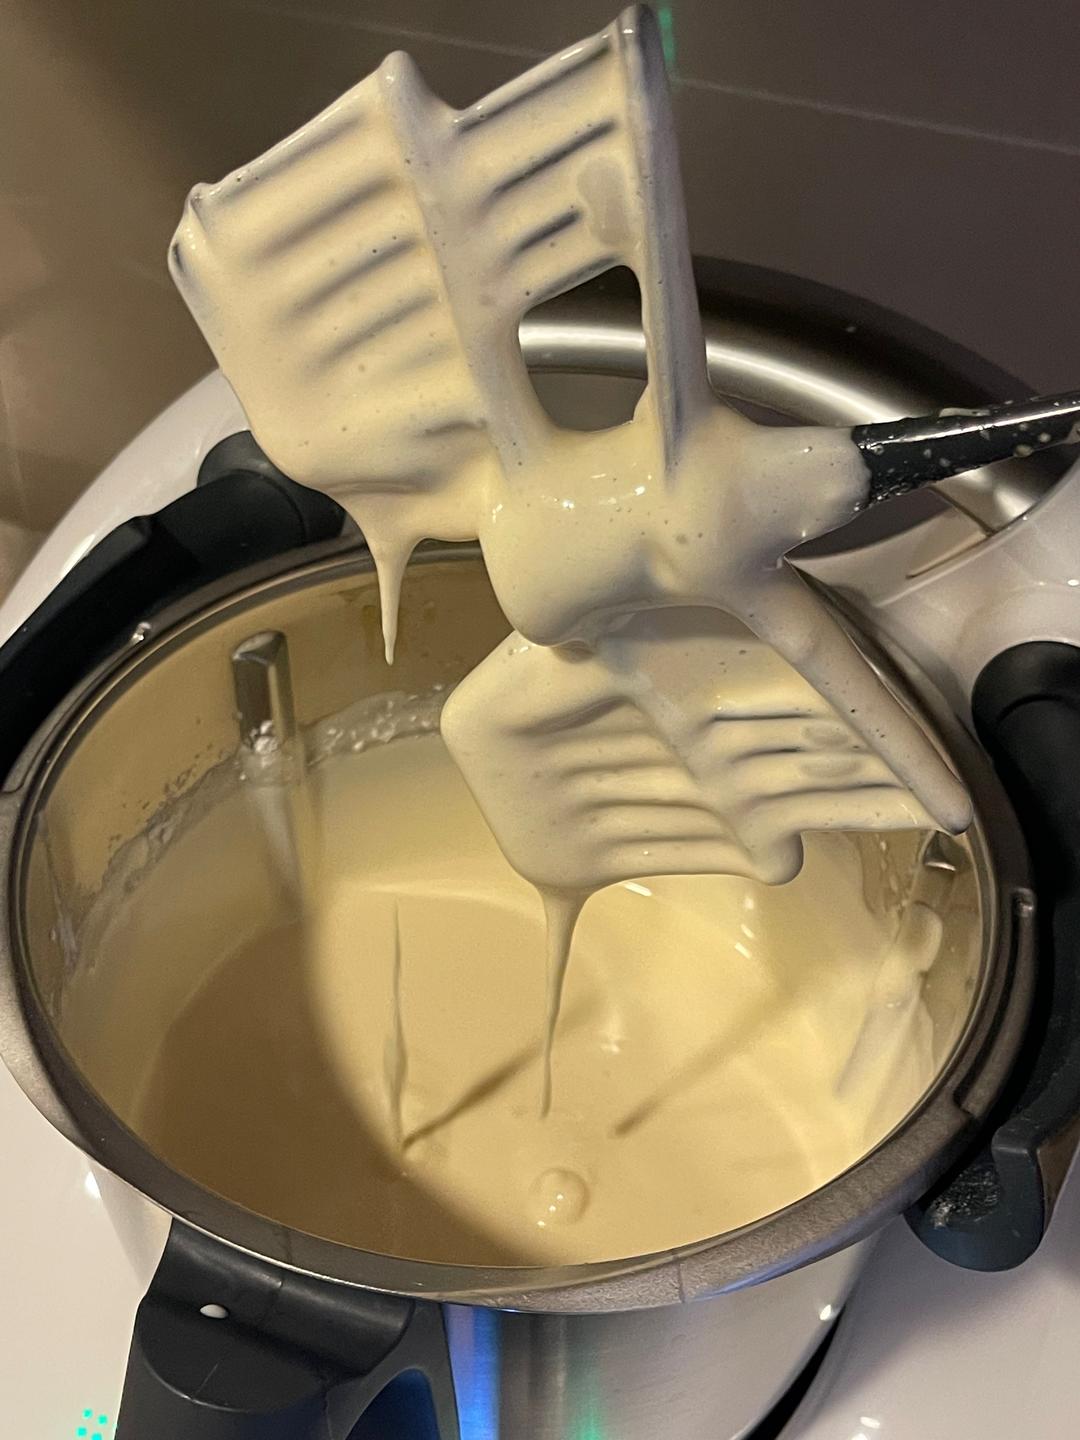
全蛋打发,要打的非常稳定,插入牙签可以站住不倒

步骤 6
椰香香妃卷 小美版的做法 步骤{instruction.step+1}

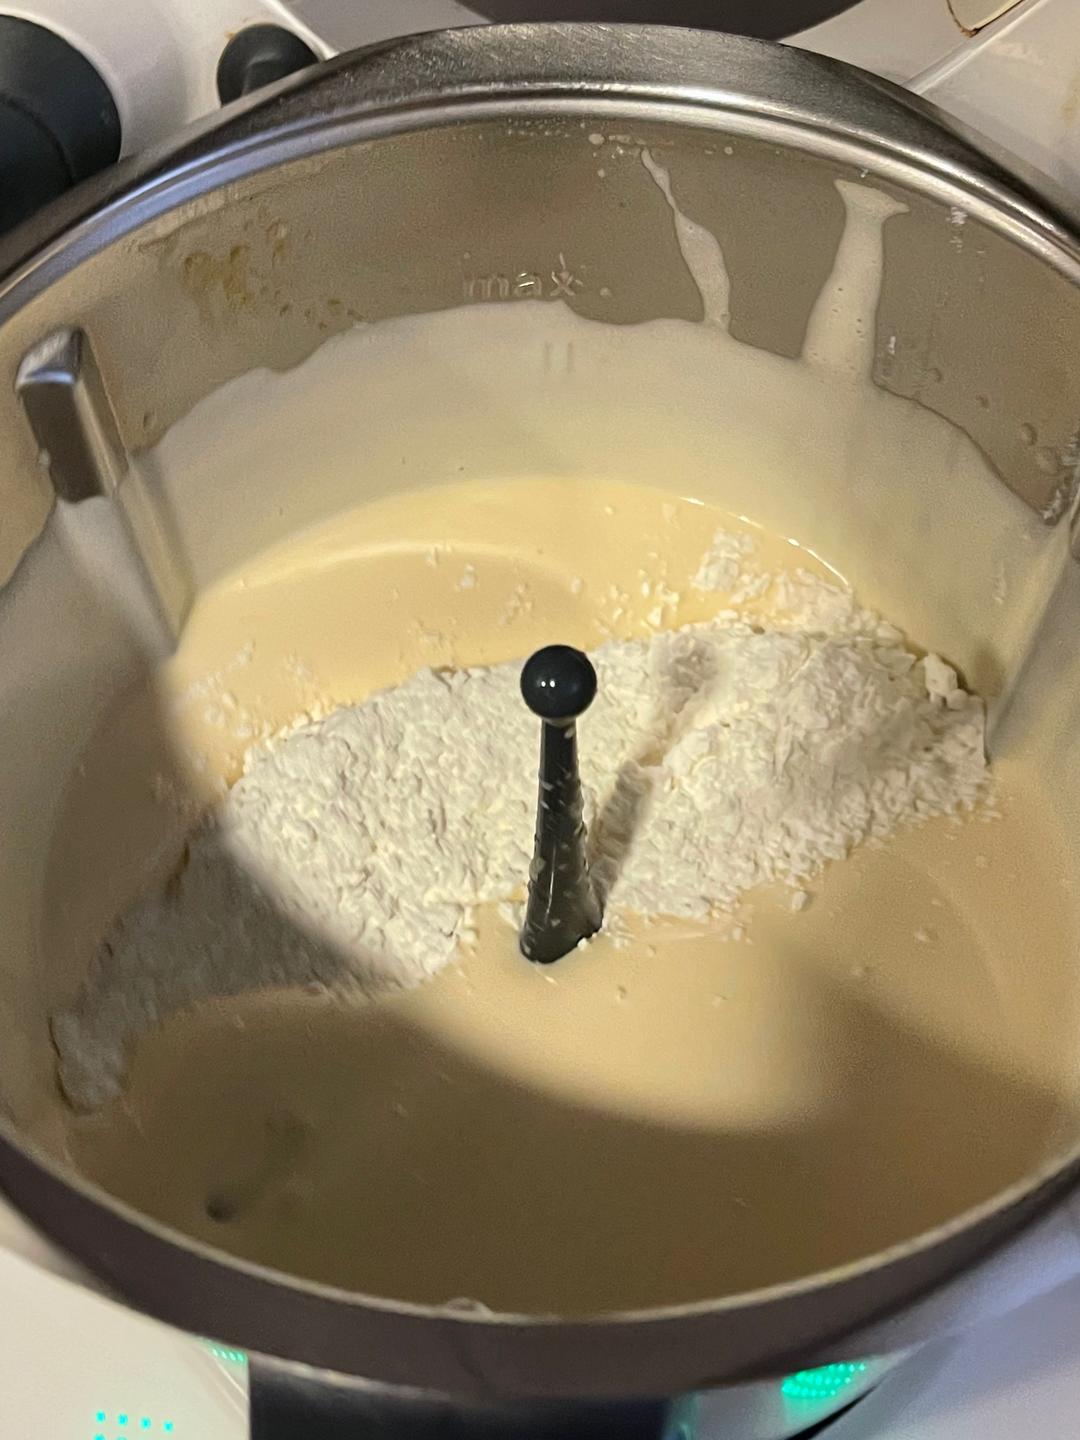
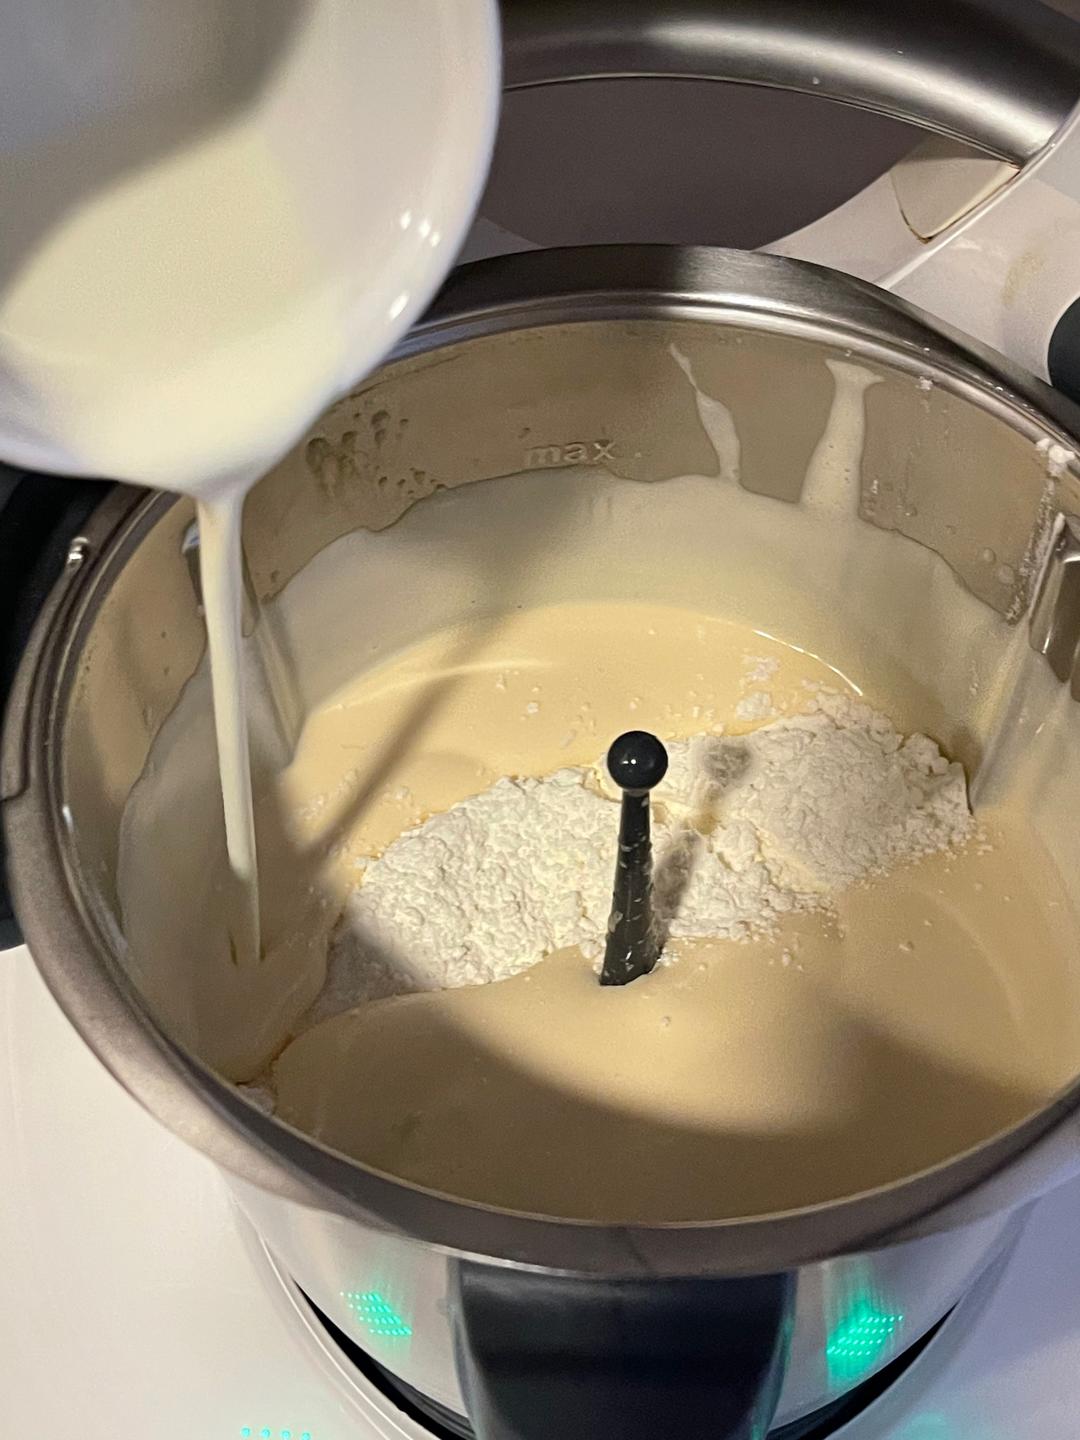
然后加入面粉

步骤 7
椰香香妃卷 小美版的做法 步骤{instruction.step+1}

倒入淡奶油

步骤 8
椰香香妃卷 小美版的做法 步骤{instruction.step+1}

然后设定5秒/速度3,混合均匀

步骤 9
椰香香妃卷 小美版的做法 步骤{instruction.step+1}

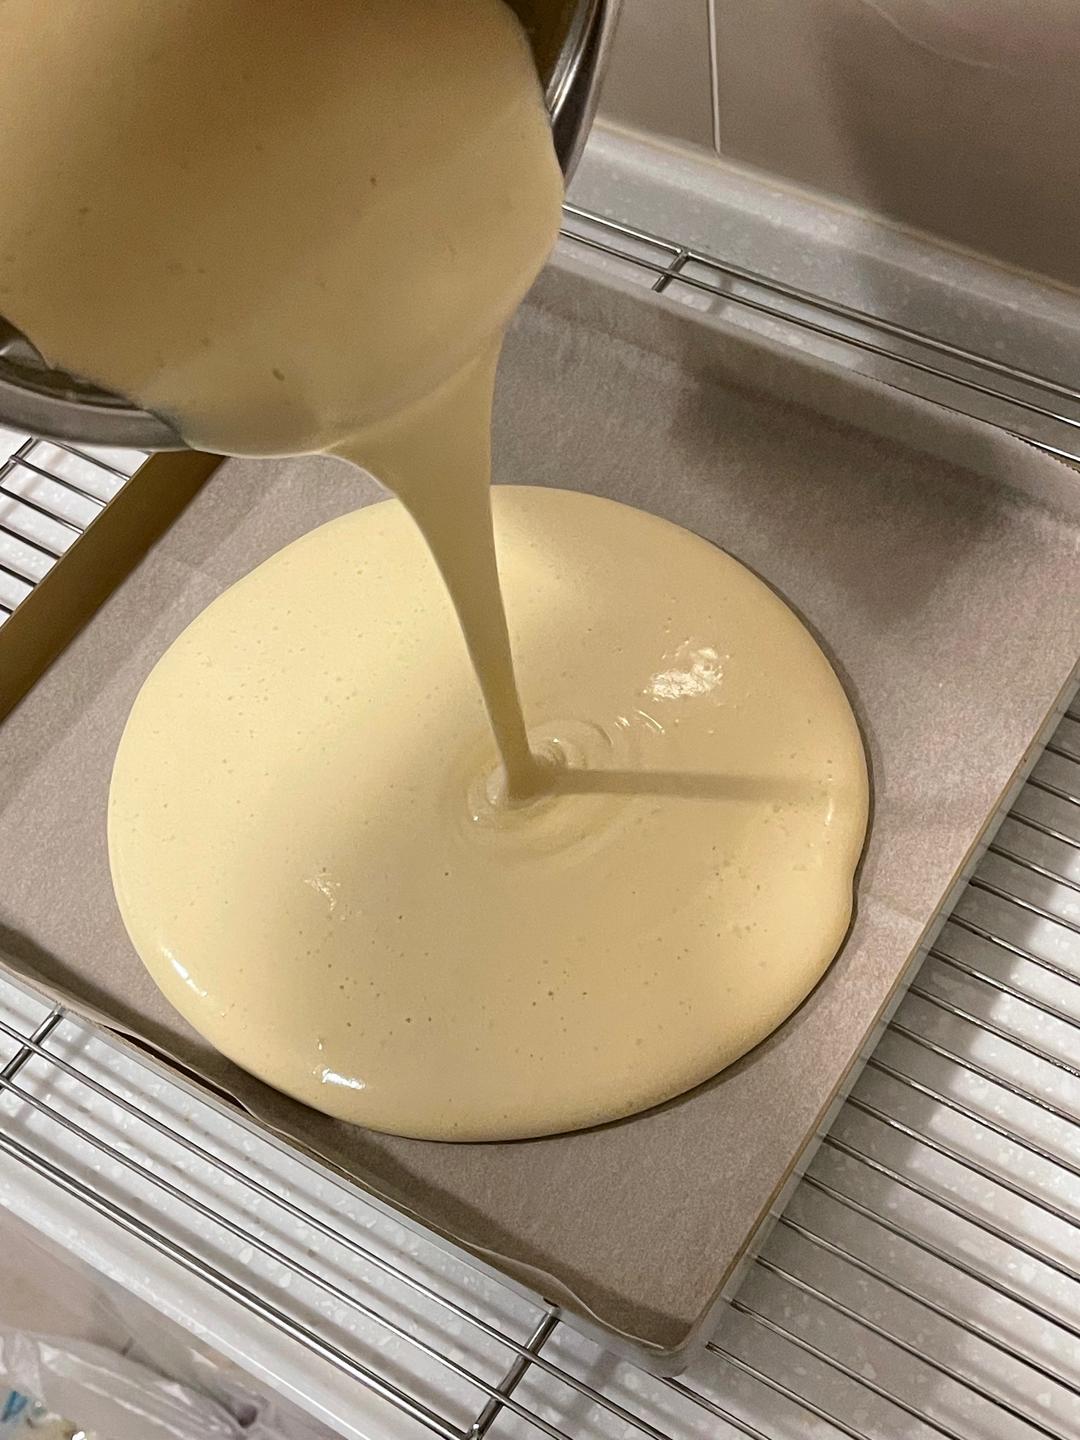
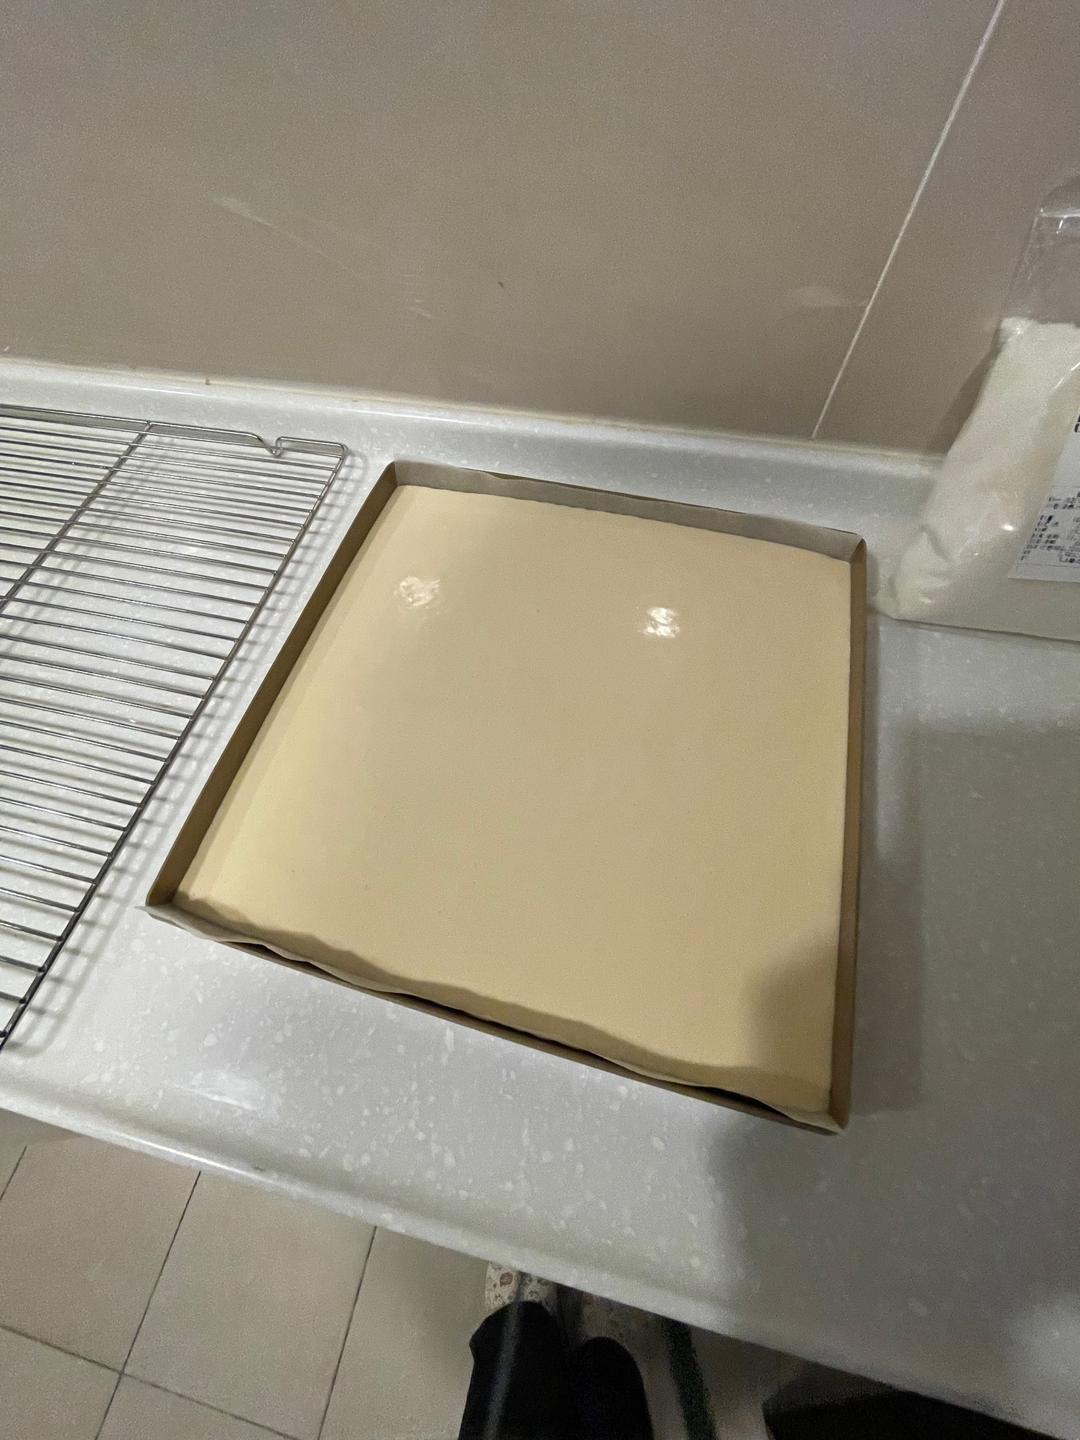
混合好的蛋糕糊倒入烤盘

步骤 10
椰香香妃卷 小美版的做法 步骤{instruction.step+1}

震掉大气泡

步骤 11
椰香香妃卷 小美版的做法 步骤{instruction.step+1}

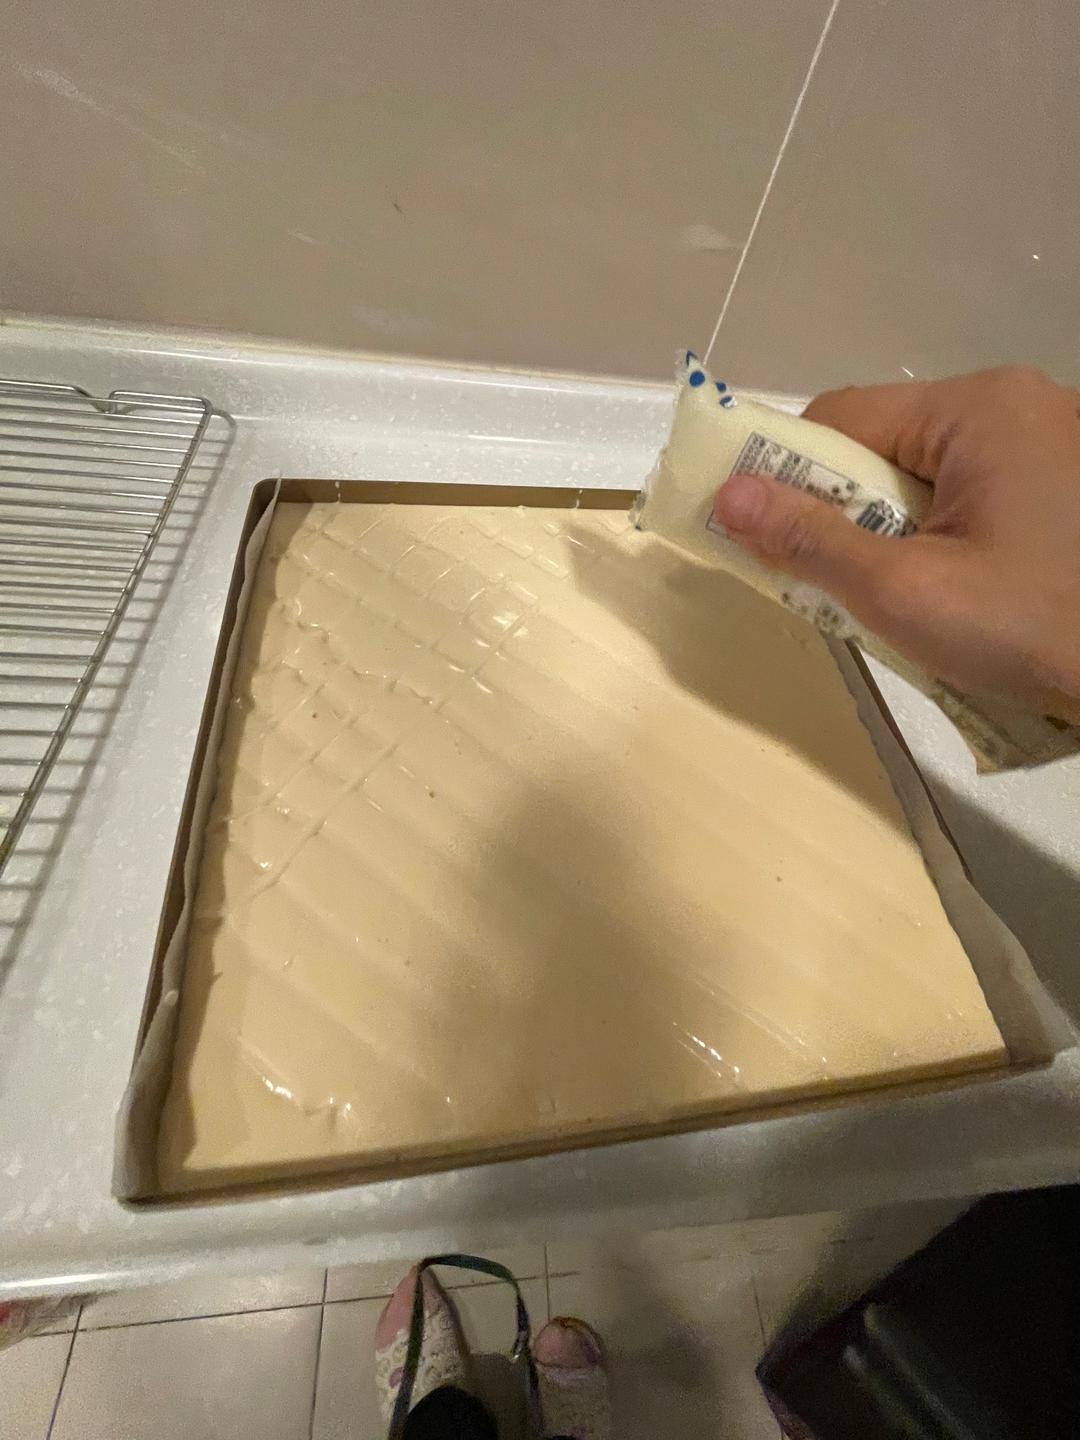
先用沙拉酱挤出网格线

步骤 12
椰香香妃卷 小美版的做法 步骤{instruction.step+1}

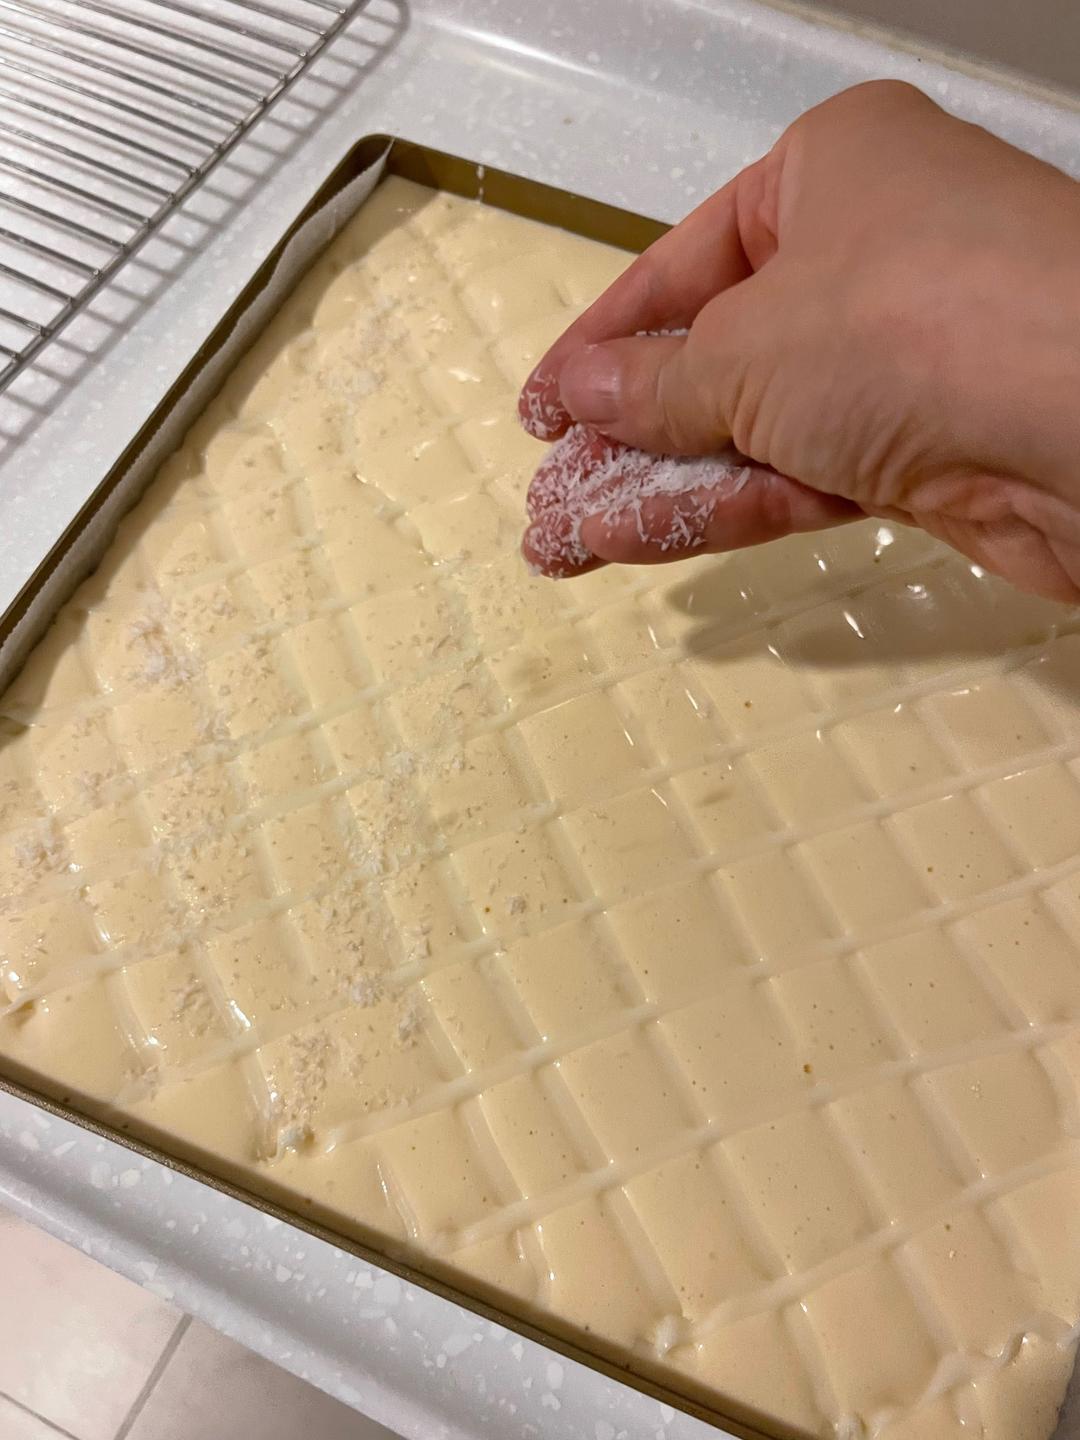
然后表面撒上椰蓉

步骤 13
椰香香妃卷 小美版的做法 步骤{instruction.step+1}

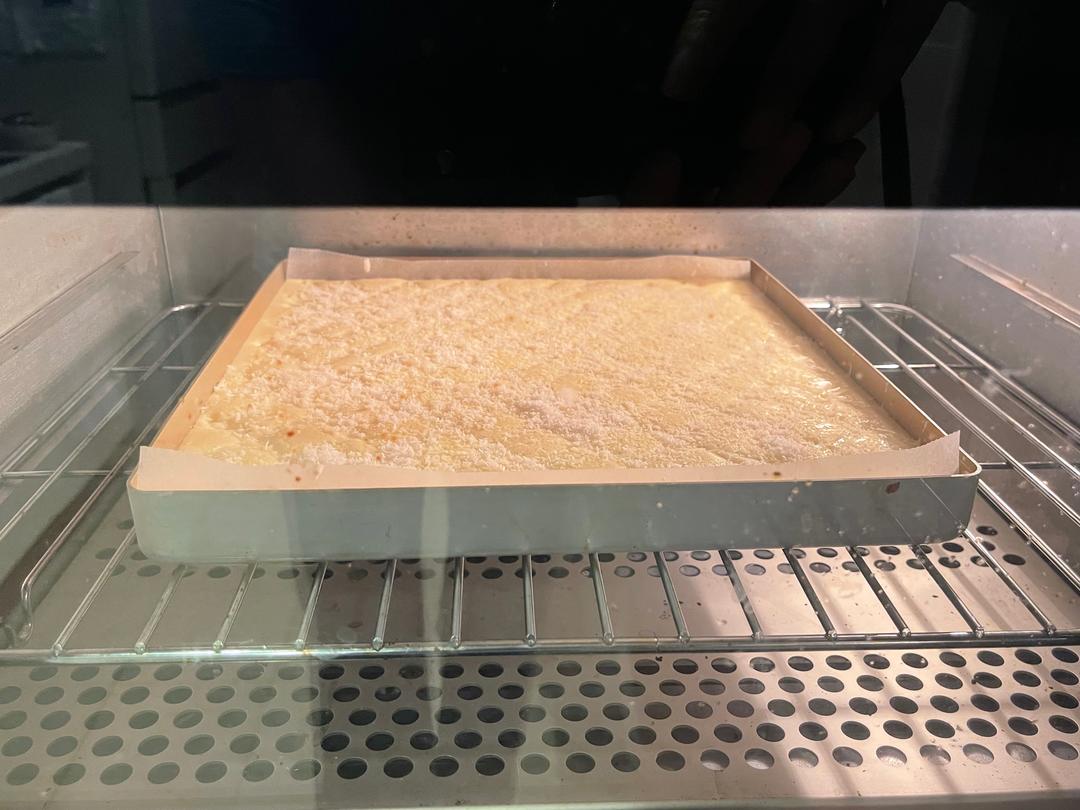
放入烤箱20分钟

步骤 14
椰香香妃卷 小美版的做法 步骤{instruction.step+1}

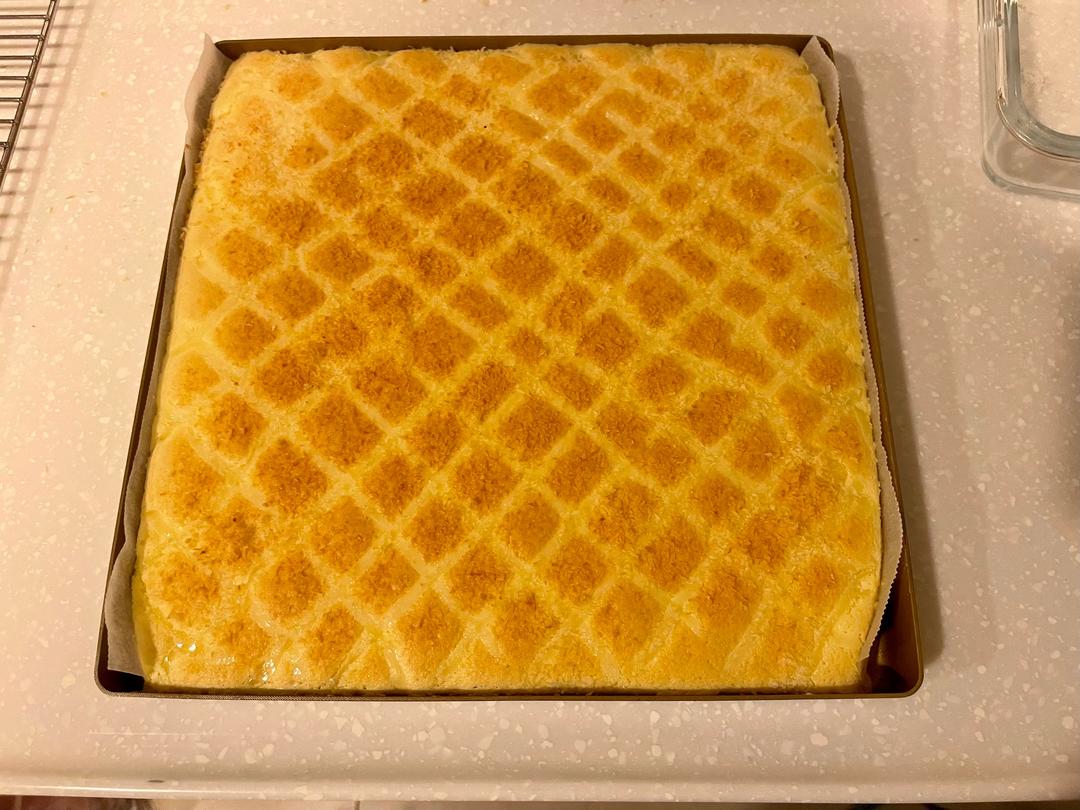
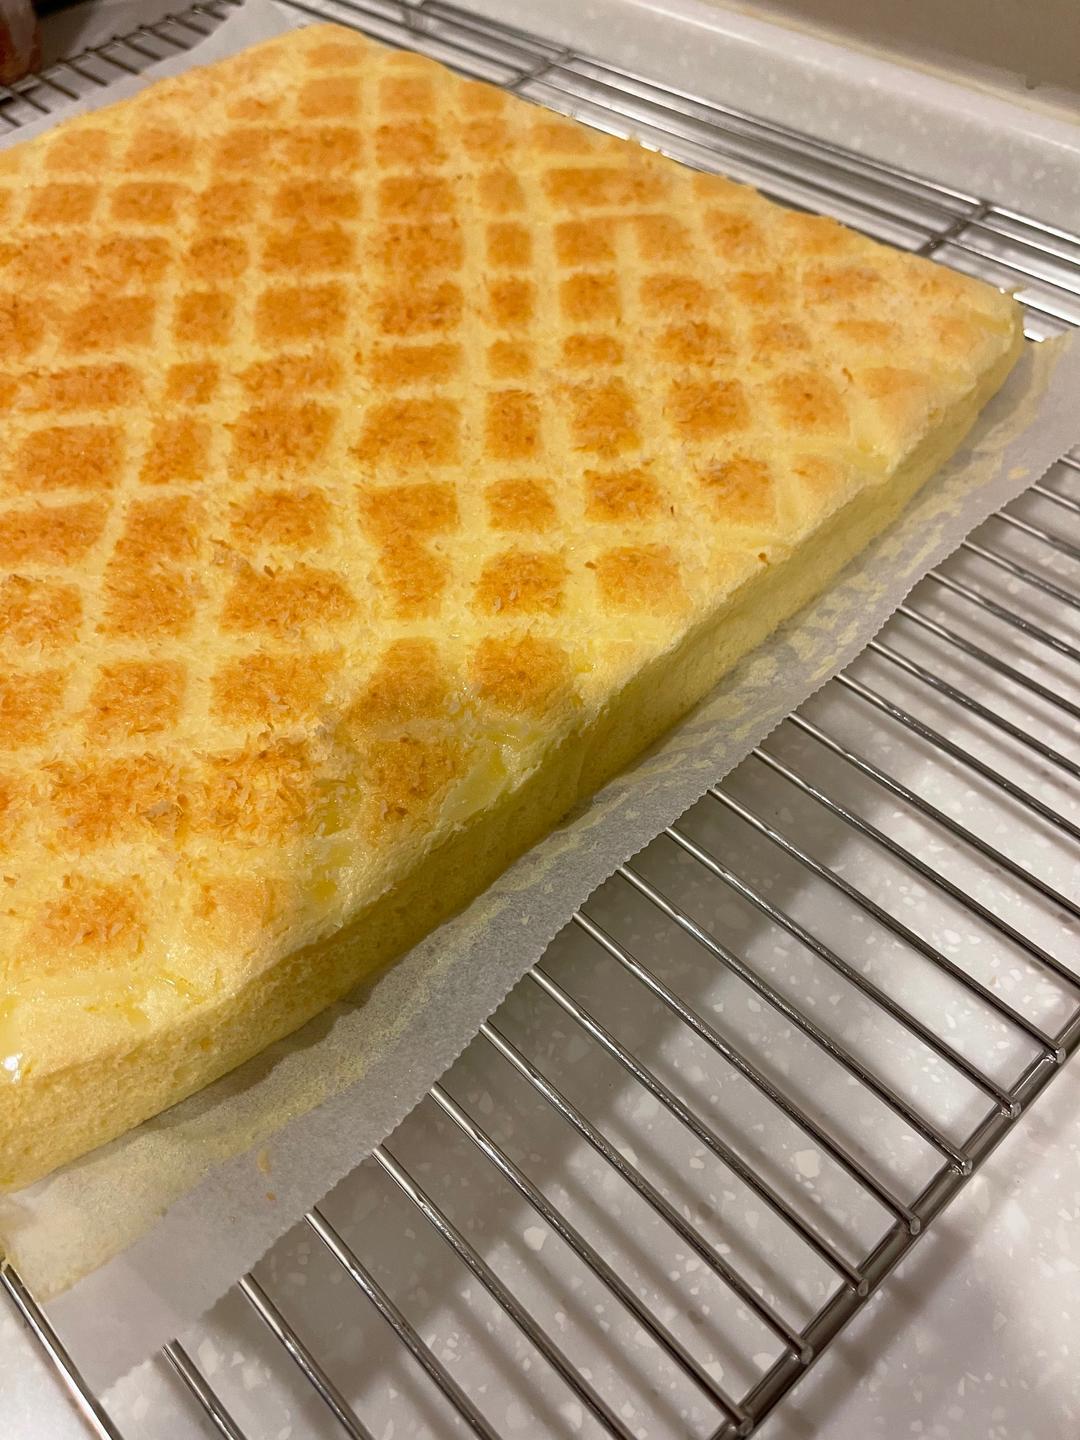
蛋糕出炉,稍微震一下,立刻拖出烤盘

步骤 15
椰香香妃卷 小美版的做法 步骤{instruction.step+1}

撕开旁边的烘焙纸

步骤 16
椰香香妃卷 小美版的做法 步骤{instruction.step+1}

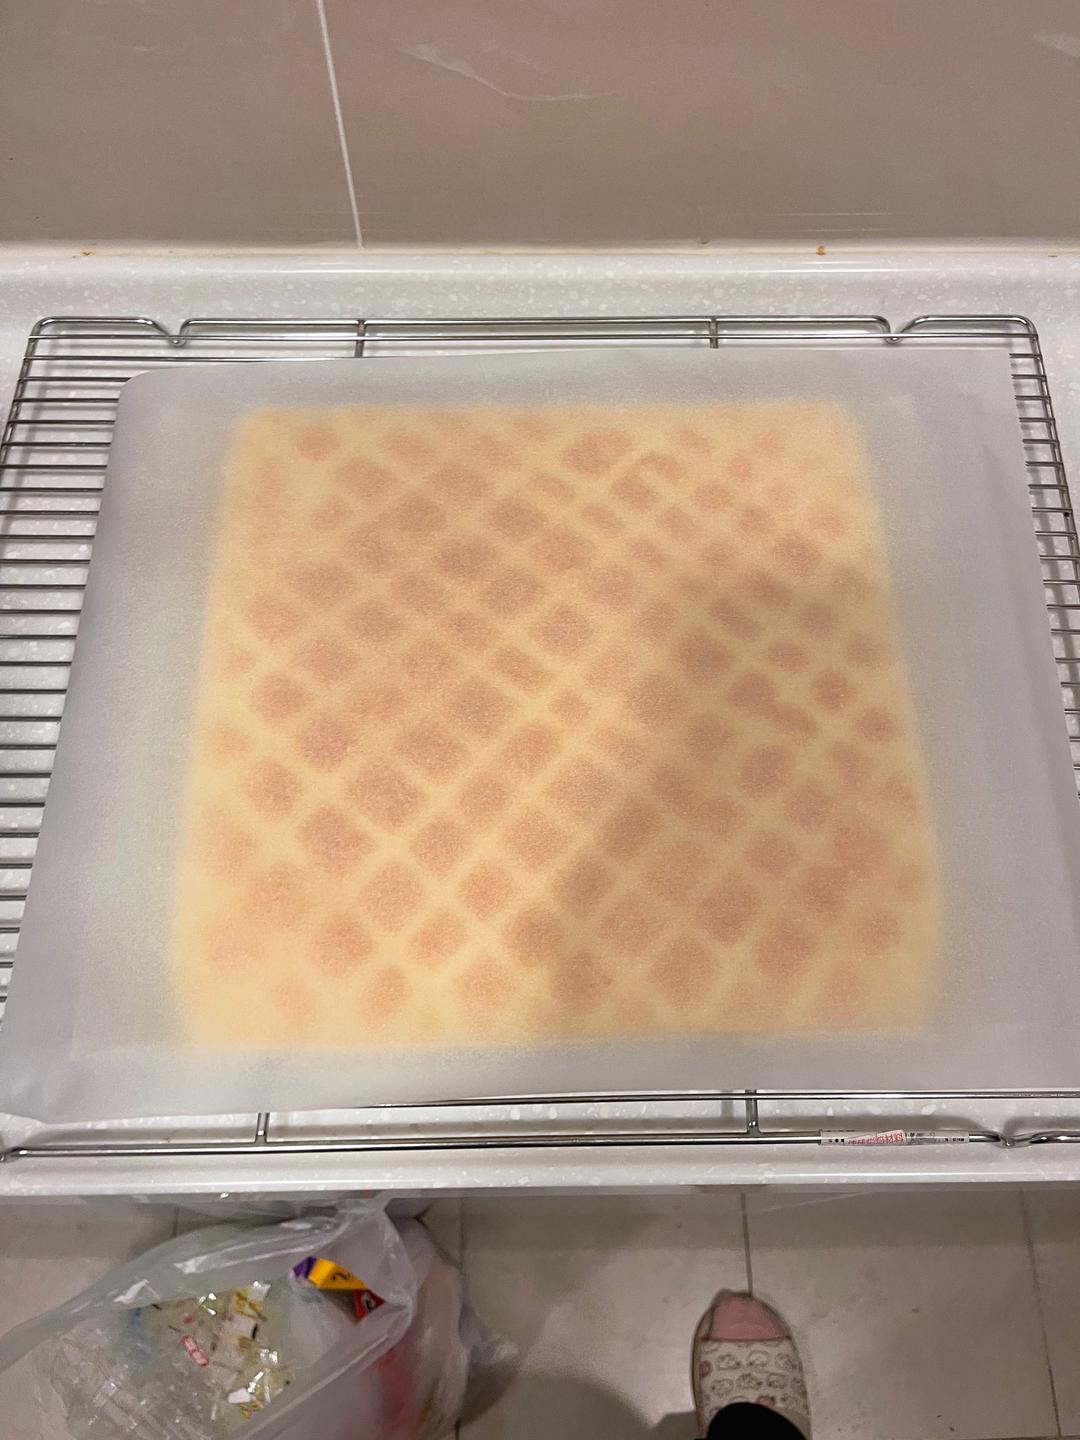
再拿一张大的烘焙纸盖上面,抓住下面的烘焙纸把蛋糕翻面

步骤 17
椰香香妃卷 小美版的做法 步骤{instruction.step+1}

翻过来的蛋糕,撕开底部的烘焙纸

步骤 18
椰香香妃卷 小美版的做法 步骤{instruction.step+1}

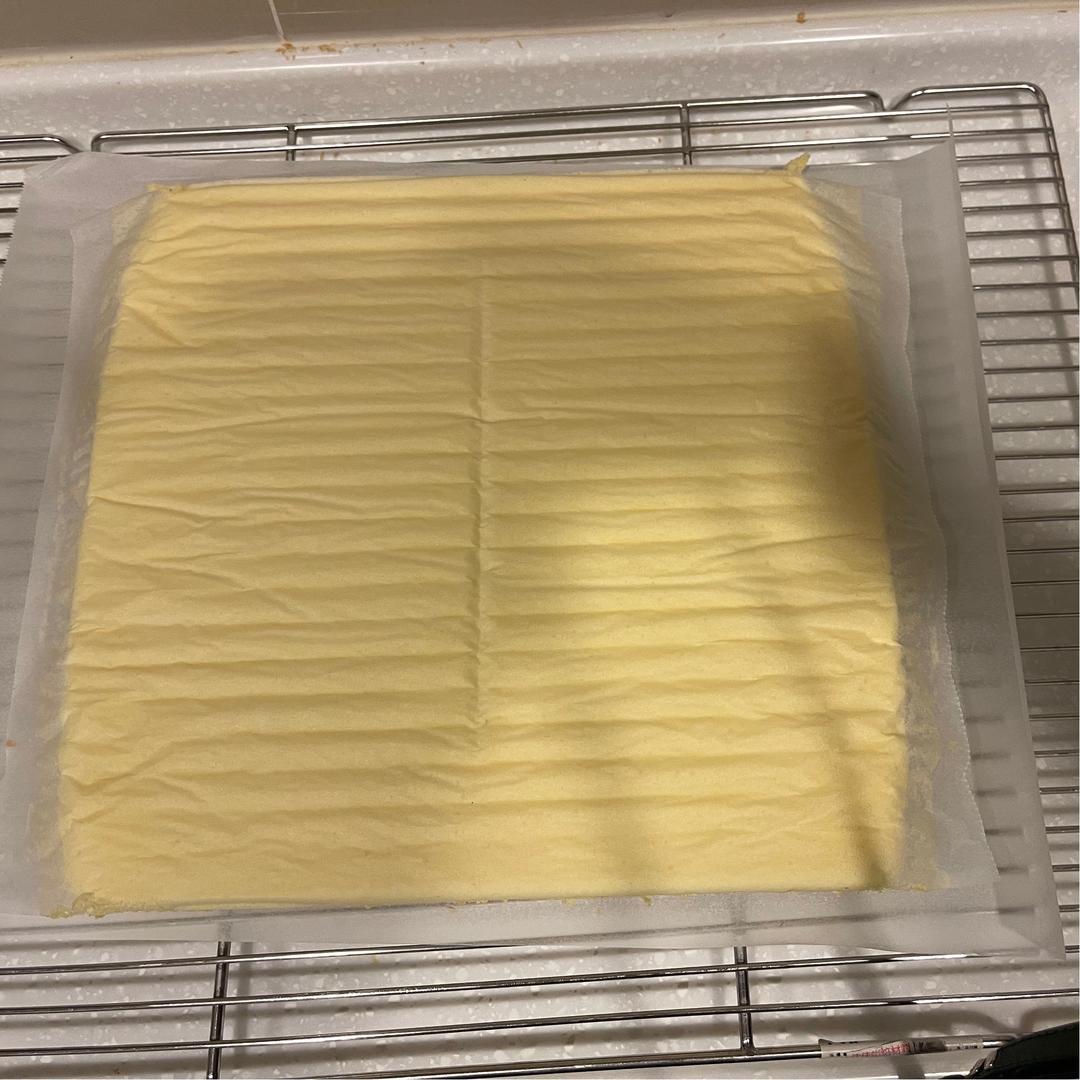
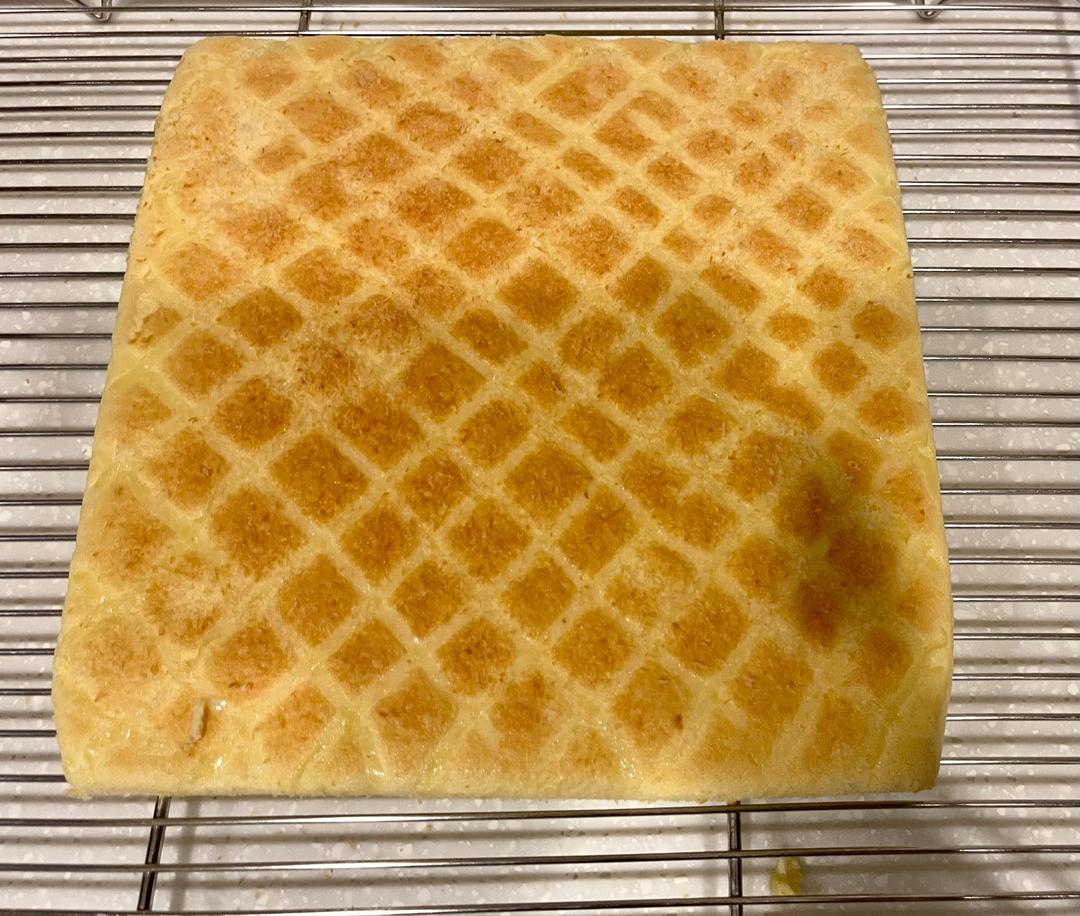
再把蛋糕翻到正面

步骤 19
椰香香妃卷 小美版的做法 步骤{instruction.step+1}

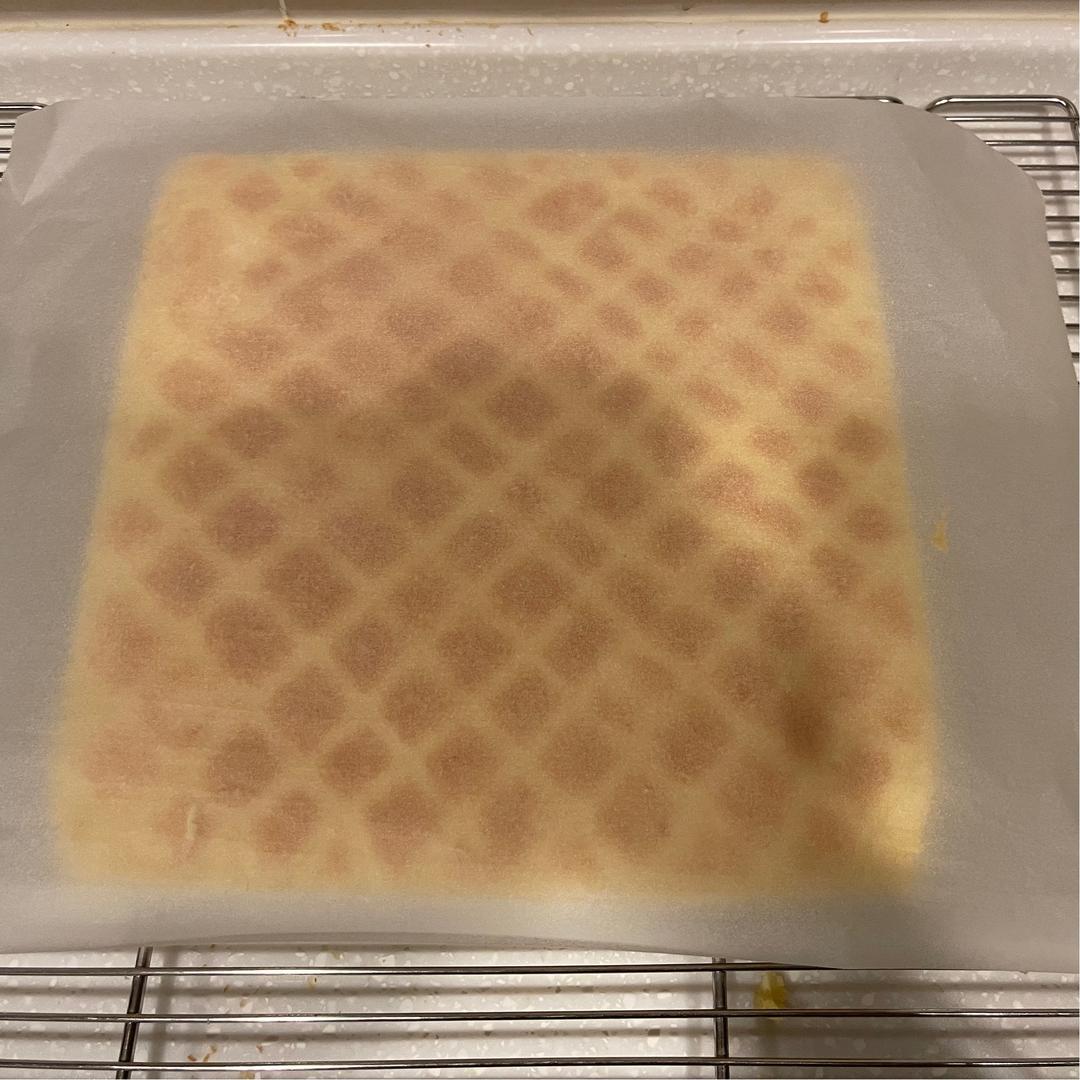
表面轻轻盖上烘焙纸,放到完全冷却

步骤 20
椰香香妃卷 小美版的做法 步骤{instruction.step+1}

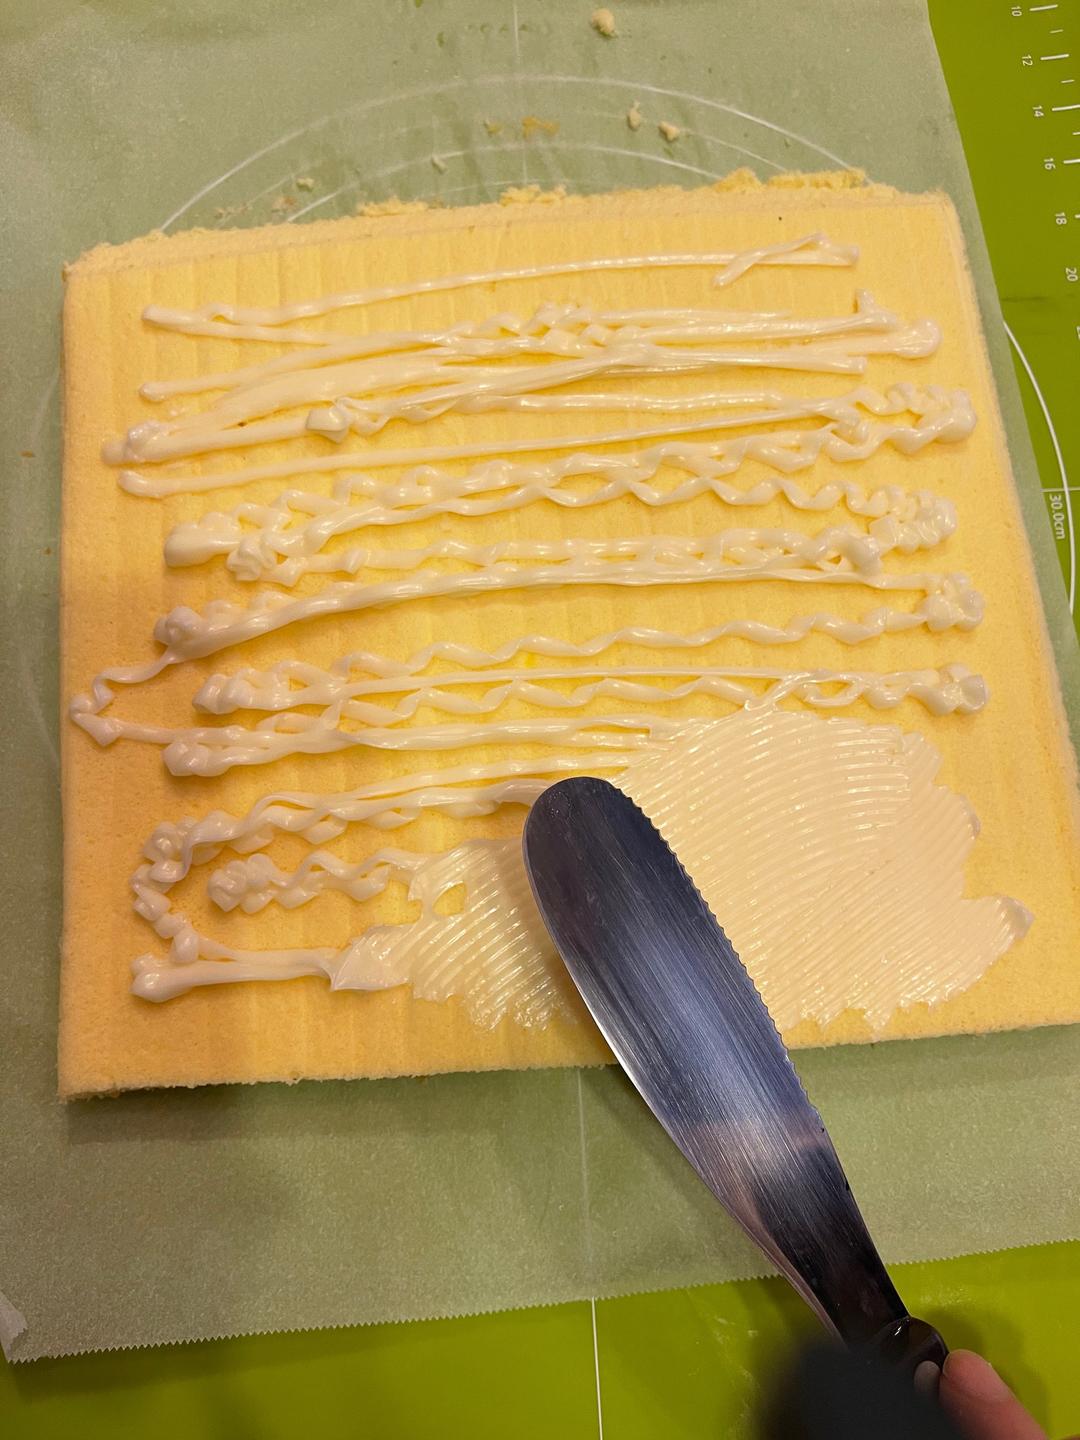
然后一边切齐,一边切45度斜面(这里照片没拍到)然后里面涂上沙拉酱

步骤 21
椰香香妃卷 小美版的做法 步骤{instruction.step+1}

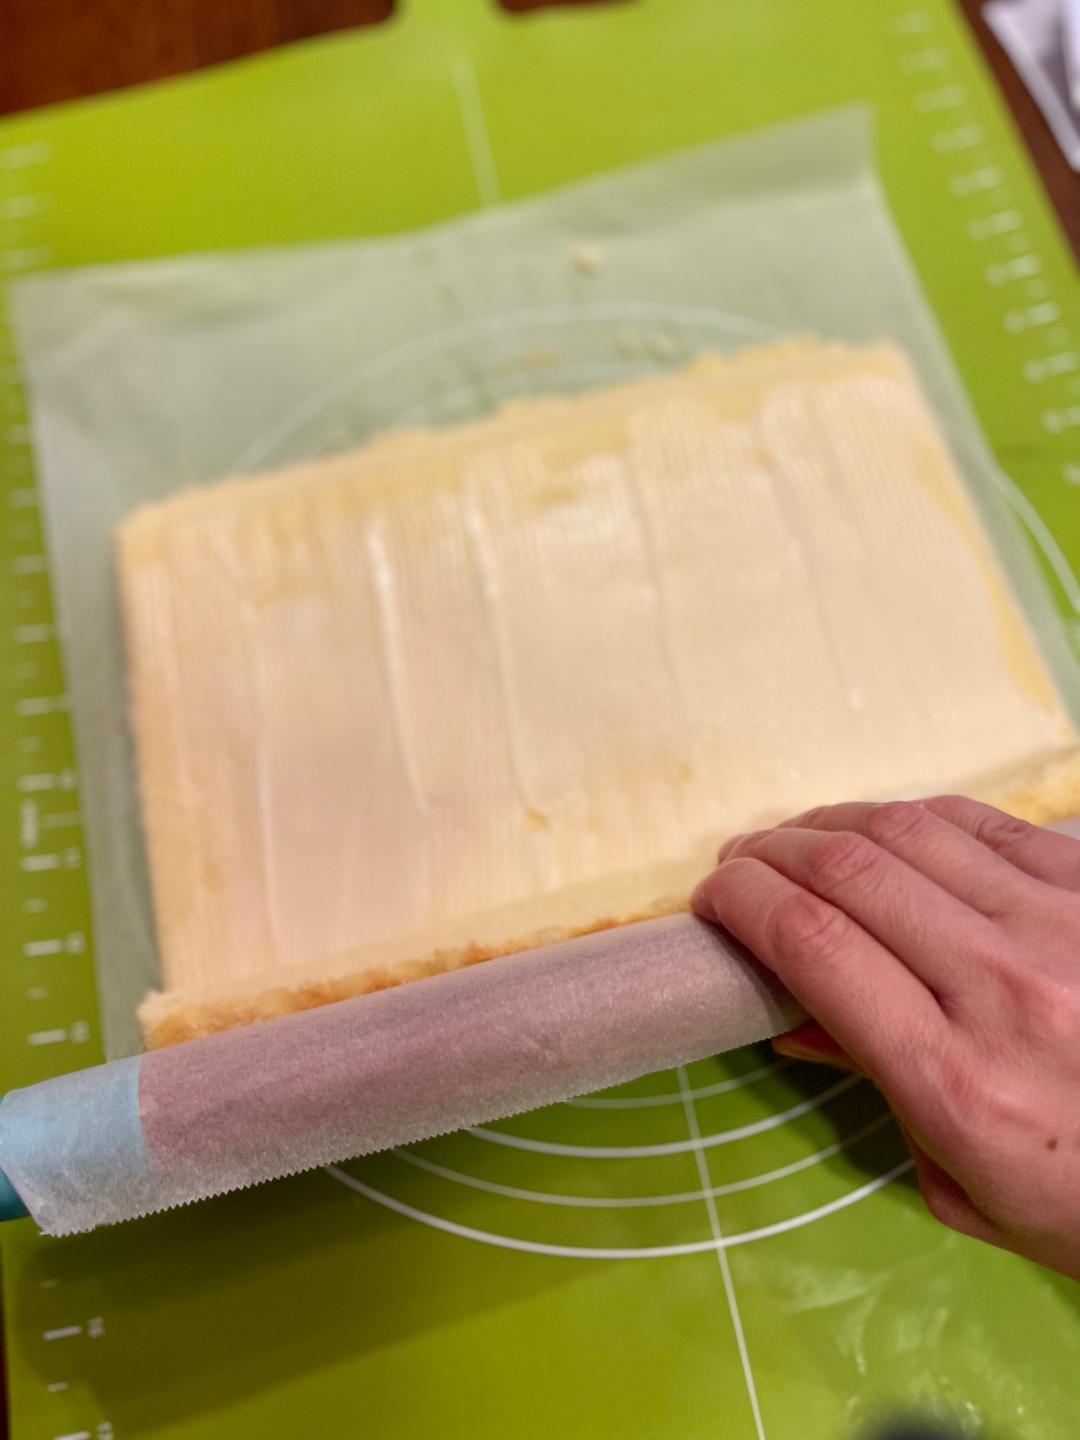
用擀面杖辅助,把蛋糕卷起

步骤 22
椰香香妃卷 小美版的做法 步骤{instruction.step+1}

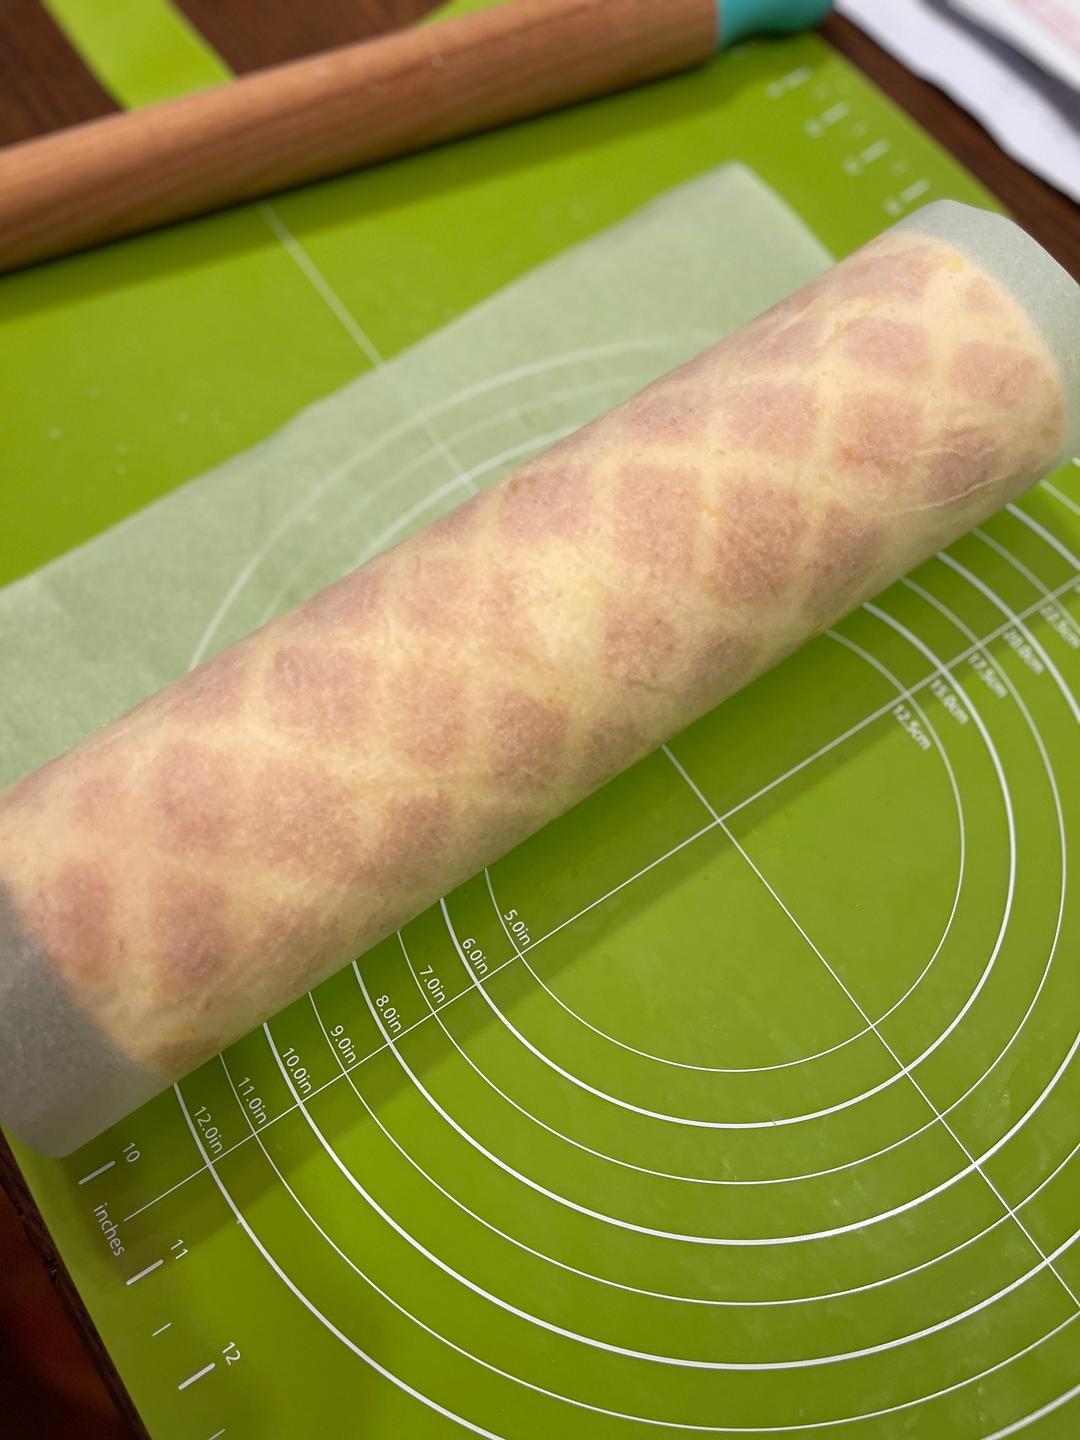
烘焙纸定型,然后放冰箱冷藏30分钟

步骤 23
椰香香妃卷 小美版的做法 步骤{instruction.step+1}

出来切开

步骤 24
椰香香妃卷 小美版的做法 步骤{instruction.step+1}

表面真的好好看

菜谱创建时间:2022-11-05 19:51:11